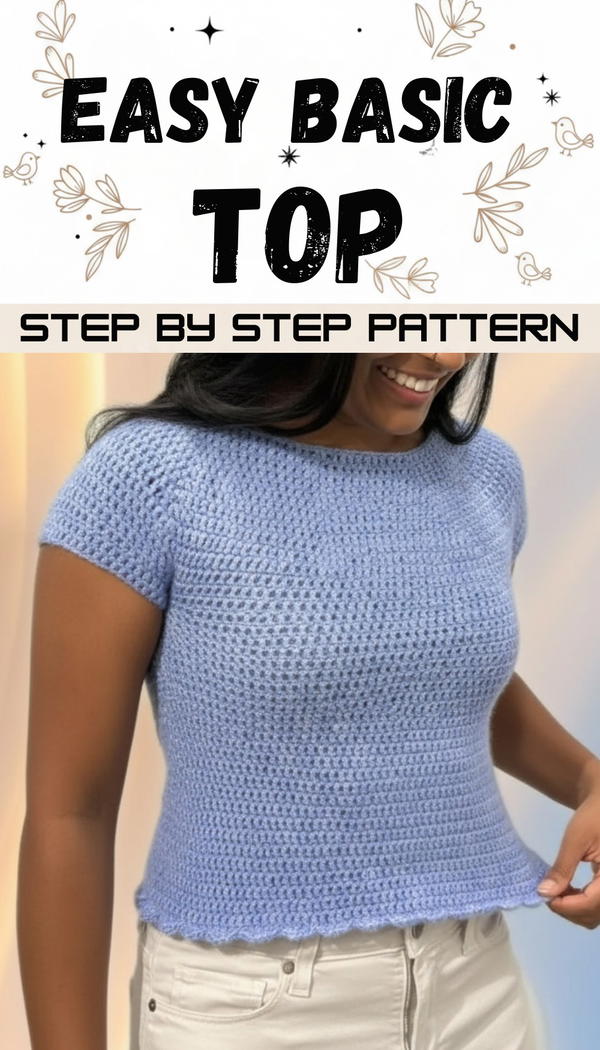
Weave a cozy crochet basic top that combines comfort and style effortlessly for sunny days and casual fun you’ll enjoy wearing everywhere.
This simple handmade top is a perfect blend of comfort and style, made with soft yarn that feels gentle on the skin. Its lightweight design makes it ideal for warm days, keeping you cool while looking effortlessly pretty. The neat stitches create a delicate texture that adds a touch of charm without being too fancy. Whether you wear it for a casual outing, a day at the park, or just relaxing at home, this top fits beautifully and moves with you.
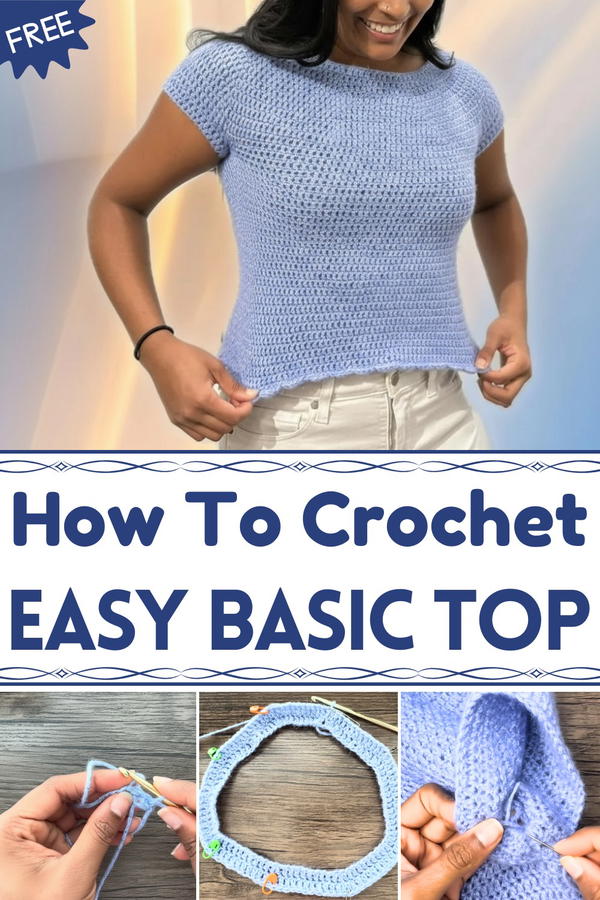
Comfortable Crochet Basic Top Pattern for Relaxed Days
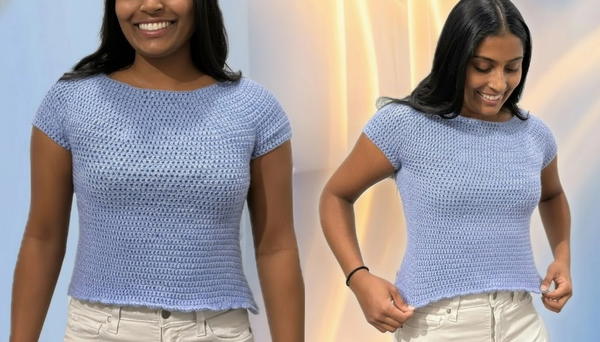
Its timeless look can easily match with your favorite pants or skirts, making it a versatile piece in your wardrobe. Plus, the breathable fabric lets air flow freely, so you stay comfy all day long. Wearing this handmade top gives a cozy feeling, like a warm hug that brightens your day and lifts your spirits with every wear. It’s truly a lovely addition to everyday clothing.
Simple Crochet Top Pattern
Skill Level: Beginner to Intermediate
Special Features:
- No-turning chain technique creating a seamless stitch line
- Use of stitch markers for precise shaping and increases
- Simple sleeve hole construction with customizable sleeve width
- Scalloped edging for a feminine finish
- Works in continuous rounds with joining slip stitches
Materials Needed:
- About 200g DK weight yarn (cotton blend recommended)
- 4mm and 5mm crochet hooks (started with 5mm, switched to 4mm)
- Yarn needle
- 8 stitch markers or safety pins
- Scissors
Pattern Steps
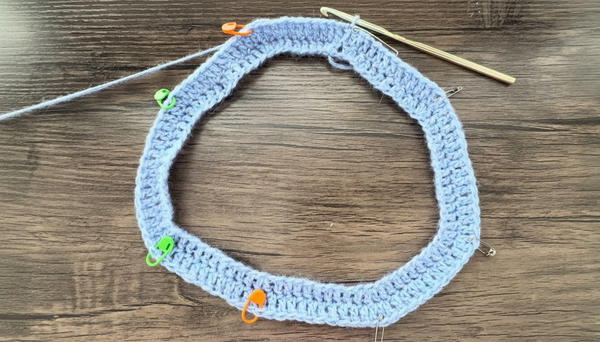
Step 1: Yolk Foundation
- Create a slip knot and chain 88.
- Slip stitch into the first chain to join and form a ring. Make sure the ring is not twisted.
Step 2: No Turning Chain & First Round
- Use a no turning chain to start your round: pull up a loop roughly the height of a double crochet (dc).

- Yarn over, insert hook under the loop, yarn over, pull through both loops (no visible seam).
- Double crochet (dc) into the next chain and continue dc in the next 7 chains (9 stitches total including no turning chain).
Step 3: Increase Sequence with Stitch Markers
- In the next stitch, place 2 double crochets. Place a stitch marker on the second dc.
- Dc in the next 9 stitches, then place 2 dc in the next chain, stitch marker on second dc.
- Dc in the next 13 chains.
- Repeat this pattern of dc 9 sts, 2 dc in 1 chain (marked), dc 9 sts, 2 dc in 1 chain (marked), dc 13 sts two more times.
- Finish with 2 dc in the last chain, place marker on second dc.
- Slip stitch to the top of the no turning chain.
- Total stitches at round end: 96.
Step 4: Rounds 2 to 11 – Increasing Yolk
- Start each round with a no turning chain.
- Dc in each stitch until marker, at marker remove marker, do 2 dc in same stitch, place marker on second dc.
- Repeat until end of round.
- End round with slip stitch to no turning chain.
- Stitches at round 11: 176.
Step 5: Rounds 12 to 15 – Work Even
- Remove all stitch markers.
- Start each round with no turning chain.
- Dc in each stitch around.
- Slip stitch to join.
- Repeat for 4 rounds to form even yolk length.
Step 6: Form Sleeve Holes
- On the next round, place stitch markers at these stitches: 36, 73, 124, and 161.
- Dc in each stitch up to first marker, dc in marker stitch, then skip stitches between first and second marker (this creates sleeve hole).
- Work dc into next marker stitch, turn work and dc around this skipped area (creating sleeve opening).
- Continue dc to next marker and repeat sleeve hole connection for second armhole.
- Complete the round with slip stitch to no turning chain.
Step 7: Body Construction
- Start with no turning chain.
- Dc in each stitch including sleeve holes as normal stitches.
- Slip stitch to join.
- Repeat until round 15 or desired length.
- Total stitches at this point: 104.
Step 8: Single Crochet Border
- Chain 1.
- Sc in each stitch all around.
- Slip stitch into first sc to join.
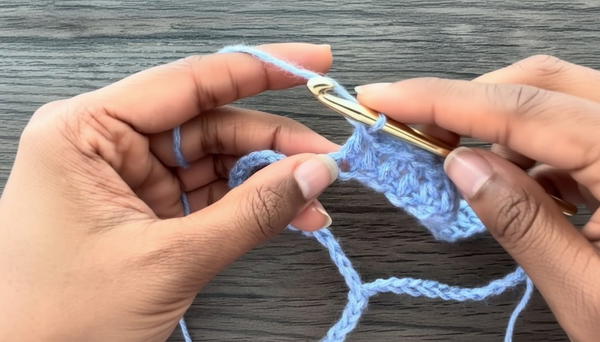
Step 9: Scalloped Border
- Skip 2 stitches.
- Into third stitch, work 5 dc (shell).
- Skip 1 stitch.
- Slip stitch into following stitch.
- Repeat shell and slip stitch pattern around.
- End with a slip stitch, omit final shell, and fasten off.
Step 10: Increasing Sleeve Width (Optional)
- Attach yarn with slip knot at sleeve edge.
- Chain 1.
- Sc evenly around sleeve opening, working into as many loops as possible.
- Slip stitch to join.
- Chain 1, work 2 dc in first stitch, place marker.
- Dc in each stitch to marker, work 2 dc in marker stitch, place marker again.
- Repeat increases at markers each round until desired sleeve width reached.
- Finish with either scalloped border or simple sc border.
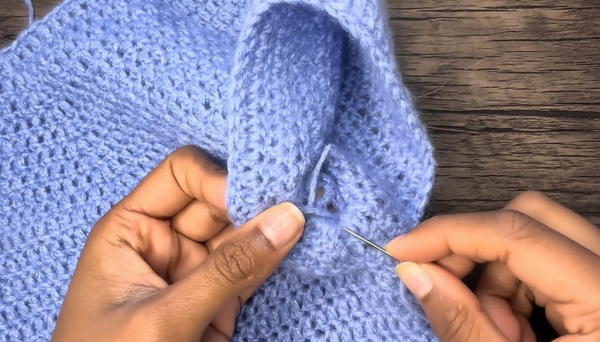
Step 11: Weave in Ends
- Use yarn needle to weave loose ends through stitches securely.
- Tie knots where necessary and trim excess yarn.
Tutor’s Suggestions:
- Use stitch markers to track increases and sleeve openings for accuracy.
- No turning chain creates an elegant seamless edge—practice the technique for best results.
- Adjust sleeve width by adding or skipping increase rounds depending on your arm size.
- Use a yarn blend with some cotton for breathability and softness.
Uses:
- Perfect summer or layering top for casual wear.
- Easy to customize for other sizes by adjusting initial chains and rounds.
- Great gift idea and wardrobe staple.
Tip:
Maintain consistent tension, especially during increases and around sleeve holes, for smooth shaping and even fabric.
Conclusion:
You’ve now crocheted a beautiful simple top with an elegant scallop border and comfortable sleeve openings. Whether layered or worn alone, this versatile piece will brighten your wardrobe.