Dance into fun with a Crochet Granny Stitch Skirt Pattern that spins easily, feels breezy, and adds playful color to sunny days, outings, or party vibes.
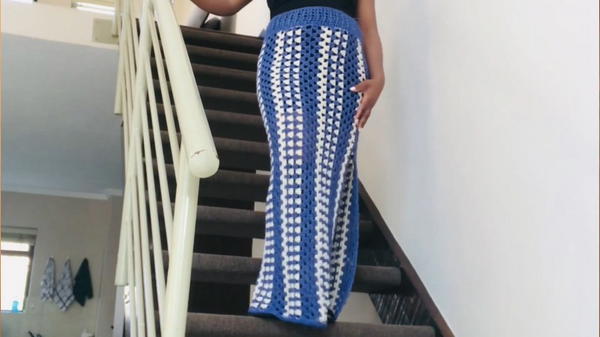
A handmade skirt like this is not only beautiful but also very comfortable to wear. It shows off bright, colorful squares that come together to create a lovely pattern full of charm and style. The skirt is soft and light, making it perfect for warm days or casual outings with friends and family.
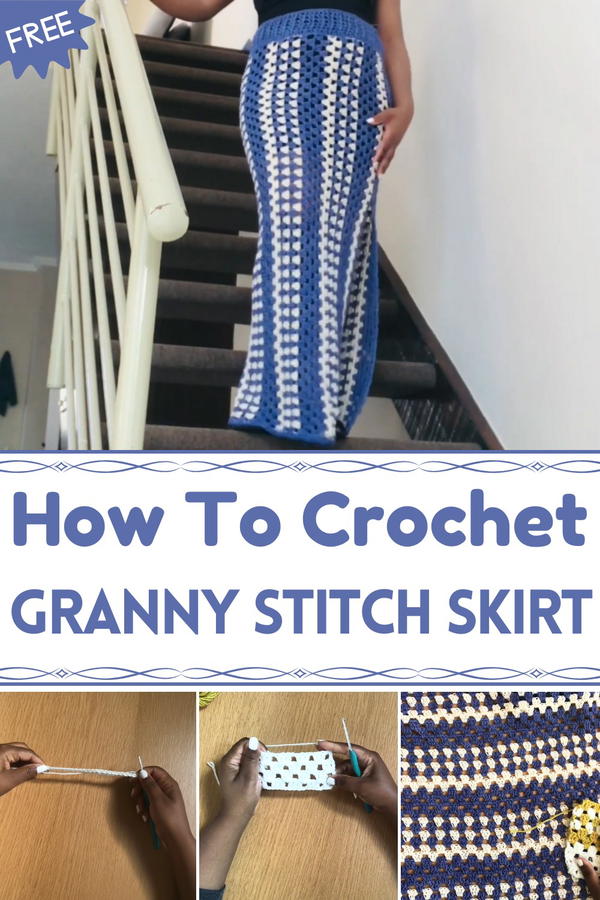
Creative Crochet Granny Stitch Skirt Pattern to Brighten Outfits
Its simple, yet eye-catching design helps you stand out, while the colors bring happiness and energy wherever you go. This skirt can be dressed up or down, so it works well for many occasions — from parties to everyday walks in the park.
Because it’s made with easy and patient steps, anyone can enjoy making it, even if you have never tried before. The shape fits nicely around the waist and moves freely, giving a comfortable and relaxed feel. Wearing this skirt means enjoying both beauty and comfort in one lovely piece.
Granny Stitch Skirt Crochet Pattern
Special Features
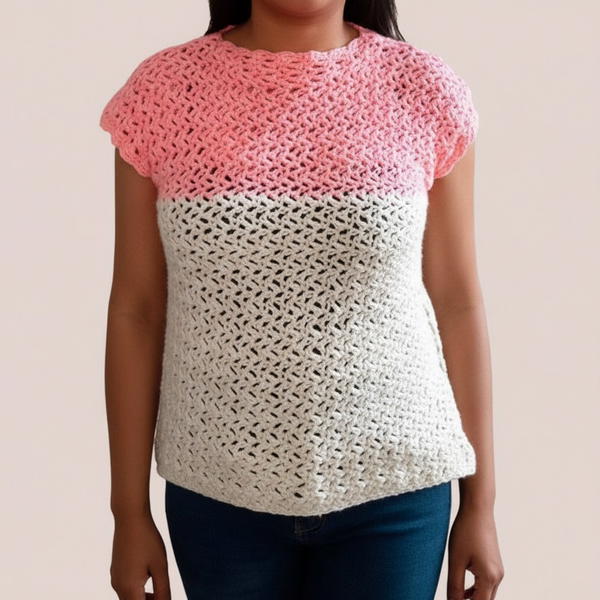
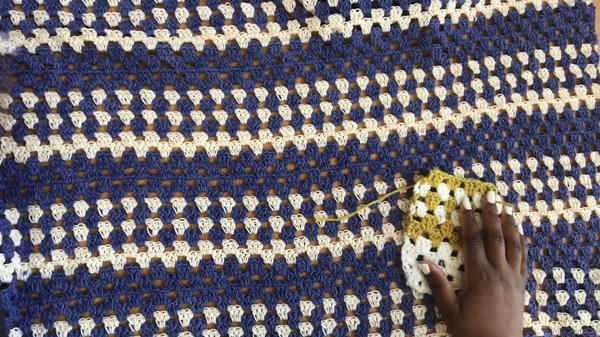
- Color-block granny stitch pattern inspired by a celebrity dress
- Uses a unique color sequence for stylish striping
- Adjustable waist with ribbing and optional elastic/drawstring
- Feminine silhouette with floor-length fit
Difficulty Level
Intermediate — suitable for those familiar with basic stitches, working in rows, stitch counting, and some finishing techniques like mattress stitch seaming and edging.
Materials Needed:
- Two contrasting yarn colors (Category 3 or 4 recommended)
- Size 2 crochet hooks (e.g., 2.5mm and 3.5mm)
- Scissors
- Darning/tapestry needle
- Optional: Elastic band or yarn for drawstring
Step-by-Step Instructions:
Step 1: Take Measurements
- Hip circumference (important for fitting)
- Waist size
- Length from upper waist to floor (desired skirt length)
Step 2: Color Sequence Setup
- Choose a main color (Color 1) and a secondary color (Color 2)
- The color repeat pattern (10-row sequence):
- 4 rows Color 1
- 2 rows Color 2
- 1 row Color 1
- 1 row Color 2
- 1 row Color 1
- 1 row Color 2
- Repeat this sequence until the skirt reaches your hip circumference.
Step 3: Foundation Chain
- Using the main color and the larger hook (e.g., 3.5mm), make a foundation chain.
- Chain length = Waist to floor measurement.
- Chain loosely without stretching; the skirt shrinks slightly during work.
- Chain count should be a multiple of 4 + 1.
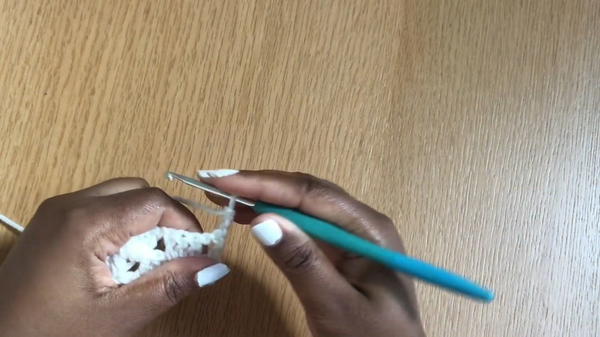
Step 4: Row 1 (Foundation Row)
- Start in the 4th chain from hook.
- Work 1 double crochet (dc).
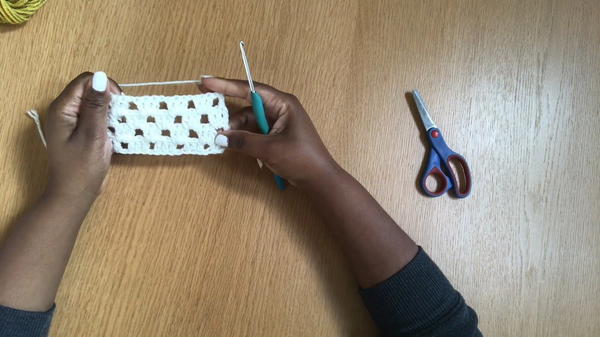
- Chain 1, skip 1 chain, 3 dc in next 3 chains.
- Repeat chain 1, skip 1, 3 dc in next 3 across the row.
- End with a chain 4, turn your work.
Step 5: Row 2
- Skip first 2 stitches.
- Work 3 dc in the chain-1 space.
- Chain 1.
- Continue 3 dc in each chain-1 space.
- End the row with 1 dc in last stitch.
- Turn.
Step 6: Rows 3 & 4
- Row 3: Chain 3, 2 dc in first chain space, chain 1, 3 dc in each chain space, end with 3 dc in stitch to keep edge straight.
- Row 4: Repeat Row 2 pattern.
- After Row 4, cut yarn and knot.
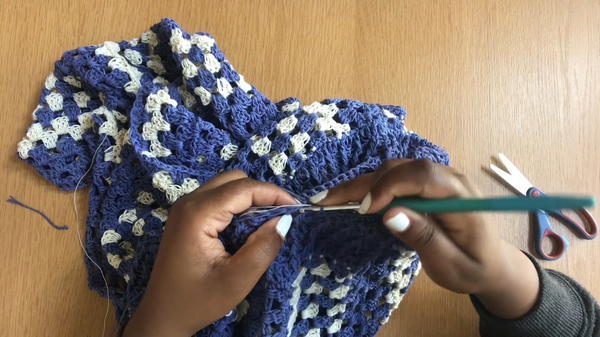
Step 7: Weaving in Ends (Tail Hiding)
- Pull yarn tail through last stitch, then weave tail through 2-3 granny clusters (not over sc because of gaps).
- Stop weaving in ends at a chain space.
- Continue with next color.
Step 8: Working with Color 2
- Join Color 2 at corner chain space.
- Knot securely.
- Repeat Rows 2 and 3 patterns for 2 rows.
- Weave in ends similarly.
- Follow color sequence across rows repeating until reaching hip circumference.
Step 9: Repeat Color Sequence
- Continue working the 10-row color pattern:
- 4 rows Color 1
- 2 rows Color 2
- 1 row Color 1
- 1 row Color 2
- 1 row Color 1
- 1 row Color 2
- Ensure to measure around hip for proper fit.
- Weave in yarn ends as you go to prevent loose ends.
Step 10: Bottom Edging
- Using main color and same hook, work 2 rows of single crochet (sc) around the bottom edge.
- Work 2 sc in each stitch to create a neat edge.
- End with slip stitch and fasten off.
Step 11: Seaming the Skirt
- Fold skirt with right sides facing.
- Use mattress stitch with a tapestry needle to seam one side.
- Leave a 14-inch slit for ease of movement (mark with a stitch marker).
- Stitch seam from top down to slit mark.
- Turn skirt right side out.
Step 12: Waist Ribbing
- Change to smaller hook (e.g., 2.5mm).
- Join yarn at seam to start ribbing.
- Work 2 rounds of single crochet around waist (2 sc in each row stitch).
- Slip stitch to join rounds.
Step 13: Waist Decrease and Ribbing Texture
- Next round: chain 1, dc, dc decrease over next 2 stitches repeat around, slip stitch to join.
- Following round:
- Chain 1, dc in same stitch, fpdc (front post double crochet) in next stitch.
- Alternate dc and fpdc around.
- Repeat this ribbed pattern for 5 rows total.
Step 14: Waist Finishing Options
Option 1: Drawstring
- Make a chain twice your waist size.
- Thread chain through third row of ribbing (starting at center back).
- Tie ends or make a bow.
Option 2: Elastic Band (Recommended)
- Measure elastic to your waist.
- Place elastic on wrong side at ribbing.
- Crochet single crochet over the elastic and stitches all around.
- End by tying a double knot on elastic, weave in ends.
- Stretch elastic slightly before securing for a snug fit.
Step 15: Final Weaving and Cleanup
- Weave in all loose ends securely.
- Trim any tails popping out.
- Turn skirt right side out.
- Adjust drawstring or elastic for comfort.
Tutor's Suggestions:
- Always use stitch markers for measuring and marking seam edges.
- Weave in ends at chain spaces for a clean look.
- Use the smaller hook on ribbing for a tight and neat waist finish.
- Choose yarn colors that complement your wardrobe.
- Adjust length and slit size per personal preference.
Uses:
This skirt is perfect for casual or special occasions, providing comfort with a flattering fit. Its stretchy ribbed waist and dynamic color blocks make it versatile and fashion-forward.
Tip:
Do NOT stretch the foundation chain excessively, as the fabric will naturally shrink while crocheting, ensuring proper length without stress on stitches.
Conclusion:
Crocheting this Granny Stitch Skirt is a rewarding project combining classic motifs with modern styling. With a lovely color sequence, strong finishing, and adjustable waistband, it’s a unique handmade wardrobe addition you’ll love wearing.