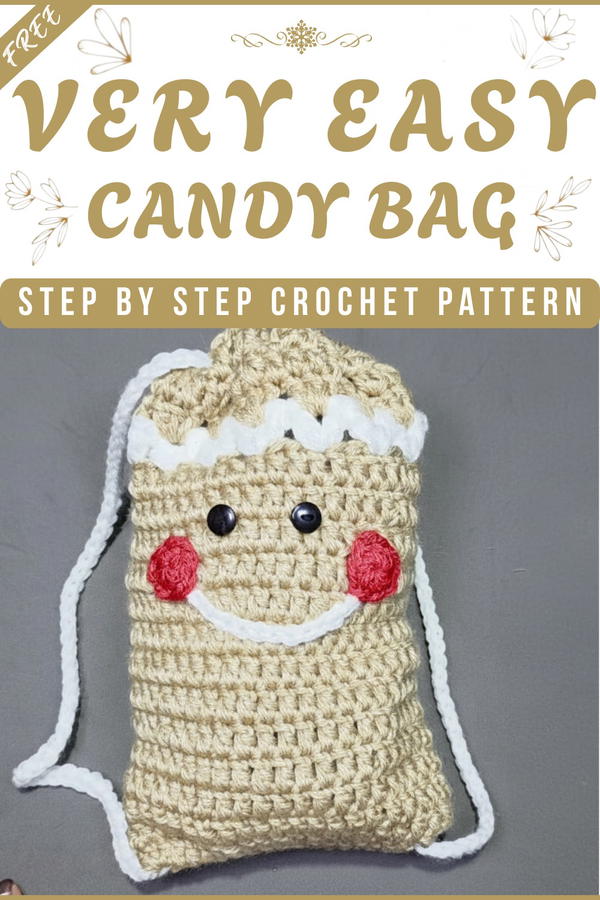
Each small hook and some colorful string leads to a beautiful tiny pouch that brings a lot of joy. This Crochet Candy Bag pattern offers a clear path for making a friendly holder that looks polished and feels very special in your hand. You can use this cute bag to carry small treats for a party, as a pretty gift for a child, or even to keep your tiny treasures safe.
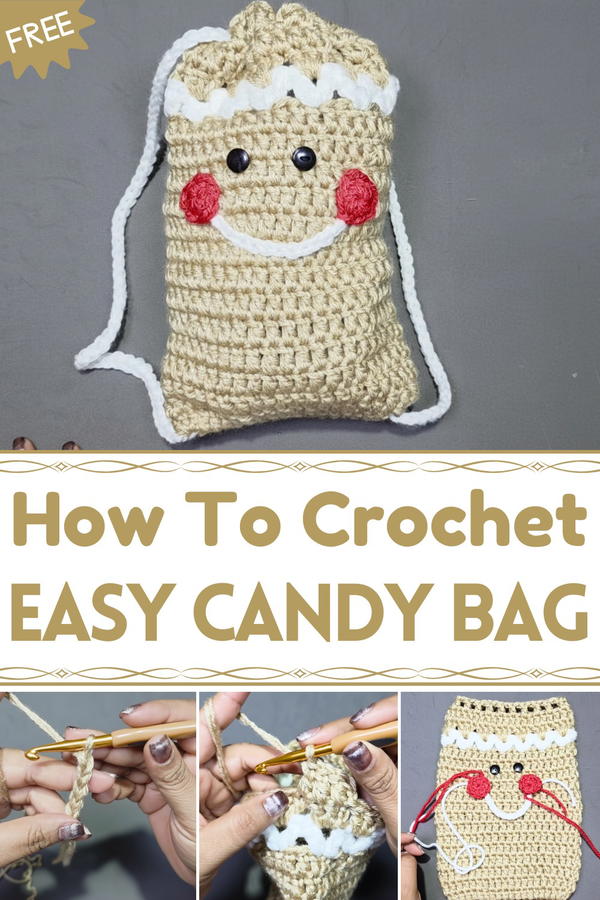
Sweet Crochet Candy Bag Pattern Ideal for Holidays
A big benefit is how it helps you feel calm and relaxed while you focus on each easy stitch today. The final bag has a very bright look with a round shape, soft edges, and a sweet style that makes everyone smile.
The important feature that makes it unique is the strong, stretchy texture that holds its shape even when full of heavy sweets. It is a wonderful way to spend your time and results in a lovely piece.
Crochet Candy Bag Pattern
Materials
- Yarn: Worsted weight yarn (use two strands if your yarn is thin)
- Main color (brown or desired shade)
- White (for trim and details)
- Red (for decorative circles)
- Black (for facial features and eyes)
- Crochet Hook: 6 mm (US J-10)
- Buttons: 2 small black buttons (optional for eyes)
- Notions: Yarn needle, scissors, stitch markers (optional)
Skill Level
Intermediate to Advanced
Abbreviations (US Terms)
- ch = chain
- sl st = slip stitch
- sc = single crochet
- dc = double crochet
- hdc = half double crochet
- st(s) = stitch(es)
Special Notes
- The project uses rounds for the bag body.
- Use two strands of yarn together if your yarn is thinner than standard worsted.
- For color changes, finish the last yarn over of the stitch with new color.
- Bag size can be adjusted by adding/subtracting rounds or starting chains.
Pattern
1. Foundation Row
- With main color and double strands (if needed), ch 20.
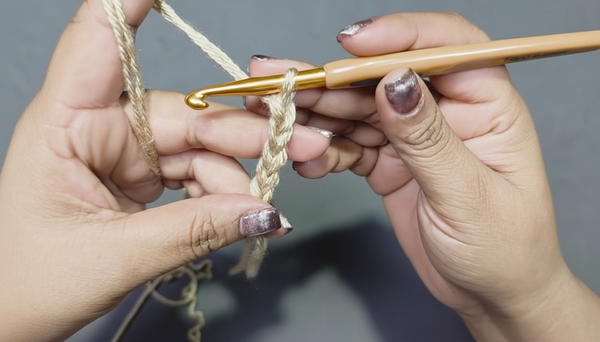
- Turn, skip 2 ch, work dc in the 3rd ch from hook.
- Work dc in each ch across (total: 18 dc).
- In the last ch, work 5 dc to round the corner.
- Continue working dc in each ch on the opposite side.
- In the last space, work 3 dc in same space.
- Join with sl st to the first dc.
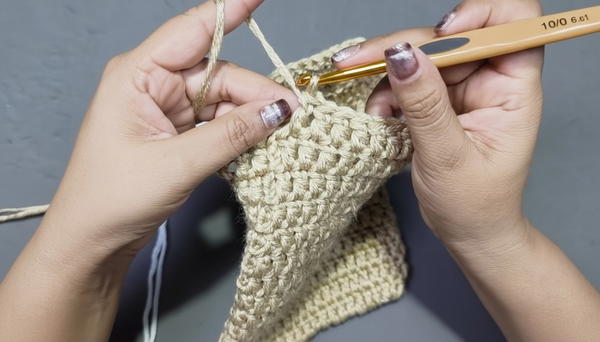
2. Body Rounds
- Ch 2, work dc in same space as join.
- Work dc in each st around.
- No increases except in the first round.
- Work continuously in rounds, joining with sl st at each round end.
- Repeat the last round until you have 14 rounds in brown (or main color).
3. White Trim Round
Before ending your last brown round, finish last dc, but pull through with white yarn.
Continue with white:
- Ch 4, dc in same space as join.
- Skip 2 sts, [dc, ch 1, dc] in next st; repeat around.
- Join with sl st to 3rd ch of beginning ch-4.
Cut white yarn (leave brown attached for later).
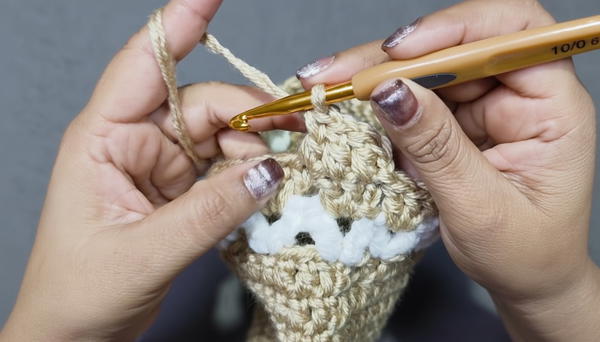
4. Shell Round (Brown Yarn)
- Reattach brown:
- Sl st in next space, ch 2, 2 dc in same space.
- In each "V" space (ch-1 space), work 3 dc.
- Repeat around, join with sl st.
5. Final Dc Round
- Ch 2, work dc in each st around.
- Join with sl st.
6. Cord Round
Ch 4, skip 1 st, dc in next, ch 1, skip 1 st, dc in next; repeat around to create holes for cord.
Join with sl st to 3rd ch.
Fasten off and weave in ends.
7. Drawstring Cord
- Leave about 3 meters of yarn for cord.
- Make a slip knot, work chain stitches until cord is about 1 meter long.
- Cut long tail and use the tail to sew cord into bag through cord holes created in previous round.
8. Red Decorative Circles (2 Pieces)
- With red yarn, make a magic ring.
- Work 8 hdc into ring.
- Pull tight, join with sl st to first hdc.
- Cut leaving long tail for sewing.
- Repeat for second circle.
9. White Mouth
- With white yarn, make a slip knot.
- Ch 14.
- Fasten off leaving long tail for sewing.
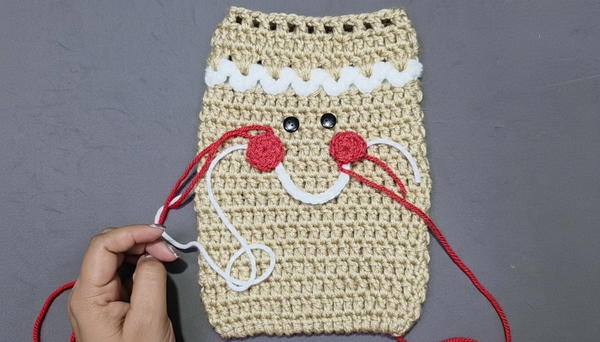
10. Assembly
- Sew mouth (white chain) to the center front of bag.
- Sew red circles, positioning as cheeks under (or beside) the mouth.
- Sew black buttons or crochet small black circles for eyes.
- Embroider with black yarn for extra facial features (optional).
- Pass cord through last round's holes and secure.
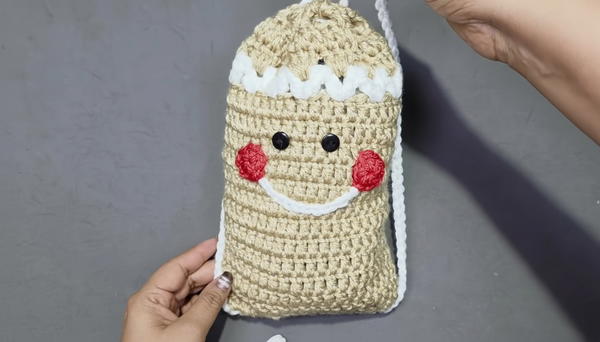
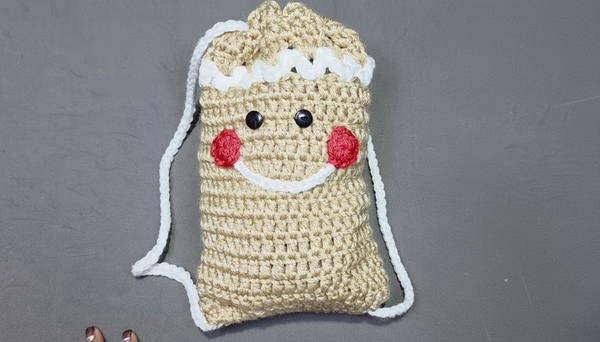
Conclusion
This gift bag is playful and practical, perfect for packing sweets for kids, party favors, or a festive gift. Children love carrying this unique bag on their backs, making it as fun as it is functional.
Pattern Corrections & Tips
- If your starting row curls, add more stitches to corner increases.
- For larger bags, start with more chains and add rounds.
- Weave in ends neatly for a professional finish.
- Use stitch markers to help track round changes if working in continuous rounds.
- For eyes, use buttons for quick finishing or crochet small circles if preferred.