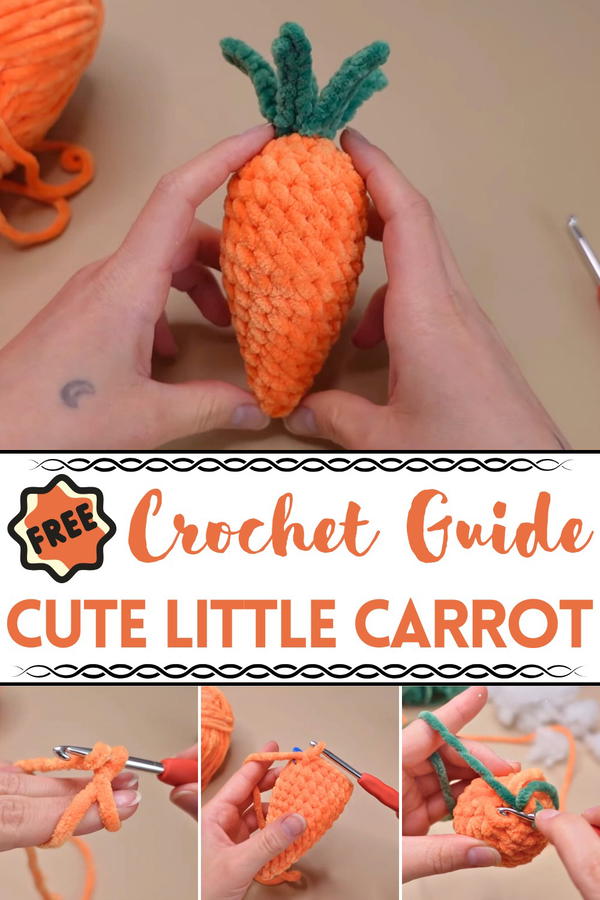
Whisk up charm with this Free Crochet Little Carrot Pattern, perfect for cute décor, playful gifts, or adding a cheerful touch to any space.
Add a pop of charm to any space with a tiny, vibrant accent that instantly brings a playful touch to your surroundings. The Free Crochet Little Carrot pattern offers this exact delight, perfect for brightening shelves, desks, or seasonal displays with its cheerful shape and color. Its compact size makes it ideal for keychains, gift toppers, or decorative arrangements, creating a whimsical scene wherever it’s placed.
Soft & Sweet Crochet Little Carrot Pattern for Cozy Corners
Its visual appeal, this little carrot provides a calming, mindful crafting experience, allowing makers to focus, relax, and refine their skills with every stitch. Perfect for thoughtful gifting, it adds a personal, handmade touch that friends and family will treasure. Lightweight and portable, it can accompany you anywhere, making it an accessible project for home, cafés, or travel.
Multiple carrots can be combined for garlands, table décor, or charming miniature displays that delight the eye. The Free Crochet Little Carrot pattern balances aesthetic charm with practical versatility, offering both a satisfying crocheting experience and a delightful finished piece. Every completed carrot serves as a small celebration of creativity, demonstrating how handmade touches can bring warmth, joy, and personality to everyday spaces.
Materials Needed
- Yarn – Orange for the carrot body and green for the carrot top.
- Scissors – Needed for cutting yarn.
- Safety Eyes – Optional; provide a polished and cute look.
- Crochet Hook – Size recommended in the video.
- Darning Needle – Used for sewing and embroidery.
- Stitch Marker – Helps track round beginnings.
- Stuffing – Used to fill the carrot plushie for a soft look.
Step-by-Step Instructions
Step 1: Beginning with the Orange Carrot Body
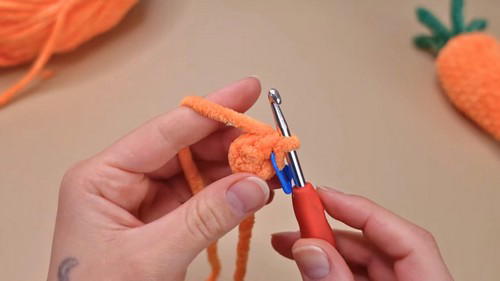
- Create a Magic Ring: Wrap orange yarn around two fingers to make an “X,” then use your crochet hook to form a loop and stitch into the circle.
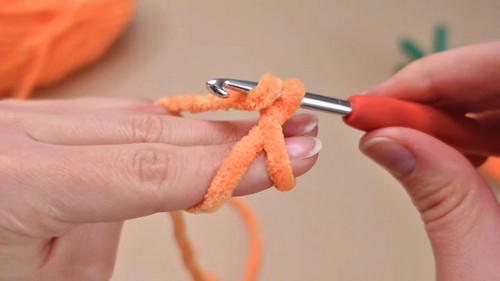
- Round 1: Crochet four single crochet stitches into the magic ring and pull the yarn tail to close the ring.
- Round 2: Increase stitches (crochet two single crochets per stitch) to form a total of eight stitches.
- Rounds 3-16: Alternate rounds with patterns of single crochet and increase stitches. Later rounds introduce decreases to shape the carrot.
Step 2: Adding Safety Eyes (Optional)
- Place safety eyes between rounds 12 and 13, leaving three stitches of space between them. Use backings for security, especially if giving the plushie to young children.
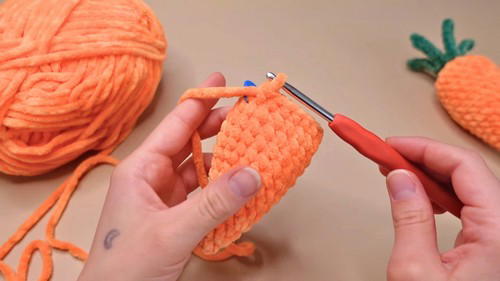
Step 3: Stuffing the Carrot Body
- Begin to add stuffing inside the carrot as the hole gets smaller. Ensure the bottom is adequately stuffed, keeping the plushie squishy yet firm.
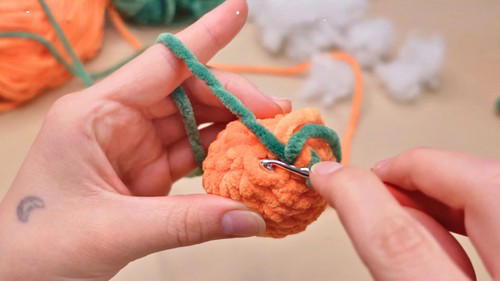
Step 4: Creating the Green Carrot Top
- Switching Colors: Midway through the last decrease stitch, switch from orange yarn to green yarn.
- Round 17:
- Work in the front loops only.
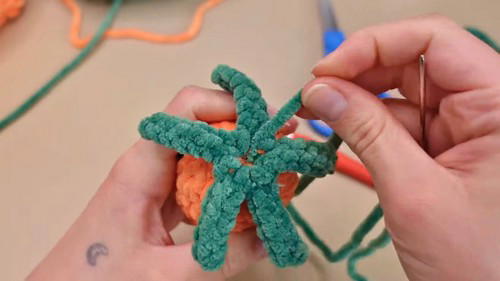
- Create slip stitches, chain seven, and crocheting six slip stitches back down the chain to form a "leaf."
- Repeat the process five times to create five leaves.
- Secure loose ends from the color change by tying and weaving them into the plushie.
Step 5: Closing the Hole and Finishing Touches
- Use the darning needle to sew the small hole at the carrot base closed. If needed, cover any visible orange with green loops. Tie off and weave the end into the plushie.
Step 6: Embroidering Details (Optional)
- Nose: Use orange yarn to create three loose loops across one stitch.
- Mouth: Use black or embroidery thread to make a smirking smile.
Key Features & Uses
- Beginner-Friendly: Offers step-by-step visuals and guidance tailored to crocheting beginners.
- Customizable: Can be left plain or personalized with features like a face, safety eyes, or embroidered details.
- Versatile Uses: This plushie is perfect as a toy, gift, or market product.
Tutor’s Suggestions
- Placement of Eyes: Add safety eyes between rounds 12 and 13 to ensure symmetry.
- Loose Embroidery: Avoid pulling too tightly to ensure details like the nose and mouth are visible, even from the side.
- Optional Features: Skip safety eyes or additional details for quicker completion or if preferred.
Level of Difficulty
The project is beginner-friendly. While it includes techniques such as switching yarn colors and adding embroidered details, these are explained in detail, making them accessible even for new crocheters.
Tip for Success
When sewing the final hole closed after completing the carrot top, tie a secure knot and weave it through multiple stitches to prevent fraying and ensure durability.
Conclusion
Crocheting a carrot plushie is a fun and rewarding project that allows you to practice basic techniques and transform simple stitches into a delightful item. Personalized with eyes, a nose, and a smile, it’s perfect for gifting or keeping as a handmade keepsake.


