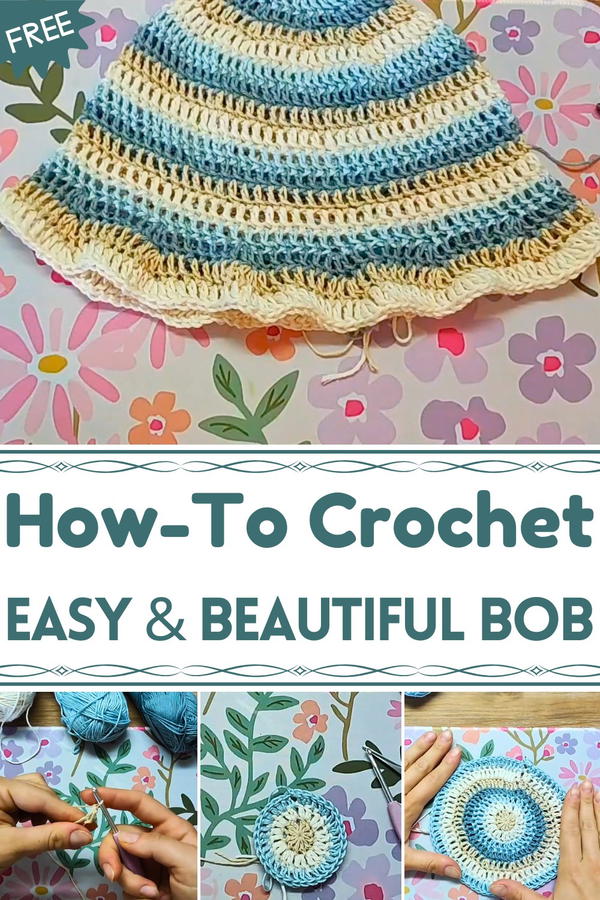
Stay stylish and warm with the Free Crochet Bob Hat Pattern that blends cozy comfort, trendy flair, and a charming handmade touch for any outfit.
Cool, breezy days often call for a cozy accessory that combines warmth with effortless style. Soft yarn and careful stitching can turn a simple hat into a cherished wardrobe staple. The Free Crochet Bob Hat Pattern brings this to life, offering a snug, comfortable piece that keeps the head warm while adding subtle charm to any outfit. Its classic shape provides full coverage without feeling heavy, making it perfect for walks, errands, or casual outdoor activities.
Handmade Crochet Bob Hat Pattern That Feels Unique
Lightweight yet durable, it allows for extended wear while maintaining its structure and comfort. Beyond everyday use, this hat provides a satisfying project for crocheters, giving the opportunity to experiment with colors and textures for a personalized touch. The Free Crochet Bob Hat Pattern also makes a thoughtful handmade gift, combining practical warmth with timeless style.
Each stitch contributes to a cozy, versatile accessory that complements a variety of looks, proving that small handmade items can have a big impact. Comfortable, stylish, and adaptable, this bob hat becomes more than just a winter essential, it’s a wearable piece of handmade artistry that enhances daily life with warmth and charm.
Materials Needed
- Crochet Hook: 4 mm hook (Use a 3 mm hook if you crochet loosely).
- Yarn: Multiple colors of medium-weight yarn:
- Suggested brands: Obi, Alison, Levi, or Zimen yarn.
- Use shades like blue and beige for a subtle gradient, or pick bold colors.
- Scissors: To trim the yarn.
- Yarn Needle: For weaving in the loose ends.
Special Features
- Stylish Frill Edging: Adds a playful flair to the hat’s brim.
- Color Changes: Alternating yarn colors bring a dynamic and personalized look to the design.
- Adjustable Sizing: The pattern includes steps to test and adjust the hat size as you go.
Level of Difficulty
This project is suitable for advanced beginners to intermediate crocheters. The techniques used include:
- Magic Circle: Essential for creating a seamless starting point.
- Double Crochet (DC): The fundamental stitch used throughout the project.
- Increases: Gradual shaping of the hat is achieved by adding stitches in each round.
- Slip Stitch Joins: Creates a smooth and neat finish at the end of each round.
- Color Transitions: Involves securing and changing yarn without tangles.
Tutor’s Suggestions
- Keep Stitches Consistent: Maintain even tension to ensure smooth edges and consistent increases.
- Check Sizing Regularly: After each increase round, measure the diameter against your head to determine if adjustments are needed.
- Use Lightweight Yarn for the Frill: If you prefer a softer brim, select thinner yarn for the frill rows.
- Secure Color Changes: Always secure the yarn threads at the back of your work with a knot for a neat finish.
Step-by-Step Instructions
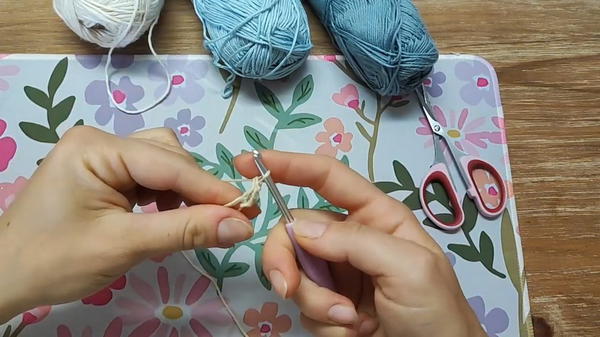
Step 1: Begin with a Magic Circle
- Create a magic circle to start your project.
- Chain 3 stitches to count as your first double crochet (DC).
- Work an additional 11 DCs into the magic circle. By the end of the round, you should have a total of 12 DCs.
- Tighten the circle by pulling the thread.
- Close the round with a slip stitch at the top of the initial chain.
Step 2: Second Round - Increases in Each Stitch
- Join the next color (optional) and secure with a knot.
- Chain 3 (counts as the first DC of the round).
- Work 2 DCs in each stitch (increase) around the circle.
- Total: 24 DCs.
- Close the round with a slip stitch in the third chain of your starting chain.

Step 3: Third Round - DC and Increase Alternation
- Change the color (if desired) and chain 3 stitches.
- Follow this pattern:
- 1 DC in the first stitch, 2 DCs in the next stitch (increase).
- Repeat this sequence all the way around.
- Total: 36 DCs.
- Slip stitch to close the round.
Step 4: Fourth Round - Gradual Increases
- Chain 3 to begin.
- Work the following sequence:
- 1 DC in each of the first 2 stitches, then 2 DCs in the same stitch (increase).
- Repeat this pattern around the circle.
- Total: 48 DCs.
- Slip stitch to finish.
Step 5: Continue Increasing Diameter
For each subsequent round:
- Add 1 more DC stitch before the increase in each pattern.
Example for Round 5: 3 DCs + Increase.
Example for Round 6: 4 DCs + Increase.
Repeat this system until the diameter matches your head's measurement. To check: place the flat circle on the crown of your head and ensure the edges align with the widest part of your skull.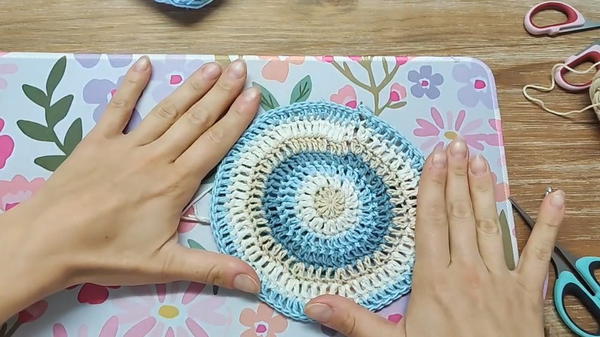
Step 6: Work Plain Rows Without Increases
- Once the desired diameter is achieved, continue working single DCs in each stitch for 5–7 rounds.
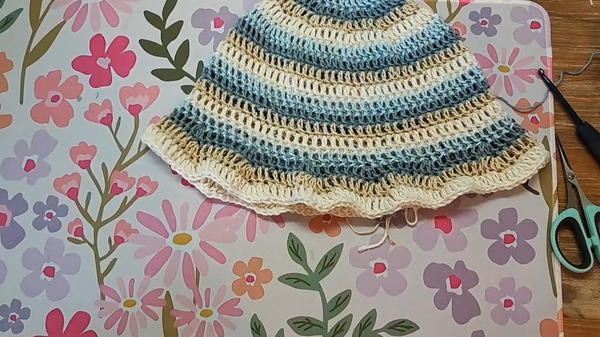
- These rounds create the body of the hat and give it its bucket shape. Adjust the row count to meet your desired depth, ensuring it reaches just above your ears.
Step 7: Add the Frill (Brim)
- Attach a new color and begin the frill round:
- Chain 3.
- Work 5 DCs, followed by an increase (3 DCs in the same stitch).
- Repeat the sequence (5 DCs + Increase) around the brim.
- Slip stitch to close.
For additional frill rows:
- Continue adding 2 more DCs to each group before the increase.
- Example: Row 2 Frill = 7 DCs + Increase.
- Example: Row 3 Frill = 9 DCs + Increase.
Optional: Stop after 2 or 3 rows, or continue for an even frillier brim.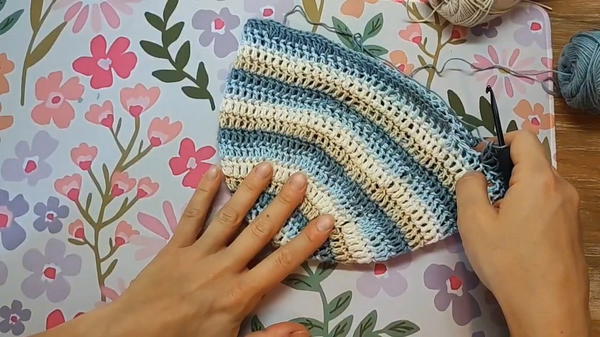
Uses of the Hat
- Fashion Statement: A trendy bucket hat to pair with casual outfits.
- Sun Protection: Perfect for outdoor activities, shielding your face from the sun.
- Gifting: A great handmade gift for friends or family.
Tip for Success
To achieve smooth color transitions, pull the yarn firmly while knotting and weave in loose ends using a yarn needle to prevent fraying.
Conclusion
This crochet bucket hat tutorial is a fun and satisfying project for advanced beginners and intermediate crocheters. Its step-by-step approach ensures anyone can follow along with ease, and the alternating color rounds make for a versatile and visually appealing piece.


