Flaunt your summer vibe with a Crochet Granny Square Top Pattern that is colorful, breezy, and perfect for sunny days, casual outings, or fun hangouts.
A colorful top made by hand is a wonderful way to add joy and style to any outfit. This top is made up of bright, cheerful squares that fit together like a happy puzzle, creating a fun and fresh look. It feels soft and light on the skin, perfect for warm weather or relaxed days with friends and family.
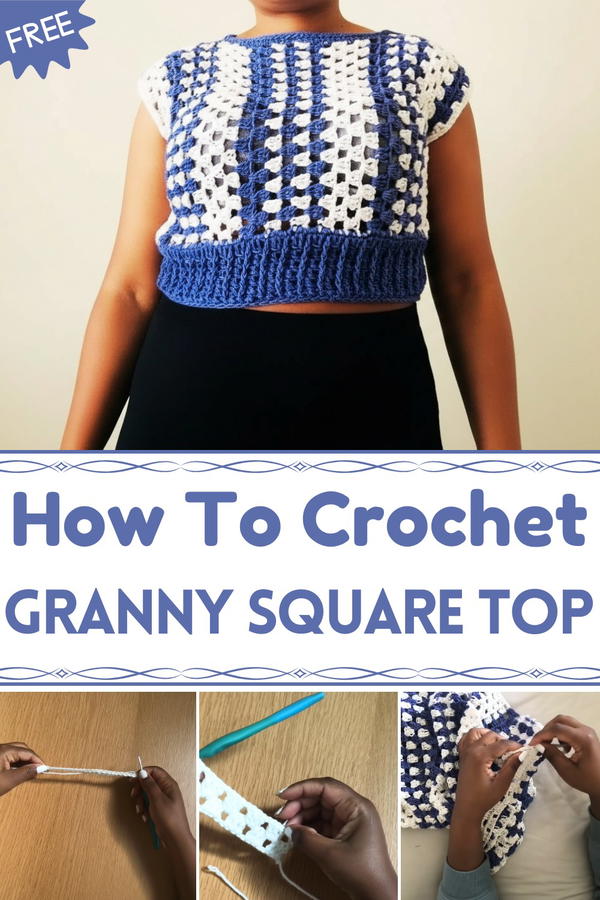
Cozy Crochet Granny Square Top Pattern Easy to Follow Steps
The playful mix of colors makes it easy to wear with many outfits, bringing a burst of happiness wherever you go. You can wear it to parties, festivals, or even just for a casual walk, and it will always make you feel special and stylish.
Made with simple steps anyone can follow, this top is great for beginners who want to try something new. It fits comfortably on your body, allowing you to move freely and feel relaxed all day long. This top is perfect for adding both beauty and comfort to your wardrobe.
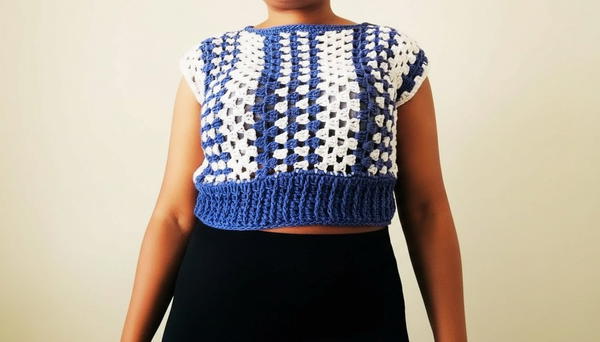
Granny Stitch Matching Top Crochet Pattern
Special Features
- Matching granny stitch style complements various outfits
- Adjustable chest and sleeve sizing with a fitted silhouette
- Ribbed edging with alternating front post double crochets for texture
- Easy color sequencing for attractive striping effects
Difficulty Level
Intermediate – requires understanding of granny stitching, joining panels with mattress stitch, ribbing techniques, and consistent stitch counting.
Materials Needed:
- Two contrasting yarn colors (Category 2 or 3 recommended)
- Size 3.5 mm crochet hook
- Darning/tapestry needle
- Scissors
Step-by-Step Instructions:
Step 1: Take Measurements
- Chest circumference: measure full chest and divide by 2.
- Sleeve opening: measure full sleeve length and divide by 2.
- Length: measure from shoulder to under-bust to determine rectangle height.
Step 2: Color Sequence
- Choose main color (Color 1) and secondary color (Color 2) for striping.
- Repeat this 10-row sequence:
- 4 rows Color 1
- 2 rows Color 2
- 1 row Color 1
- 1 row Color 2
- 1 row Color 1
- 1 row Color 2
- 4 rows Color 1
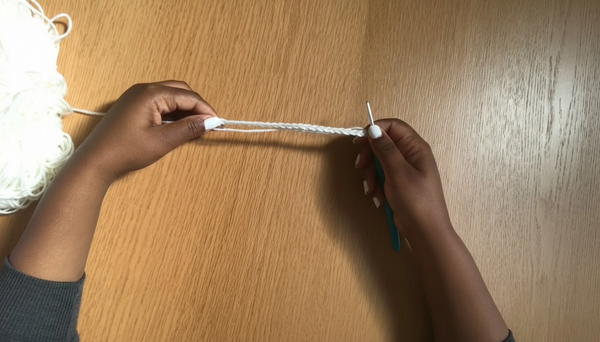
Step 3: Foundation Chain
- Using main color and 3.5 mm hook, chain length = shoulder to under-bust measurement.
- Chain should be a multiple of 4 + 1.
- Chain loosely; fabric will shrink during work.
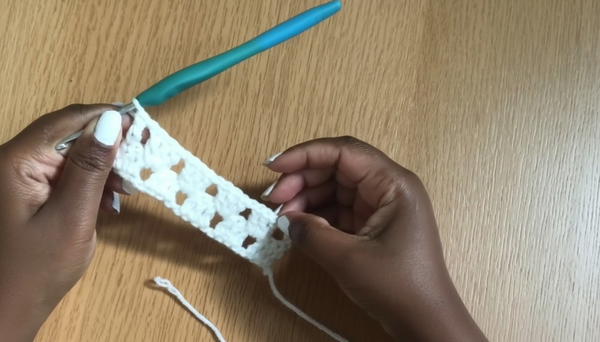
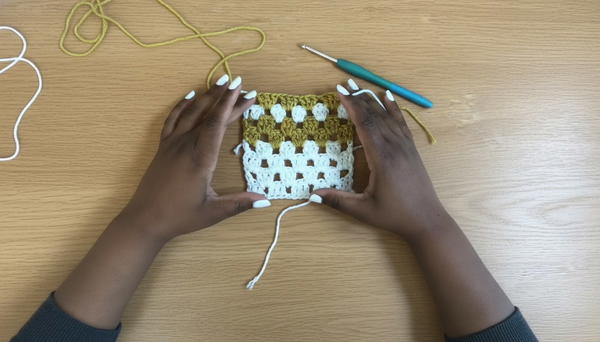
Step 4: Row 1 (Foundation Granny Stitch Row)
- In the 4th chain from hook, work 1 double crochet (dc).
- Chain 1, skip next chain.
- Work 3 dc in each of next 3 chains.
- Chain 1, skip chain, 3 dc in next 3 chains — repeat to end.
- Finish row with chain 4, turn.
Step 5: Row 2
- Skip first 2 stitches.
- Work 3 dc clusters in each chain-1 space, chain 1 between.
- Finish last stitch with dc on top of starting chain 3.
- Turn.
Step 6: Rows 3 & 4
Row 3: Chain 3, work 2 dc in first chain space, chain 1, 3 dc in each chain space until last stitch; work 3 dc in last stitch for even edge.
Row 4: Same as Row 2.
Cut yarn and knot after completing 4 rows of main color.
Step 7: Weaving in Tails
- Pull yarn tail through last stitch.
- Weave tail through 2-3 granny clusters, stopping at a chain space.
- Prevents tails from showing without weaving through open stitches.
Step 8: Work 2 Rows With Secondary Color
- Join Color 2 at corner, tie a double knot.
- Repeat Rows 2 and 3 using second color.
- Cut and weave in ends as above.
Step 9: Repeat Color Sequence
- Alternate colors following the 10-row sequence.
- Continue until rectangle reaches half chest measurement in length.
Step 10: Make Second Rectangle
- Repeat all above steps to create second rectangle to match the first.
- Make sure to start with same color for neat joins.
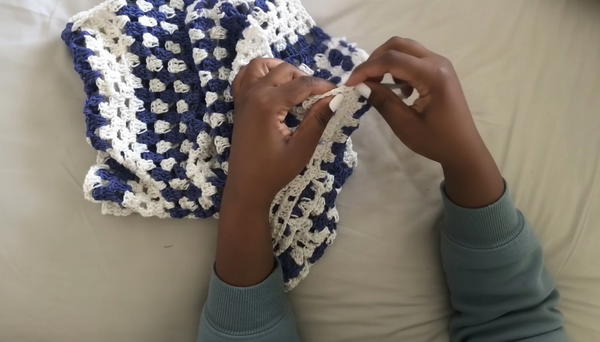
Step 11: Join Rectangles (Sides & Shoulders)
- Fold rectangles, wrong sides facing.
- Mark sleeve openings using half the sleeve length on each side.
- Mark shoulder openings using chest circumference minus neck opening, divide by 2.
- Use mattress stitch with tapestry needle to sew shoulders and sides:
- Sew from top to sleeve opening & bottom to sleeve opening, leaving openings unsewn.
- Turn work right side out.
Step 12: Work Ribbing on Bottom Edge
- Join main color at a corner.
- Chain 1, work 2 single crochet (sc) in each stitch around bottom.
- Work 2 rows of sc, finishing with slip stitch and fasten off.
Step 13: Waist Decrease Row
- Chain 1.
- Alternate:
- Double crochet (dc) stitch.
- Decrease (dc2tog) over next two stitches.
- Continue alternating till row end.
- Slip stitch to join.
Step 14: Textured Ribbing Rows
- Next row, chain 1.
- Alternate between dc and front post double crochet (fpdc):
- Dc in regular stitch.
- Fpdc around post of next stitch.
- Repeat alternating to row end.
- Repeat this textured ribbing for 5 rows total.
Step 15: Finish Sleeves
- Join yarn to sleeve opening.
- Chain 1, work single crochet evenly around sleeve opening.
- Cut yarn and weave in ends.
- Repeat on other sleeve.
Step 16: Neckline Ribbing
- Join yarn at neckline corner.
- Work 2 rounds of single crochet around neckline edge.
- No decreases in neck ribbing.
- Weave in ends and fasten off.
Tutor’s Suggestions:
- Use stitch markers to mark sleeve and shoulder measurements precisely.
- Hide yarn tails at chain spaces to keep seams clean and tidy.
- Match yarn colors carefully when joining pieces for a seamless look.
- Maintain consistent tension for an even fabric.
Uses:
This matching granny stitch top pairs beautifully with the skirt or works great as a standalone summer or party top. Its breathable crochet fabric offers a charming handmade look with a snug, flattering fit!
Tip:
Always start working your join from the same color side to keep color continuity smooth and the seams neat.
Conclusion:
With this detailed granny stitch matching top pattern, you can crochet a stylish and well-fitted garment that complements your favorite skirt or outfit. Follow careful sewing and ribbing steps to create beautiful texture and a comfortable fit.


