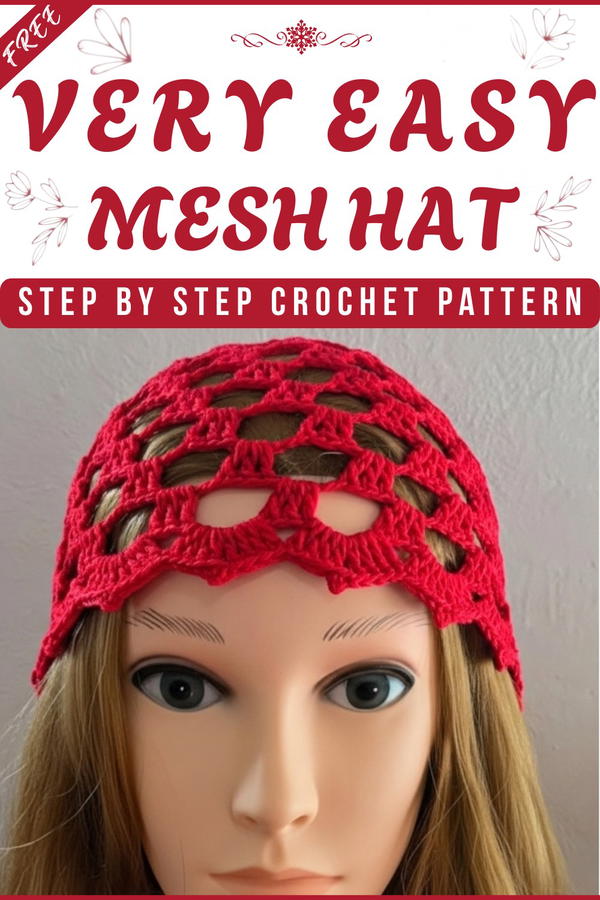
A stylish hat is a wonderful way to feel good and look beautiful. The crochet mesh hat pattern is popular because it makes hats that are light, comfortable, and perfect for warm weather or any season. This pattern uses simple open stitches, which let air pass through and keep your head cool and fresh. You can wear this hat at the beach, out shopping, or just relaxing at home, and it always adds a touch of charm to your outfit.
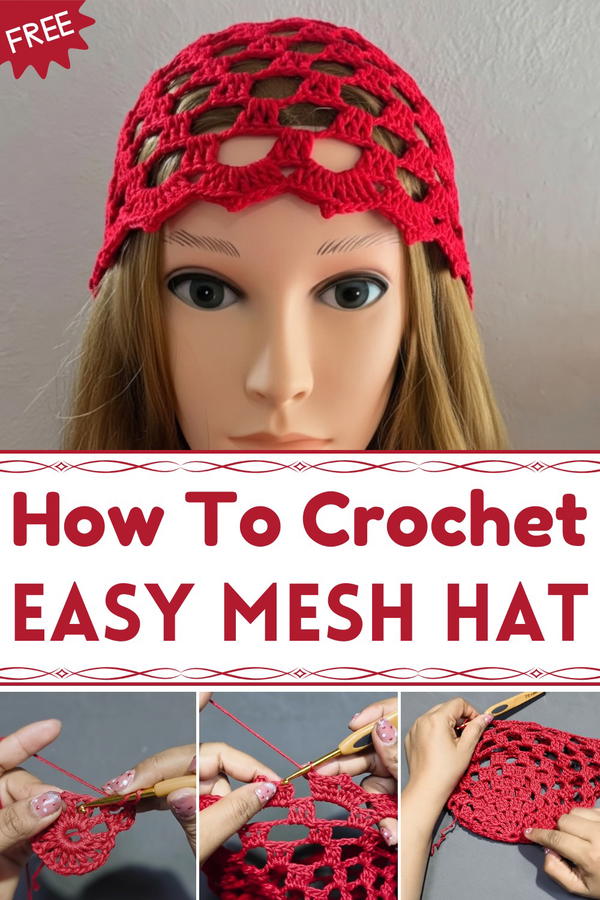
Trendy Crochet Mesh Hat Pattern Step by Step Tutorial
The mesh design looks delicate and pretty, with its soft texture and neat holes that make it easy to shape and decorate. One special feature that makes this pattern unique is how you can customize it with colors, flowers, or even beads, making every hat your own creation. It is easy to wash and pack, so you can use it every day and carry it anywhere.
Crochet Hat Pattern
Materials
- Yarn: 100% cotton thread, approx. 30–40 grams (Worsted Weight or similar)
- Hook: 4 mm (US G/6)
- Notions: Scissors, yarn needle
- Optional: Stitch markers
Skill Level
Intermediate – Advanced
Key Abbreviations (US Terms)
- ch: chain
- sl st: slip stitch
- dc: double crochet
- sc: single crochet
- st(s): stitch(es)
- beg: beginning
- rep: repeat
Special Notes
- Pattern is worked in joined rounds, not continuous rounds.
- Hat is designed for adults; modify starting chains and rounds for other sizes.
- Use tight joins and weave in ends securely for a polished finish.
Pattern
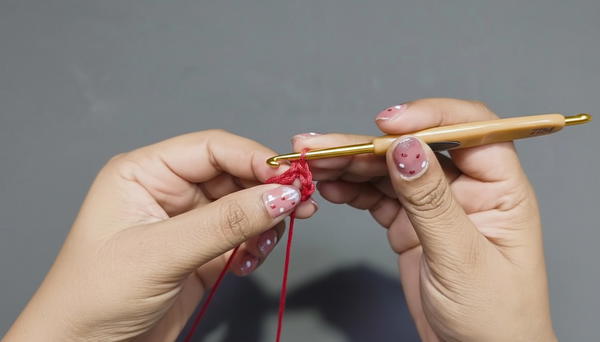
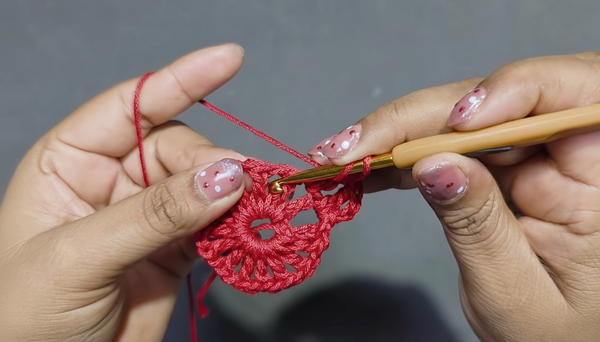
1. Crown (Magic Ring Start)
- Make a slip knot.
- Ch 6, join with a sl st to the first ch to form a ring.
2. Round 1: Foundation
- Ch 5 (counts as first dc and ch-2).
- Work 14 dc into ring, separated by ch 1 each. With the starting chains, you will have 15 dc/ch spaces total.
- Each dc is worked by pulling through three times (standard dc).
- At the end, join with a sl st to the 4th ch of initial ch-5.
3. Round 2
- Sl st to the next ch-1 space.
- Ch 3, dc in same space.
- Ch 1.
- In next ch-1 space, work 2 dc.
- Ch 1.
- Continue, alternating: in one space 1 dc, in next space 2 dc, separated by ch 1.
- Repeat until end of round; join with sl st.
4. Round 3
- Sl st to next ch-1 space.
- Ch 3 (counts as dc), work 2 dc in same space (total of 3 dc in space).
- Ch 1, in next space, work 3 dc.
- Repeat (3 dc in each ch-1 space, ch 1 between groups).
- Join with sl st.
5. Round 4
- Sl st to ch-1 space.
- Ch 3 (counts as first dc), 2 dc in same space.
- Ch 2.
- In next ch-1 space, 3 dc, ch 2.
- Repeat (3 dc in each ch-1 space, ch 2 between groups).
- Join with sl st.
6. Round 5
- Sl st to ch-2 space.
- Ch 3, 2 dc in same space.
- Ch 3.
- In next ch-2 space, 3 dc, ch 3.
- Repeat around.
- Join with sl st.
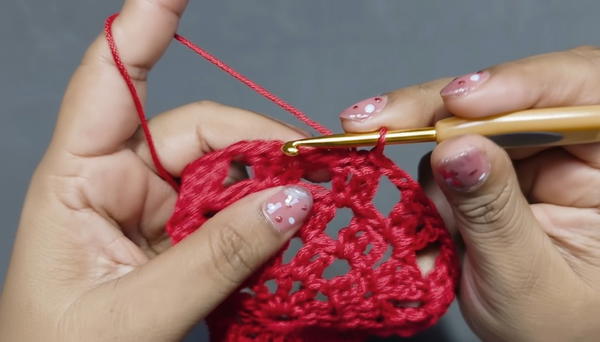
7. Round 6
- Sl st to ch-3 space.
- Ch 3, 2 dc in same space.
- Ch 4.
- In next ch-3 space, 3 dc, ch 4.
- Repeat around.
- Join with sl st.
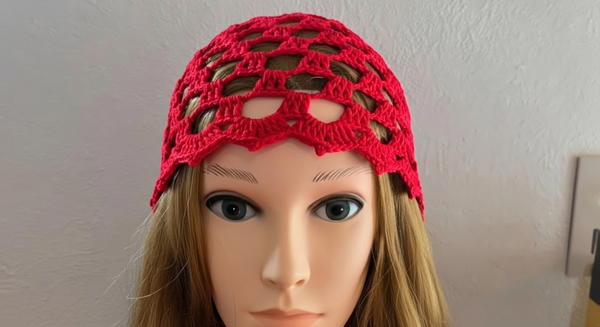
At this point, your hat’s diameter should measure approximately 19 cm.
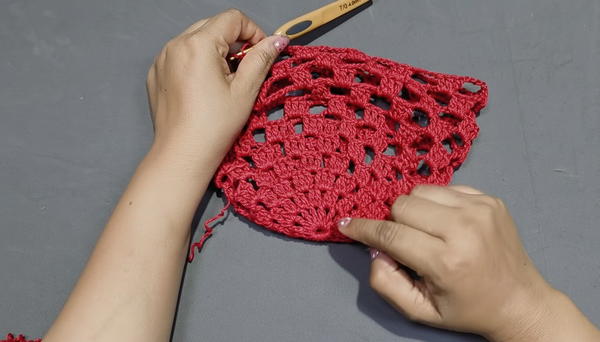
8. Rounds 7–11: Body of Hat
- Sl st to ch-4 space.
- Ch 3, 2 dc in same space.
- Ch 4.
- In next ch-4 space, 3 dc, ch 4.
- Repeat around for each round.
- No increases; keep number of stitches consistent.
- Complete 5 rounds in this manner (ending with 11 rounds total).
- Join with sl st each round.
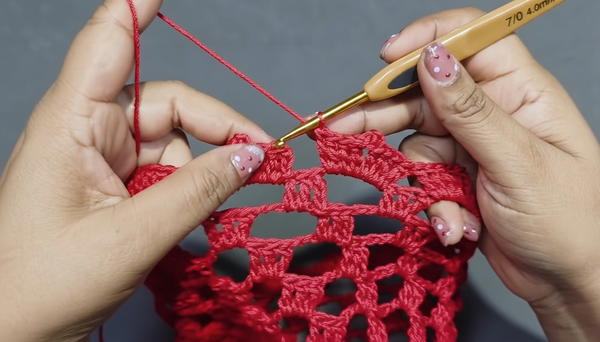
9. Final Round – Edging
- Sl st to ch-4 space.
- Ch 3, work 3 dc in same space (4 dc total).
- Ch 2, sc in same ch-4 space.
- 4 dc in same space.
- Skip to next ch-4 space and repeat: 4 dc, ch 2, sc, 4 dc in same space.
- Continue until end of round.
- Join with sl st to finish.
- Fasten off, weave in ends securely.
Conclusion
You have completed a stylish adult cotton crochet hat, measuring about 19 cm in height and diameter. Its airy texture and comfortable fit make it perfect for daily wear and gifting.
Pattern Corrections & Tips
- If your rounds start bulging (too many increases), transition to plain rounds sooner.
- Adjust hook size and yarn thickness for smaller or larger sizes.
- Use stitch markers to better identify rounds and joins.
- If desired, add a decorative edge or pom pom for extra personality.