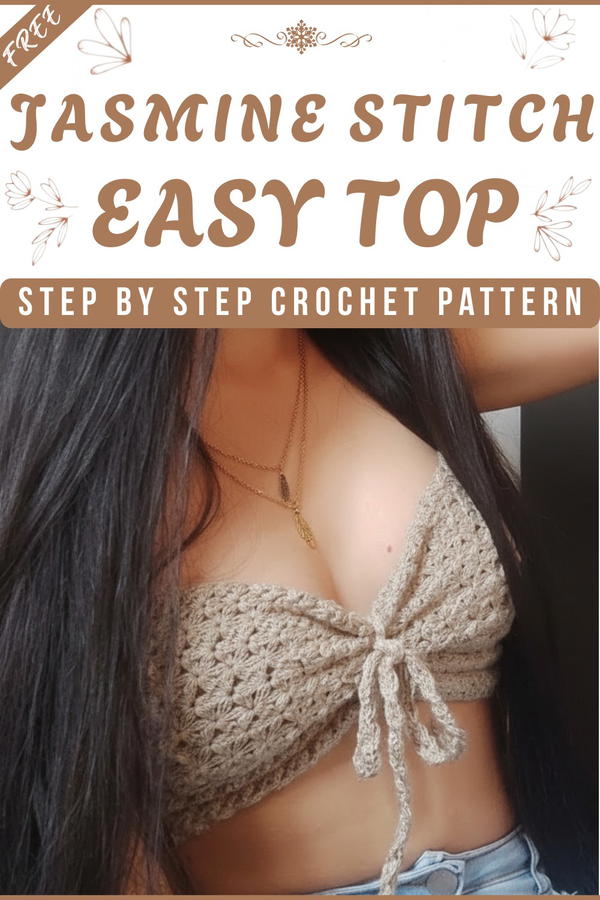
If you want a top that turns heads and feels amazing this design is the perfect choice for you. The Crochet Jasmine Stitch Top pattern brings beauty and comfort together with its soft, petal-like texture that looks just like little flowers across your blouse. The unique Jasmine Stitch gives this top a lovely, airy look and a gentle stretch, fitting your body in the most flattering way.

Lively Crochet Jasmine Stitch Top Pattern to Make Every Outfit Pop
You can wear it with jeans for a casual outing or dress it up for a special event—either way, it stands out and keeps you cool. A standout advantage of the Crochet Jasmine Stitch Top pattern is that it’s simple to follow, even if you’re new to crochet patterns.
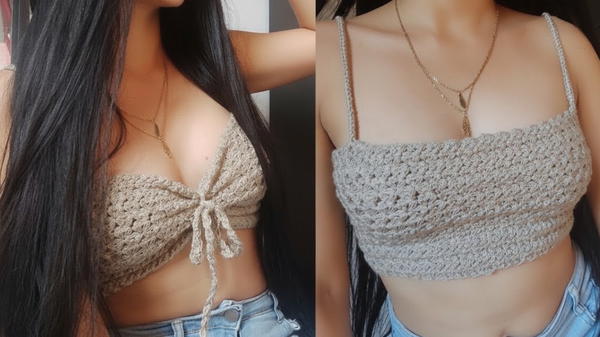
The lovely openwork design makes this top extra special while also keeping you cool and confident whenever you wear it.
Crochet Jasmine Stitch Blouse Pattern
Skill Level
Intermediate to Advanced
Materials
- Yarn: Acrylic yarn, approx. 1 mm thick (e.g., Cisne brand recommended in video)
- Alternative Sample Yarn: Acrylic thread, approx. 2 mm thick (for practicing)
- Crochet Hook: 2 mm
- Scissors
- Tapestry Needle (for weaving ends and joining parts)
- Measuring Tape
- Stitch Markers or contrasting yarn (for marking center and strip placement)
Key Abbreviations (US Terms)
| Abbreviation | Term |
|---|---|
| ch | Chain |
| st(s) | Stitch(es) |
| sl st | Slip Stitch |
| sc | Single Crochet |
| dc | Double Crochet |
| sp | Space |
| rep | Repeat |
Special Notes
- Pattern is written in US crochet terms.
- The jasmine flower motif is worked continuously in rows.
- The blouse is adjustable for fit by modifying the number of motifs based on your measurements.
- Straps and ties are worked separately and sewn/attached at the end.
- Fabric stretches – measure accordingly for a snug fit.
Pattern Instructions
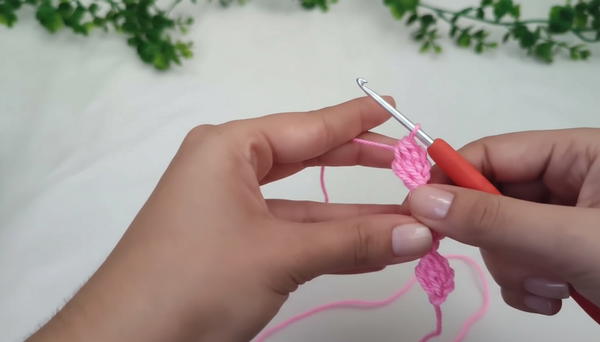
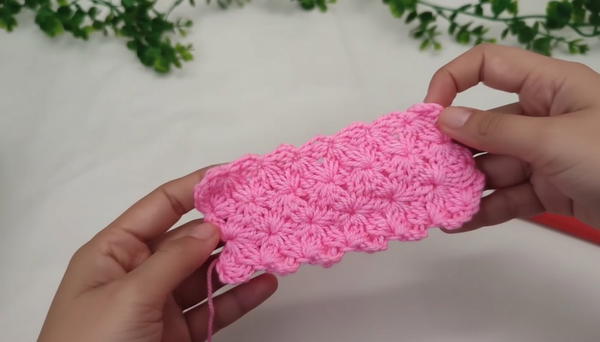
1. Foundation Flower Row
Sample Flower Motif (for practice)
- Begin with a Magic Ring.
- Ch 3 (counts as dc), [yo, insert hook in ring, pull up a loop, yo, draw through first 2 loops] x 2 in the ring (you have 3 loops on hook).
- Yo, pull through all 3 loops – first petal made.
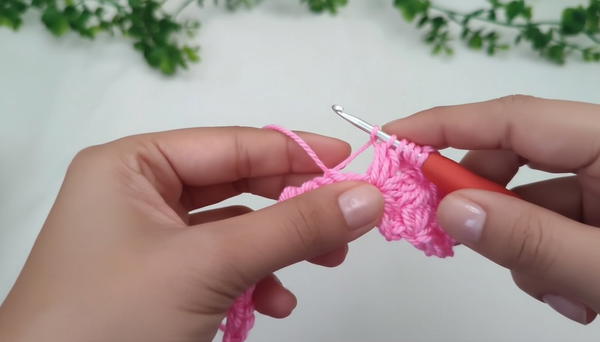
- Ch 3.
- Repeat steps 2–3 into the base of the previous ch-3 (where the petal was started).
- Continue for desired width, chaining 3 between each petal and working petals into base of previous ch-3.
Starting the Blouse
- Measure Bust: Take bust circumference. For a snug fit, subtract approx. 30 cm (stretch will allow for comfort).
- Example: Bust 88 cm – 30 cm = 58 cm (rounded to 60 cm).
- Create Foundation Row:
- Work jasmine flower motif as in the sample, ensuring the length measures your adjusted bust size (e.g., 60 cm stretched slightly).
- Mark the end of the row.
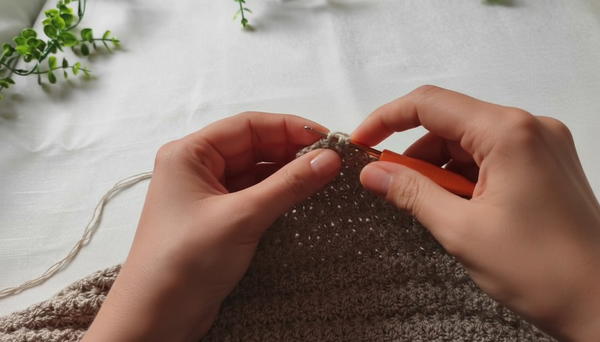
2. Building Subsequent Rows
Row Transition:
- Ch 4 to start the next row (acts as first petal base).
- In the first ch-sp of previous row, work a jasmine petal:
- Yo, insert hook, pull up loop. Yo, through 2 loops. Repeat 2 more times. Yo, pull through all loops on hook.
- Yo, insert hook, pull up loop. Yo, through 2 loops. Repeat 2 more times. Yo, pull through all loops on hook.
Continue Across:
- Work next petals into the joining spaces of petals from previous row:
- Yo, insert hook in center of adjacent petals, pull up loop. Yo, through 2 loops, repeat 2 more times per petal, then yo and draw through all loops.
- After 3 petals are created (9 loops on hook total), yo and draw through all 9 loops to cluster them.
- Ch 3 and continue to the next motif.
- Work next petals into the joining spaces of petals from previous row:
Repeat:
- Continue building rows in this manner, always working new petals into the ch-sps or spaces formed between petals from previous rounds, and forming clustered petals in groups of three.
- Make as many rows as desired for blouse height (should cover bust to desired length).
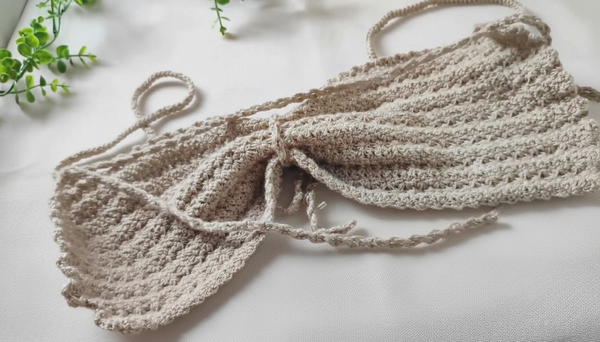
3. Measuring & Marking for Straps
- Find the Center: Fold the work in half or use a measuring tape to find the center.
- Mark Strap Placement:
- From center, measure out 11 cm to each side and mark these spots for straps.
- Repeat for the other side.
4. Creating & Attaching Straps
- Using two strands of yarn, make a magic ring at the marked point.
- Attach with a sl st to secure. In same sp, work a sc to begin.
- Turn work.
- Insert hook into the next pair of loops along the edge (below your initial stitch), yo, pull through both loops, yo, pull through last 2 loops for a dc-like edge.
- Continue Turning and Working:
- Each row, turn fabric, insert hook into next pair of loops down the edge, repeat the dc-like stitch.
- Continue until strap measures approx. 38 cm or as desired.
- Fasten off and attach end to the back of the blouse using sl st/joining method preferred.
5. Creating Ties
- Front Bow Tie:
- Ch 3 with two strands held together, work double crochet into base, ch 3, dc in base. Continue for 65 cm (or desired length).
- Back Tie:
- Work as above to length of 2.5–3 m for wrapping and tying at back.
6. Attaching the Ties
- Use a tapestry needle or crochet hook to sew/weave the ties to the proper spots (front center for bow, back sides for main straps).
Conclusion
This elegant jasmine blouse features beautifully clustered, open-structure petals, making it both fashionable and breathable. With adjustable straps and ties, the fit of the blouse can be customized for any figure. The enchanting floral design stands out in any setting, giving you a unique handmade piece to cherish.
Pattern Correction
- Ensure you're always working petals into the correct ch-sps or joining spaces from previous rows; this maintains motif alignment.
- Always draw through the correct number of loops when clustering petals (9 for three petals; 6 at edges; adjust for corners/ends).
Tips
- Sample first: Practice the jasmine flower motif with thicker yarn and larger hook for confidence before working on the final piece.
- Count carefully: When building new rows, always check petal and loop counts.
- Fit as you go: Regularly stretch and measure your fabric against your body to ensure ideal fit.
- Loose tension: Especially important when making straps and ties, to avoid stiff and uncomfortable edges.