Bring character to life with this Free Crochet Ena Head Doll Pattern, a charming creation that adds personality, charm, and playful detail to any collection.
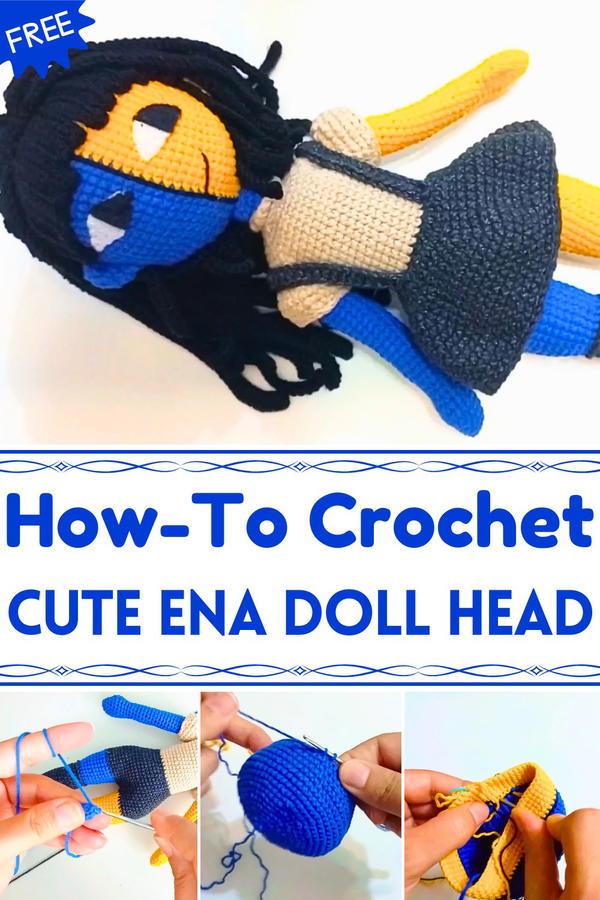
Its detailed construction encourages precision and focus, offering both a rewarding experience for crafters and a durable, tactile result for children or collectors. The soft yarn ensures a gentle texture suitable for little hands, while the flexibility of the pattern allows for adjustments in size, facial expressions, and color combinations, giving each creation a distinctive character.
Beyond play, these doll heads can serve as decorative elements for shelves, desks, or display cases, adding charm and personality to any space. They are also ideal for gifting, reflecting thoughtfulness and the care put into every stitch. Lightweight, durable, and visually engaging, this handmade doll head combines creativity, practicality, and aesthetic appeal, resulting in a meaningful piece that delights both makers and recipients alike.

Step-by-Step Process
1. Start the Head with a Magic Ring
- Instructions:
- Create a magic ring.
- Crochet 6 single crochets into the magic ring.
- Mark the last stitch and close the magic ring.
2. Begin Increasing Stitches
- Round 1: Crochet 6 increases (2 single crochets in each stitch).
- Round 2: Alternate between 1 single crochet and 1 increase. Repeat for a total of 6 times.
- Round 3: Alternate between 2 single crochets and 1 increase.
- Subsequent Rounds: Continue this pattern, adding 1 single crochet per round, until reaching 9 single crochets and 1 increase for 6 times.
3. Create Uniform Rounds
- Crochet 66 single crochets for 6 rounds.
4. Change Yarn Color
- Instructions:
- When you have 2 loops on the hook, change the color to yellow.
- Mark the last stitch.
- Begin crocheting 6 rounds of 66 single crochets in yellow.
- Hide excess yarn from the previous color under the single crochets and cut off the blue yarn.
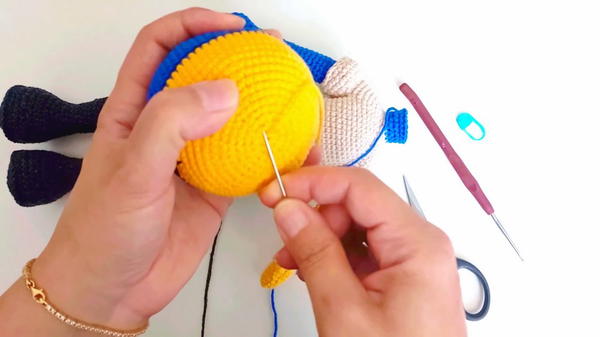
5. Add a Black Boundary Line
- Use embroidery thread to create a slip stitch line between the yellow and blue sections:
- Insert the black yarn underneath the work while the hook stays above.
- Use slip stitches to create the black line.
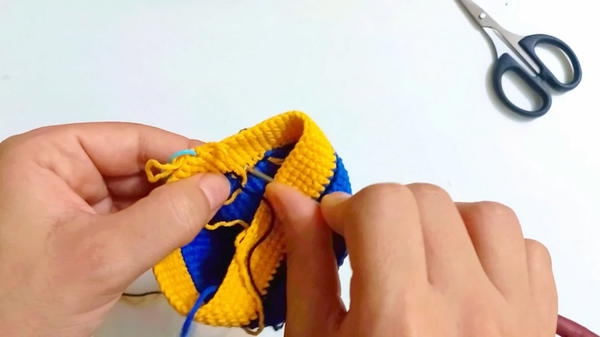
- When finished, insert the yarn into the first stitch and pull it through. Cut the thread, pass it through the loop, and close it neatly.
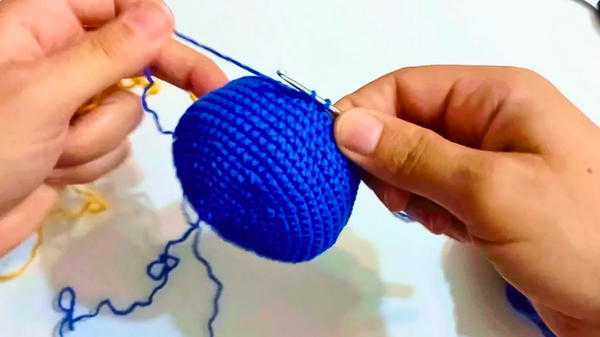
6. Gradually Decrease Stitches
- Decrease the stitches to shape the head:
- First round: Crochet 9 single crochets and 1 decrease (repeat 6 times).
- Next round: Crochet 8 single crochets and 1 decrease (repeat 6 times).
- Continue decreasing stitches incrementally (e.g., 7 single crochets + 1 decrease, then 6 single crochets + 1 decrease) until reaching 1 single crochet + 1 decrease.
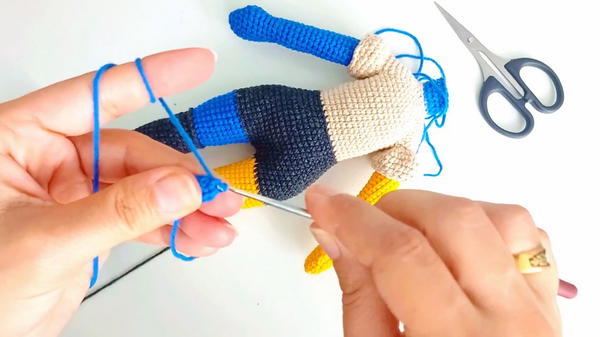
7. Close Off the Head
- Remove the marker.
- Needle the thread and weave it into the front loops of the stitches in a spiral motion.
- Pull the yarn tight to close the hole, then hide the excess yarn.
Special Features
- Clear instructions on creating a seamless transition between yarn colors.
- Useful techniques for precision in creating boundaries (slip stitches with embroidery thread).
- Focus on gradual decreases for shaping the doll’s head properly.
- Detailed guidance on finishing off the piece neatly.
Level of Difficulty
- Intermediate Level: The project requires familiarity with basic crochet stitches, magic rings, and invisible decreases. Handling color changes and slip stitches also tests precision and patience.
Tutor’s Suggestions
- Mark your stitches consistently to avoid losing track of the pattern.
- Hide yarn ends under stitches for cleaner results.
- Always use the front loops during the weaving process for a tidy finish.
Uses and Materials
Uses:
- The crocheted doll head can be transformed into toys, decorations, or added to a complete crocheted doll figure.
Materials:
- Yarn in two colors (blue and yellow).
- Black embroidery thread for boundary detailing.
- Crochet hook, marked stitches, and scissors.
- Needle for weaving and finishing.
Tip
Before starting, ensure you have all materials ready and choose yarns that complement each other for a polished final product. Practice your slip stitches ahead of time to avoid uneven black lines between the yellow and blue sections.
Conclusion
This tutorial is an excellent resource for intermediate crocheters looking to refine their skills in color changes, decreases, and boundary detailing. With focus, precision, and patience, you can create a beautifully shaped doll head suitable for toys or decorative purposes.