Find your next favorite wardrobe piece with a stylish crochet crop top pattern that combines comfort and creativity for every occasion.

Pretty Crochet Crop Top Pattern for Flattering Styles
Whether you're dreaming of effortless summer style or layering up in colder months, a free crochet crop top pattern is your gateway to creating something truly unique. Versatile and timeless, crochet crop tops come in various styles—halter, off-the-shoulder, or sleeveless—making them ideal for festivals, casual outings, or as chic loungewear.
The beauty of crocheting your own lies in customization; you can adjust the size, color, and texture to perfectly match your personality. With lightweight yarn and a simple pattern, you can create a comfortable, breathable piece that highlights your creativity while offering practicality.
Start your crochet journey with this wardrobe essential.
Materials List
- Yarn: Category #3 (lightweight yarn: such as cotton or cotton blend)
- Crochet Hook: 4 mm
- Additional Tools:
- 4 stitch markers
- Scissors
- Blunt plastic-tipped needle
- Tape measure
- Optional: Blocking mat and pins (to shape finished top)
Skill Level
Intermediate
Key Abbreviations
- Ch: Chain stitch
- Hdc: Half double crochet
- St(s): Stitch(es)
- Rep: Repeat
Special Notes
- Written in US crochet terminology.
- The top is worked in rows, creating a rectangular base that is folded and sewn into a wearable shape.
- Adjust the chain count and row repetitions for custom sizing.
Step-by-Step Instructions
Creating the Top Base
Foundation Chain:
- Ch 46 (this will create the width of the top).
- Add 2 extra chains as your turning chain.
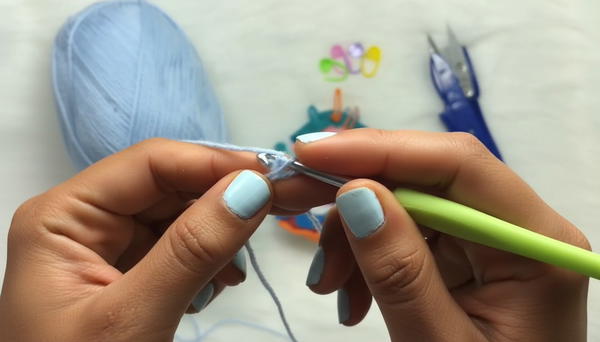
Row 1: Half Double Crochet Across
- Starting in the third chain from the hook, work hdc in each chain across.
- You should end up with 46 hdc stitches.
Row 2: Back Loop Only Half Double Crochet
- Turn your work and Ch 2.
- Work through the back loop only: Insert hook into the back loop of the first stitch, yarn over, and pull through. Complete a hdc.
- Continue working hdc in the back loop across all 46 stitches.
Rows 3–96: Elastic Back Loop Stitches
- Repeat Row 2 instructions until you complete 96 rows. This should create a rectangle measuring 22 cm wide and 76 cm long.
- Measure your work as needed to adjust width or length based on your individual size (e.g., for longer, add rows; for wider, increase the initial chain).
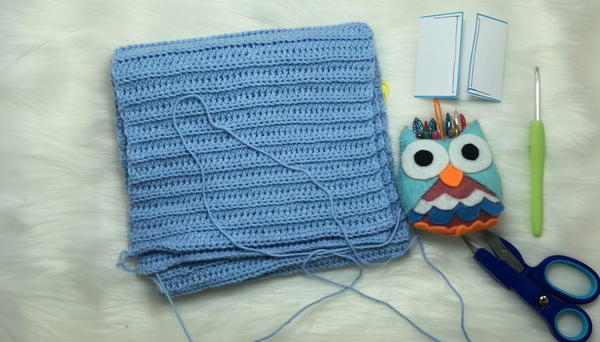
Assembling the Top
Closing the Rectangle:
- Fold the rectangle in half lengthwise.
- Thread a blunt-tipped plastic needle with 80 cm of yarn.
- Sew the two edges together with a whip stitch or mattress stitch, ensuring clean and delicate closures to maintain stretchiness.
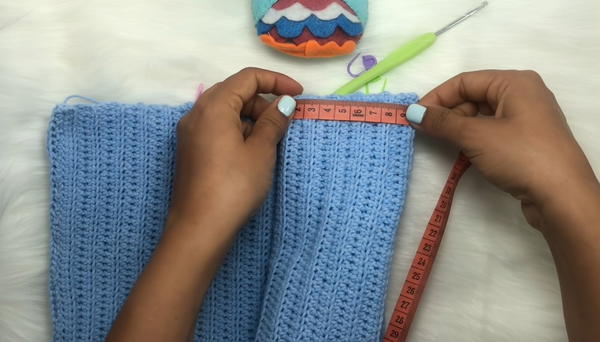
Mark Armhole Section:
- Use stitch markers to measure and mark 10 cm from the folded edge on both sides (this will create armholes).
- Ensure symmetry on both sides.
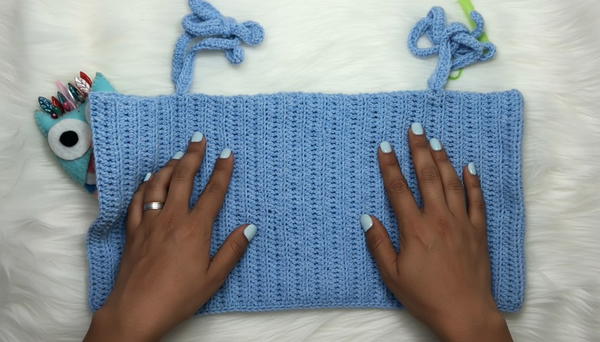
Making Shoulder Straps
- Attach yarn to one stitch marker point at the top edge of the armhole.
Foundation Chains for Strap:
- Ch 60 for the strap.
- Work 2 extra chains at the end for turning.
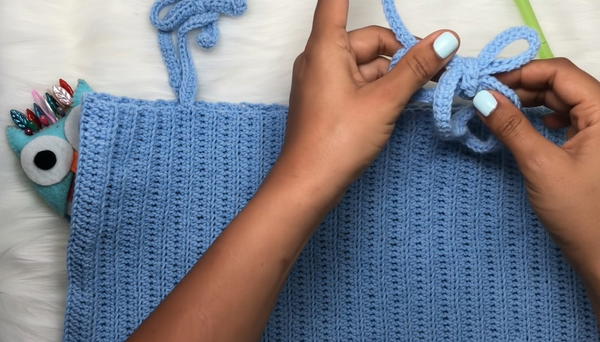
First Strap Row: Hdc Across
- Starting in the third chain from your hook, work hdc in each chain across (you should end with 60 hdc stitches).
- Once complete, fasten off neatly. Repeat this process to make the second strap.
Conclusion
Congratulations on finishing your crochet top! This project’s elasticity and stretch make it versatile and easy-to-wear for various body types. Pair it with jeans, skirts, or layer it over a tank top for a stylish look.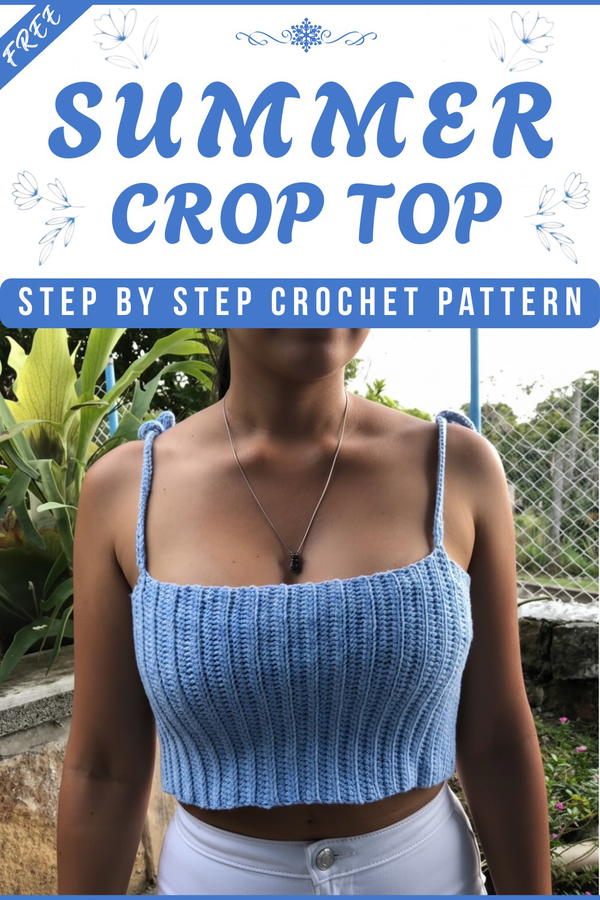
Pattern Correction & Tips
Correction:
- For tighter stitches, use a 3.5 mm hook instead of 4 mm.
- Avoid adding unnecessary tension to stitches when sewing the armholes to keep stretchiness intact.
Tips:
- Custom Sizing: Measure your bust and adjust the initial chain count and number of rows accordingly.
- Blocking: Lightly block the finished top to create smooth edges and ensure the fabric drapes beautifully.
- Strap Placement: Test wear the top before sewing the straps to ensure they fit comfortably on your shoulders.


