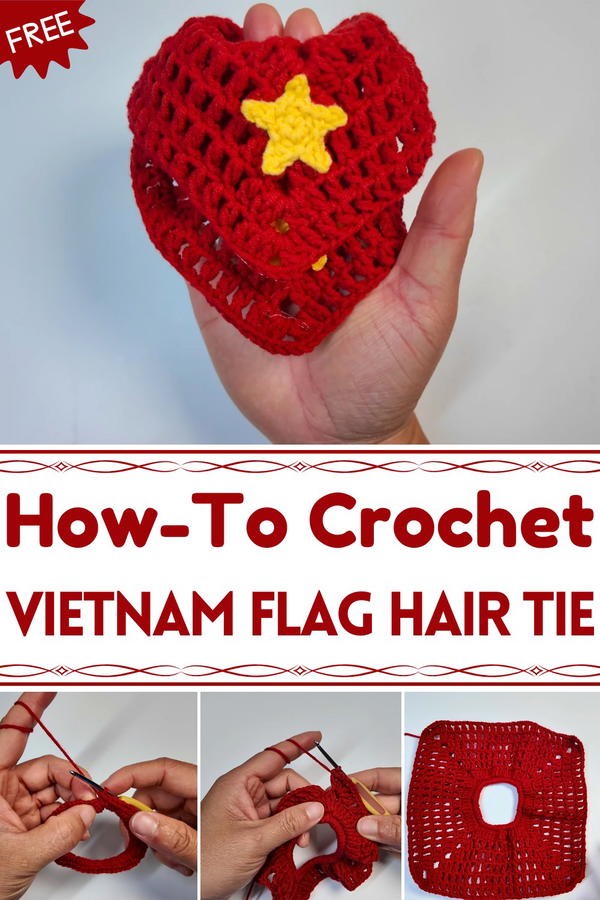
Celebrate style and culture with the Free Crochet Vietnam Flag Hair Tie Pattern, creating a vibrant, durable, and charming accessory effortlessly.
Bright colors and meaningful designs can turn a simple accessory into something special, and this crochet hair tie inspired by the Vietnam flag does just that. Combining functionality with style, it adds a unique touch to everyday hairstyles while celebrating cultural pride. Its compact design makes it perfect for casual wear or special occasions, adding both charm and significance to any look.
Free Crochet Vietnam Flag Hair Tie That Stands Out in Style
Beyond its visual appeal, this accessory offers practical benefits. It is lightweight, easy to wear, and can be a thoughtful gift for friends or family who appreciate meaningful, handmade items.
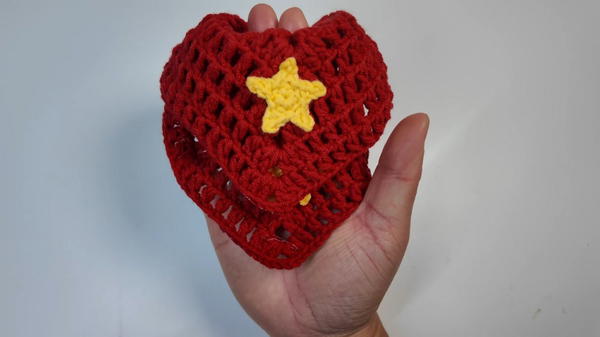
Vibrant, durable, and versatile, this crochet Vietnam flag hair tie adds personality to any hairstyle while subtly honoring cultural heritage, making it a delightful addition to any accessory collection.
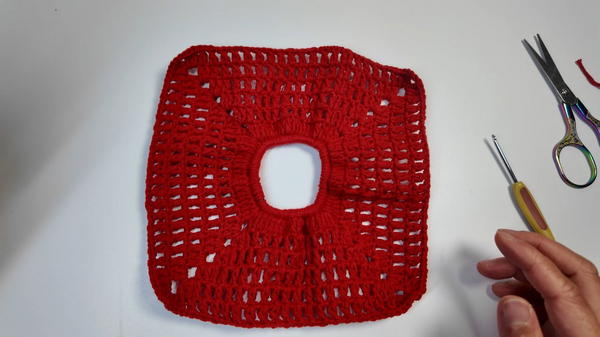
The pattern is approachable and enjoyable to follow. It begins with creating a rectangular base in red using single crochet stitches, forming a smooth and sturdy foundation.
A five-pointed yellow star is crocheted separately to symbolize unity and is then carefully attached to the center of the rectangle. Once the flag motif is complete, it is securely fastened to a hair elastic, ensuring durability and comfort.

This video provides an easy-to-follow tutorial for crocheting a hair tie featuring the design of the Vietnam Flag (Cờ Đỏ Sao Vàng).
Short Introduction
This tutorial guides you through creating a unique, patriotic hair accessory by crocheting a square-shaped motif representing the Vietnamese flag, which is then attached to an elastic hair tie. The project is designed to be very simple and fast, relying entirely on basic crochet stitches to achieve the distinctive red and yellow pattern. It's a perfect craft for beginners looking to create a meaningful, wearable item.
Materials and Tools
The project requires minimal materials, primarily focusing on the correct colors and a base:
Yarn:
Red Yarn: Used for the main body of the flag motif.
Yellow Yarn: Used for the two five-pointed stars.
Elastic Hair Tie: One standard elastic hair tie to act as the base for the scrunchie.
Crochet Hook: A hook size appropriate for your yarn weight (the tutor uses an unknown size, but one suitable for thin to medium-weight yarn).
Tools:
Scissors
Tapestry Needle (Yarn Needle): For weaving in ends.
Hot Glue or Fabric Glue: Used to attach the crocheted stars to the red flag body.
Level of Difficulty
This project is highly recommended for beginners.
It uses only fundamental stitches: Chain (CH), Single Crochet (SC), Double Crochet (DC), and Slip Stitch (SL ST).
The shaping is straightforward, involving simple increases at four corners to turn a circle into a square.
No difficult stitch patterns or complex color changes are required within the main body.
Special Features and Uses
Special Features
Flag Motif: The design is a faithful and instantly recognizable representation of the Vietnamese National Flag (red field with a yellow star).
Geometric Shaping: The technique demonstrates how to easily transform a piece worked in the round (Row 1) into a perfect square shape (Rows 2-7) by strategically placing increase clusters.
Mesh Texture: Rows 3 through 7 use a simple DC, CH 1, Skip 1 pattern to create a lightweight, lacy mesh effect, which helps the piece lie flat and look tidy.
Uses
Patriotic Accessory: Ideal for wearing during national holidays, festivals, or sports events to show pride.
Everyday Hair Tie: A decorative accessory for securing ponytails or buns.
Bag Charm or Keychain: The finished motif can be attached to other items as a small decoration.
Tutor's Suggestions
The tutor provides key guidance to ensure the final product is neat:
Enclose the Tail: In the first row (Single Crochet), the instructor advises working the stitches over the beginning yarn tail to secure it neatly and avoid extra weaving later [01:27].
Symmetry in Star Placement: The tutor emphasizes attaching the two stars to opposing diagonal corners of the red square to ensure proper symmetry and visual balance [16:47].
Consistent Tension: Maintain consistent tension, especially for the intricate, small yellow star, to ensure all five points are symmetrical.
Step-by-Step Breakdown
The project is executed in three main parts: the Red Base, the Yellow Stars, and Final Assembly.
Part 1: Crocheting the Red Base (The Flag Body)
The goal is to crochet a flat red square that covers the elastic.
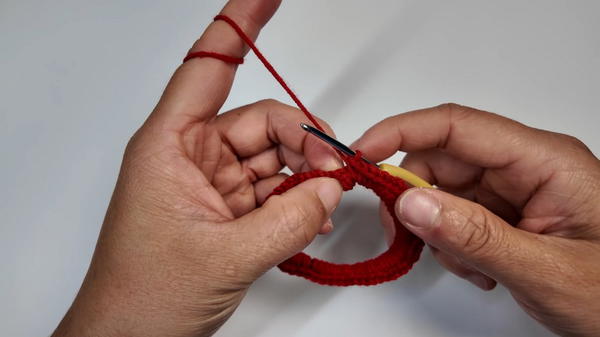
Row 1 (SC Base): Create a knot on the hair tie. Work a total of 72 Single Crochet (SC) stitches directly around the elastic band [01:09]. Join with a Slip Stitch (SL ST) to the first SC.
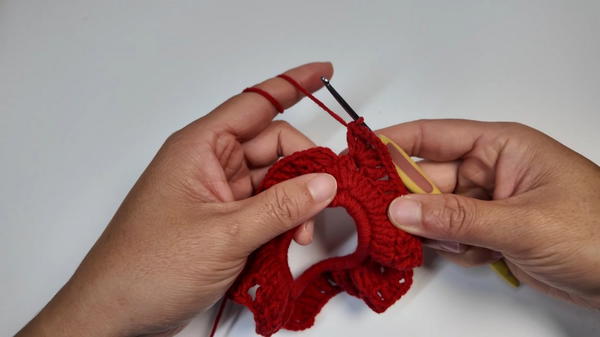
Row 2 (First Corner Increase): Chain 3 (counts as 1 DC). Work 17 Double Crochet (DC) stitches. The corner is created in the next stitch: (2 DC, CH 4, 2 DC) [03:32]. Repeat the sequence of (17 DC followed by the corner cluster) three more times. Join with a SL ST.
Rows 3-7 (Mesh Pattern): This establishes the lace pattern and continues the square shape.
Side: Chain 3 (counts as 1 DC). Work a DC in the next stitch. Then, work a pattern of (CH 1, Skip 1 stitch, DC in next stitch) across the side [06:24].
Corner: In the previous row’s Chain 4 space, work the increase cluster: (2 DC, CH 4, 2 DC) [07:27].
Repeat the Side and Corner pattern around for a total of 7 rows, joining each row with a SL ST.
Finishing: Fasten off the red yarn and weave in the ends [11:14].
Part 2: Crocheting the Yellow Stars (Make 2)
Row 1 (Magic Ring): Using yellow yarn, start with a Magic Ring and work 5 Single Crochet (SC) stitches into the ring [12:16]. Cinch the ring tight and join with a SL ST.
Row 2 (Points): This row forms the star's five points.
For the first point, Chain 3. Skip the first chain from the hook, work a SL ST in the second chain, and a SC in the third chain [13:07].
Skip the next stitch on the base ring and work a SL ST into the stitch after that. This completes the first point.
Repeat this sequence (Chain 3, SL ST, SC, Skip 1, SL ST) four more times to complete all five points [14:27].
Finishing: Cut the yarn, secure the knot, and pull the tails through. Set aside the two stars for assembly [15:42].
Part 3: Final Assembly
Use hot glue or fabric glue to securely attach the center back of the two crocheted yellow stars onto two opposing diagonal corners of the large red square [16:52].
Conclusion
By following these simple steps, you have successfully transformed red and yellow yarn into a sturdy, eye-catching hair tie. The final product is an easy, thoughtful, and unique accessory that combines basic crochet skills with a beautiful, patriotic design.
Tip
When using hot glue to attach the stars, apply only a small dot to the center back of the star. Press the star onto the red fabric gently and hold it for a few seconds. Using too much glue can cause it to seep through the stitches.


