Give new life to fabric scraps with t-shirt yarn and create a stylish T-Shirt Yarn Bag by following this free crochet pattern, ideal for carrying on the go.
U R Unik is a channel known for sharing creative and stylish crochet projects that are easy to make and fun to follow. This time, they bring an exciting design using colorful t-shirt yarn that mixes three vibrant colors, giving the bag a fresh and lively look. The project is quick to complete and perfect for those who love making fashionable yet practical items by hand.
Easy Free Crochet T-Shirt Yarn Bag Pattern - Step-by-Step
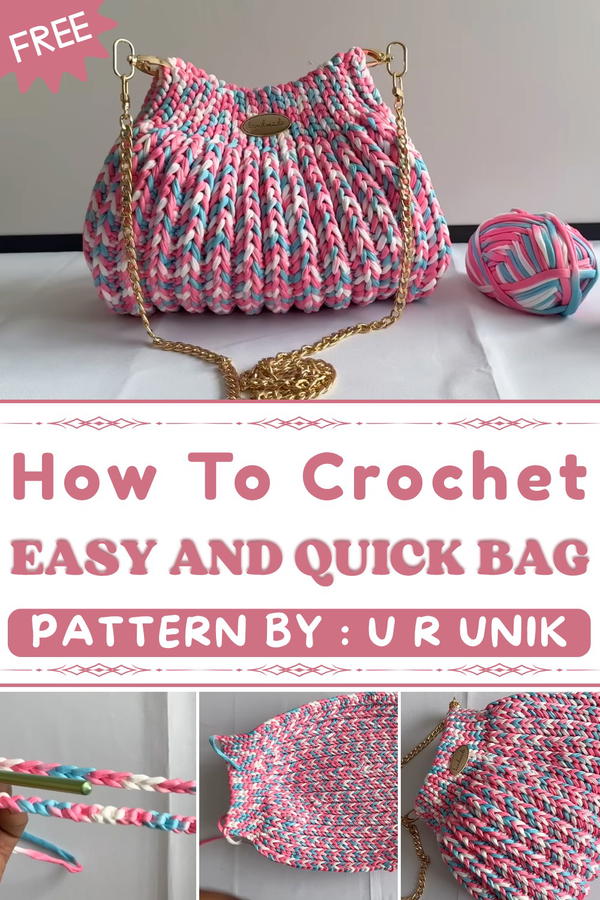
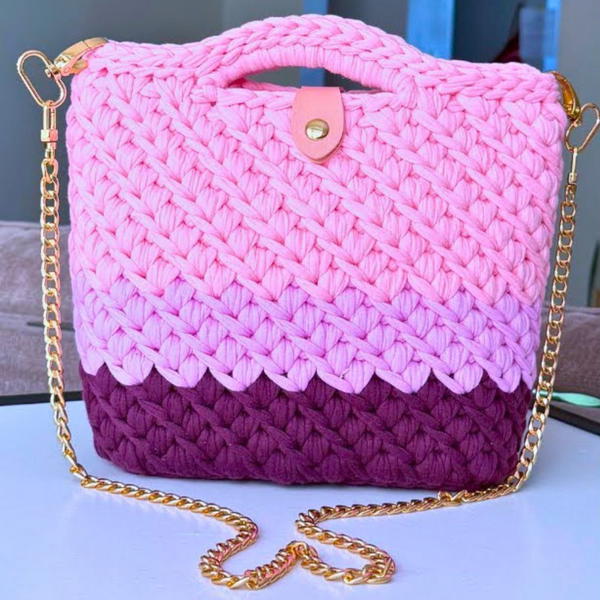
This bag features a unique rectangular shape with a textured stitch pattern made by working mostly in the back loops, which creates beautiful split stitches that look both modern and neat. The structure is strong thanks to the combination of t-shirt yarn and careful stitch work, making it perfect for carrying everyday essentials like books, groceries, or personal items. It includes charming gold details such as a matching gold chain, loops, and a magnetic clasp, adding a touch of elegance and durability.
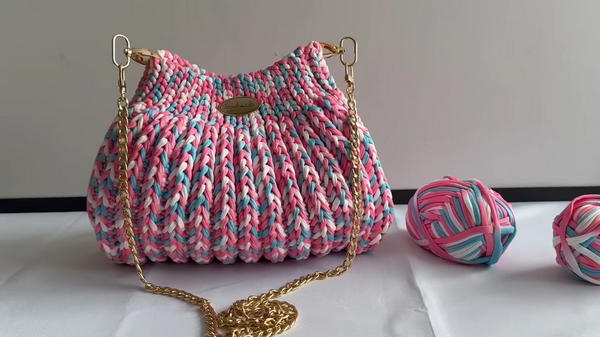
The working style is simple but creative. Starting with a chain of 65 stitches, the bag is built row by row with a mix of split stitches and single crochets mainly in the back loops, which gives the sides and body a lovely texture and firm shape. Decreasing stitches carefully shapes the sides, while sewing completes the bag’s form. The finishing touches like adding loops for the chain and a handmade tag give the project a polished, professional feel.
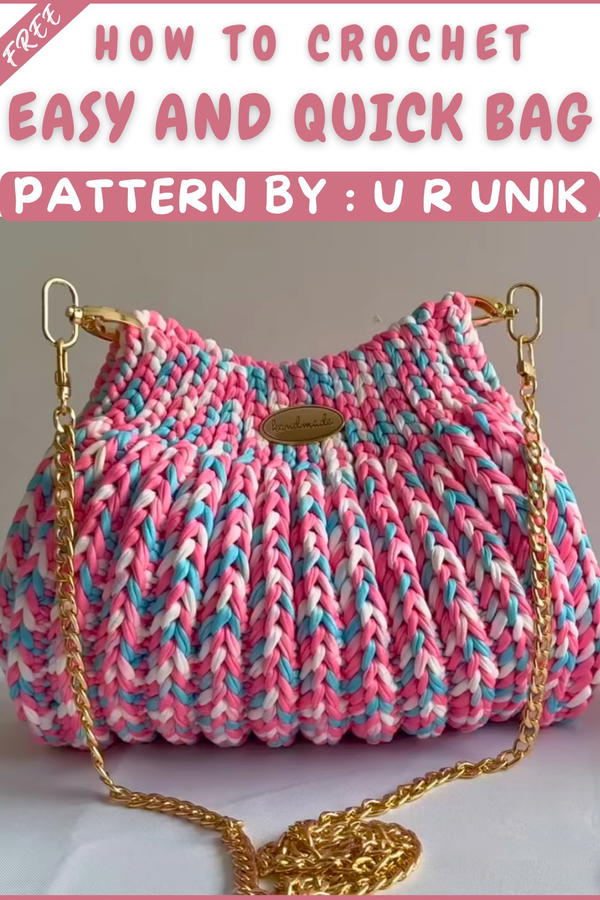
Mixed-Color T-Shirt Yarn Crossbody Bag Pattern
A striking, structured crochet bag crocheted from vibrant T-shirt yarn, this shoulder bag features crisp side panels, a modern gold chain strap, and a seamless look thanks to clever shaping and finishing. The use of split stitches, bold hardware, and a special BLO (Back Loop Only) technique ensures this piece is both sturdy and fashion-forward. Designed to fit essential items for daily wear or evenings out, the result is a functional bag that accentuates the unique qualities of chunky, multi-color T-shirt yarn.
Pattern Important Tips
Yarn Choice and Consistency
- T-shirt yarn can stretch and vary in width, so try to use the same brand and batch for all rolls.
- Keep a steady, moderate tension to prevent puckering or overly loose stitches, especially at the split stitch edges.
Edge Definition
- The use of split stitches at each side of every row provides the clean, uniform edge essential for sewing and attaching hardware.
Back Loop Only Work
- Working in Back Loop Only (BLO) creates a defined texture and allows the bag to fold and shape easily while maintaining a sleek surface.
Special Decreases
- For a seamless side panel, decrease several stitches at once by drawing up loops in consecutive stitches and pulling through all at once (as described in the sides section).
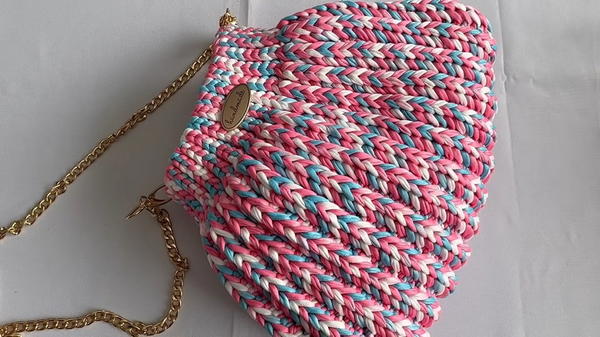
Skill Level
Intermediate. The bag requires familiarity with split stitches, back loop only work, precise counting, and some experience with decreases involving multiple stitches together.
Materials
- 3 rolls mixed-color T-shirt yarn (32 meters each)
- Size 6.0 mm crochet hook
- Two gold loops (for chain attachment)
- Gold chain (for shoulder strap)
- Magnetic clasp (for secure fastening)
- Handmade tag (optional, for a custom touch)
- Needle and scissors
Gauge and Stitch Pattern
- Gauge is not strictly critical but the main body should measure approx. 31 cm in width when finished.
- Stitch Pattern: The body is worked in split stitches and single crochet, all through the Back Loop Only (BLO).
Stitch Abbreviations
- SC: single crochet
- SLST: slip stitch (also referred here as “split stitch”)
- BLO: back loop only
- Ch: chain
- St: stitch
Special Stitches
- Quadruple Decrease: Insert hook in each of the next 4 stitches, pull up a loop in each (5 loops on hook), yarn over and pull through all loops.
- Five-Stitch Decrease: Insert hook into each of the next 5 stitches, pull up a loop in each (6 loops on hook), yarn over and pull through all loops.
Notes for Starting the Pattern
- Always begin new rows with a Ch 1 and turn, unless stated otherwise.
- Split stitches form the continuous edges; do not skip or miss edge stitches for the best assembly results.
- Place your stitch marker at the end of the split stitch section to help maintain straight sides.
Pattern Instructions
1. The Body (Main Part)
Foundation:
- Ch 65. (This will form the full width of the long body panel.)
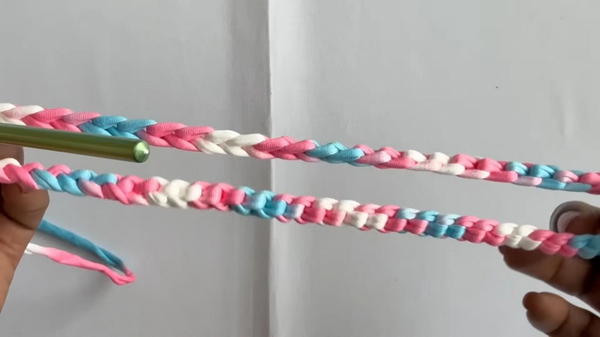
Row 1:
- Flip the foundation chain and insert the hook into back strands only.
- 8 SLST (split stitches). Place a stitch marker after the last one for reference.
- 48 SC (single crochet) across middle section.
- 8 SLST to end.
- Turn work.
Row 2 and Onwards: (Work all stitches BLO from here.)
- Ch 1, turn.
- 8 SLST in BLO.
- 48 SC in BLO (pulling yarn through last strand of previous stitch together with new stitch—this ensures tight joining).
- 8 SLST in BLO to finish the row.
- Repeat this row until your main piece measures 31 cm long. Always check your length with a ruler or tape for precision.
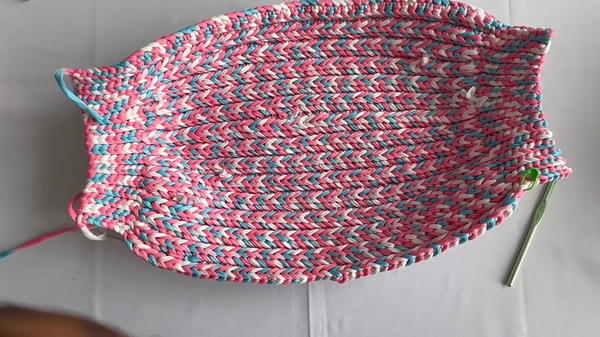
2. The Sides
Work the side panels directly off the body edges.
Side Row 1:
- Work in BLO.
- 30 SLST across, including the first 8 already on edge.
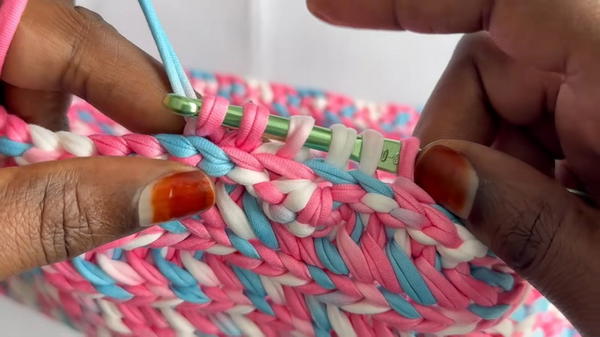
- At middle: 1 quadruple decrease (insert through next 4 sts, pull up 5 loops, yarn over, pull through all).
- 30 SLST to complete the row on the other side edge.
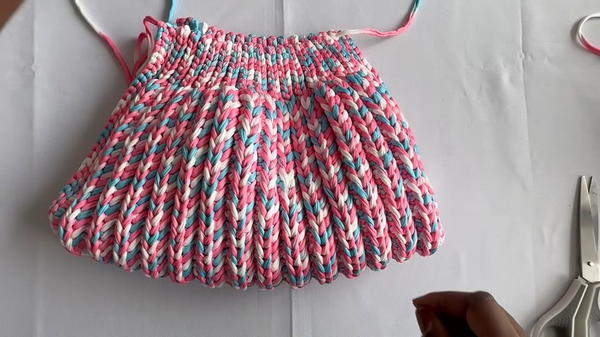
Side Row 2:
- 28 SLST to center section.
- 1 five-stitch decrease in BLO (next 5 sts; pull up 6 loops, yarn over, pull through all).
- 28 SLST to the end, finishing the side.
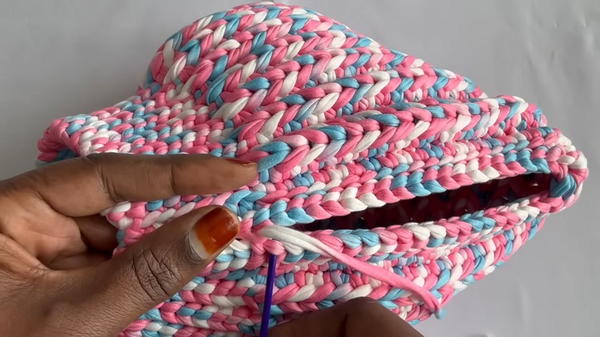
- Leave a long tail for sewing your two side pieces to the main body.
Repeat for Both Sides:
Work the above side shaping for both open ends of the body panel so you end up with two identical flat sides, each with a crisp decrease at the center.
Assembly and Sizing
Sewing Bag Together:
- Fold main body piece and align the sides with the body edges.
- Use the long yarn tails and a needle to sew side panels securely to each body edge, making small, even stitches.
- The bag shape will be crisp with boxy structure and sharp corners.
Attaching Hardware:
- Position the magnetic clasp at the center of the inside lining; use yarn and a needle to sew it securely in place.
- Insert gold loops through the corners at the top edge where sides join body.
- Securely attach the chain to these gold loops; the bag should now hang evenly.
Handmade Tag:
- Using a needle, sew your tag to the desired spot on the bag for a personal touch.
Finished Size:
Bag should measure approximately 31 cm wide after blocking and final assembly, with a depth set by the sides and a comfortable drop from the gold chain.
Final Thoughts
This statement crochet bag uses careful shaping, uniform edge stitches, and bold finishing hardware to create a contemporary, elevated look. The use of split stitches and strong side decreases provide crisp lines, while T-shirt yarn offers both structure and dramatic color effects. Finishing with premium details like a magnetic clasp and a gold chain elevates your handmade creation for everyday luxury and lasting wear. Adjust dimensions or color choices to make the design truly yours, and enjoy carrying or gifting your unique work.