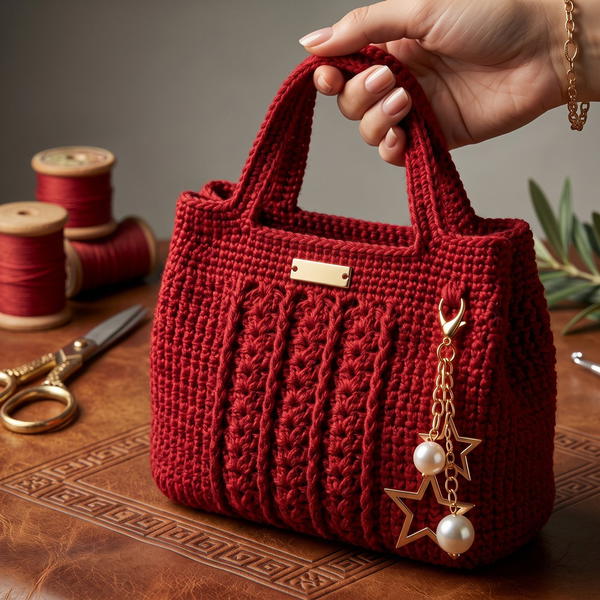
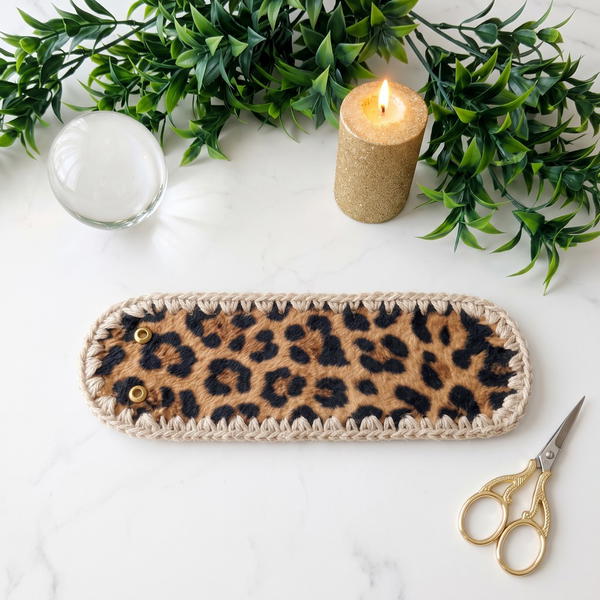
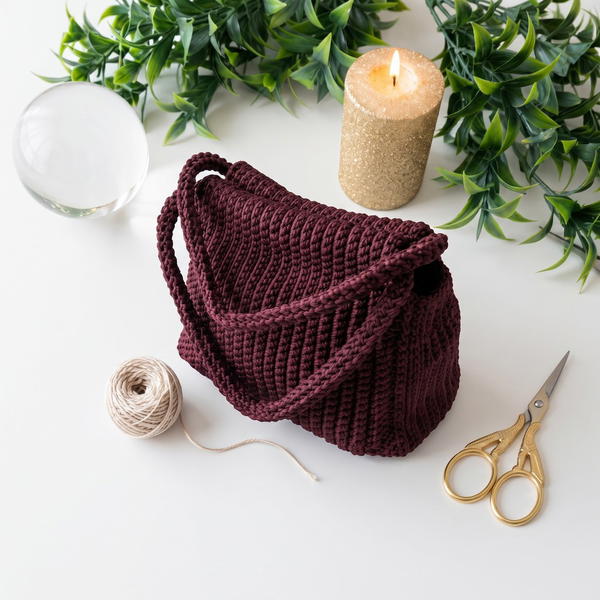
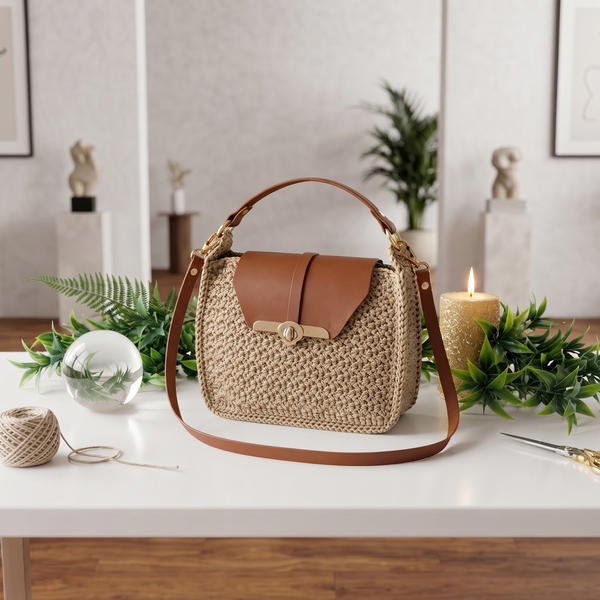
Create a chic and functional tote with this free crochet bag with T-shirt yarn pattern, offering a blend of style, versatility, and durability.
There’s something joyful about turning simple materials into a beautiful, useful bag that you can carry everywhere. The channel Gepradocroche is a colorful treasure for crochet lovers, where clear and friendly tutorials make creating lovely handmade items a fun and relaxing journey. One of their standout projects uses thick T-shirt yarn doubled for extra strength, designed to make a bag that’s both sturdy and soft to the touch.
How To Crochet Bag With T-shirt Yarn - Free Pattern
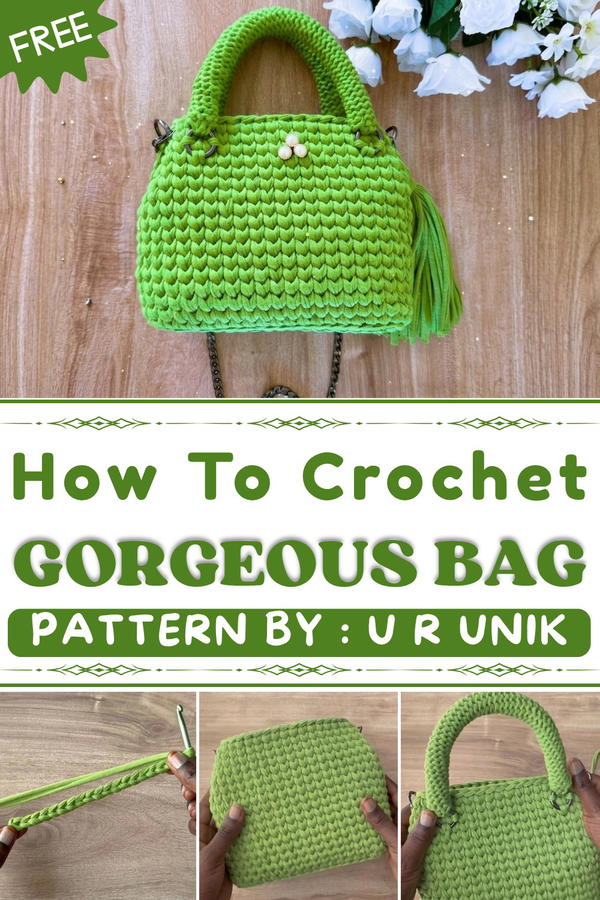
This is crocheted carefully from a solid rectangular base made by working single crochet stitches in the back loops, which gives it a firm and durable foundation. The creator uses a clever technique of increasing stitches on the corners to shape the bag nicely so it folds perfectly at the sides. This design detail creates smooth rounded edges and a balanced form that makes the bag look elegant and professional.
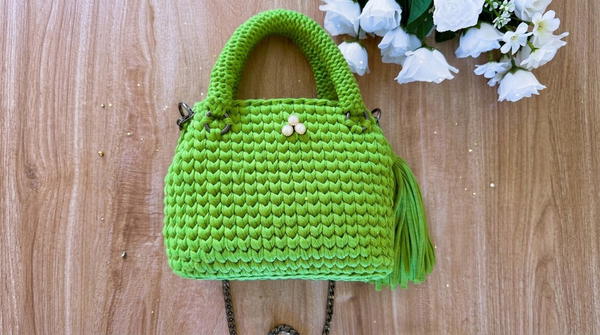
The straps are another highlight: made with a thinner yarn and a smaller hook, they are worked with slip stitches around a small chain to create tight, neat handles. These straps are then attached with metallic rings for both style and strength. Adding a magnetic clasp closure and small button ornaments gives the bag a modern, polished finish.
Its size is perfect for everyday use – roomy enough to hold your essentials but compact enough to be a chic accessory for casual outings or special occasions. The mix of texture, color, and thoughtful details sets this bag apart, making it a beautiful and practical handmade treasure.
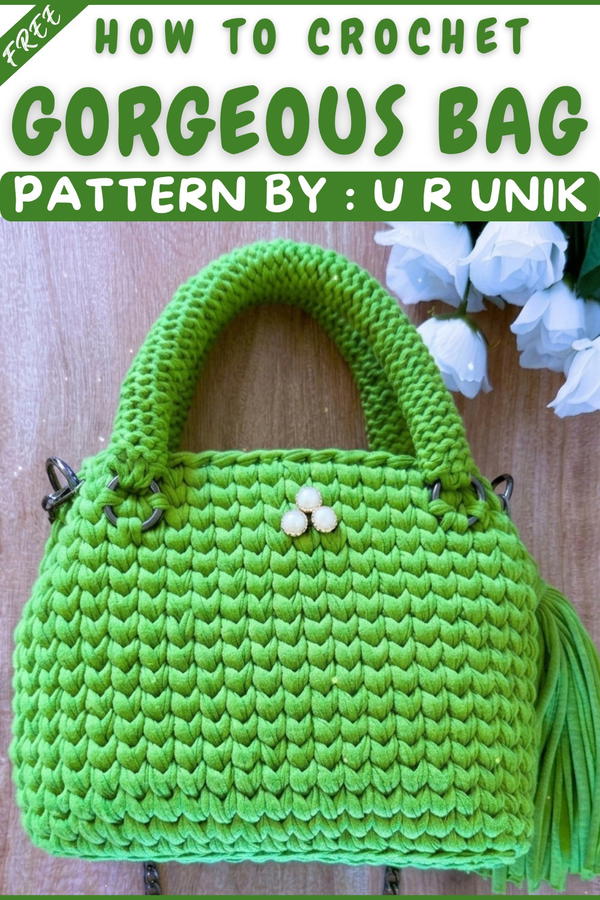
Modern T-Shirt Yarn Bag Crochet Pattern
This sturdy and functional bag is created with soft-yet-strong t-shirt yarn, beautifully shaped for daily wear. Practical details such as edging, classic handles, easy assembly, and bold ornamentation (buttons, chain, and tassel) make this accessory both stylish and truly handmade. The pattern provides clear steps for each section, ensuring excellent structure and professional finishing details.
Important Tips for Success
Choose the Right Yarn and Hook
- T-shirt yarn can vary in width and stretch. Doubling the yarn results in a structured, durable bag.
- Use the specified 6mm hook for the bag body to keep the fabric firm and neat.
- For handles, switch to a 4.5mm hook and single yarn for a more flexible, less bulky strap.
Construction
- Mark the first and last stitches of each round or row, helping with symmetrical placement, especially at the corners and for joining the base to body.
- Always crochet into the back loop only when specified for crisp edges and clean transitions.
- Block or gently shape the finished bag for the final form, especially after sewing on the handles and accessories.
Hardware and Assembly
- Use stitch markers to visualize handle and strap placements.
- When adding hardware such as rings and magnetic clasps, check for secure fitting and alignment before final sewing.
- Integrate decorative elements, like a chain or tassel, after the main bag is finished and all main ends are woven in.
Skill Level
Confident Beginner/Intermediate
This project is ideal for those comfortable with single crochet, slip stitch, and following continuous rounds as well as basic hand sewing.
Materials
- Yarn: Approx. 250 m of 2 cm wide t-shirt yarn, held double throughout the bag body
- Hook(s): 6mm crochet hook for the bag, 4.5mm (or as fits) for the handle
- Hardware: 3 large rings (with openings), 4 small rings (solid); 1 magnetic clasp; 1 chain (for handle or decoration)
- Notions: 3 buttons, stitch marker, tapestry needle, sewing thread, hand sewing needle, scissors
Gauge & Stitch Information
- Gauge is not critical; focus on producing a firm, non-stretchy fabric.
- After 6 rows of single crochet (sc) for the base, you should have a rectangular piece measuring approximately 19 cm in length.
Stitch Abbreviations
- ch – chain
- sc – single crochet
- sl st – slip stitch
- st(s) – stitch(es)
- blo – back loop only
Special Stitches
- Back Loop Only (blo): Instead of inserting the hook under both loops at the top of the stitch, insert into the back loop only for a pronounced, flexible ridge—especially used at the bottom transition to give a clean edge.
- Slip Stitch Strap: Slip stitch (sl st) used to create a tight, sturdy, flat strap by working into chains.
Notes Before You Begin
- Always begin with yarn doubled for the body, and drop to a single strand for handles and decorative finishes.
- The pattern is worked flat for the base, then shifted to working in the round for the sides/body.
- Each new round begins directly after the last without turning unless specifically indicated (use a stitch marker to keep track of the starting point).
- Adjust the number of rows for the bag height as preferred; maintain symmetry for a rectangular or squarish project.
Crochet Pattern Steps
Base
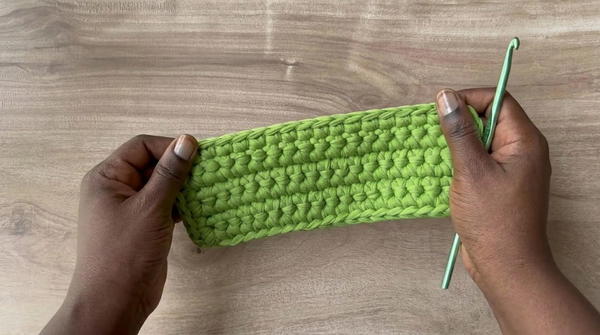
- Using double yarn and 6mm hook, ch 19.
- Row 1: Sc into the second ch from the hook and in each ch across (18 sc).
- Rows 2–6: Ch 1, turn. Sc in each stitch across (18 sc).
- You should have a rectangle approx. 19 cm long.
Base Edging and Increase (Transition to Sides)
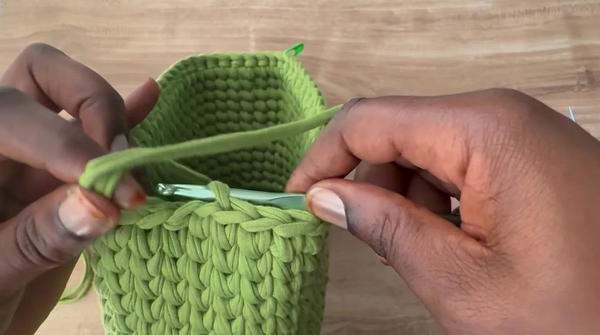
- Do not turn. Begin working around all edges of the base rectangle.
- Long sides: Work 1 sc in each stitch.
- Short ends (corners): Work 2 sc into each corner to round the edge and allow for smooth side transition.
- Sides: Work about 4 sc along each short side, spacing evenly.
- Complete the round and join (or mark) the start.
Sides and Body
- Round 1: Working into back loops only (blo), sc in each st around. Place the stitch marker at the round start.
- Rounds 2–18: Continue working sc in each stitch (“V” stitches) in a spiral for a total of 18 rounds, or until desired height. Do not join or turn; simply continue in the round, moving the marker up each round as needed.
Bag Shaping and Finishing
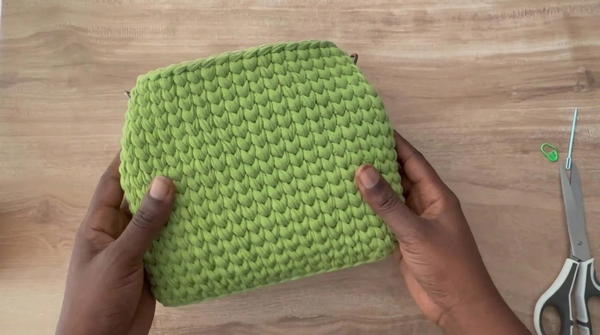
- At the designated height, fasten off.
- Fold the sides inward cleanly, ensuring the edge stitches align for handle and hardware placements.
Handles
(Work a pair, unless making a single long strap with chain)
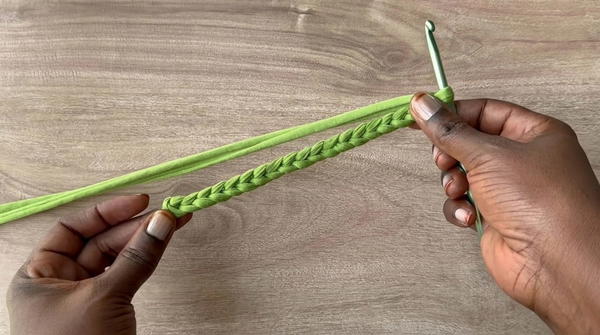
- With single strand of t-shirt yarn and 4.5mm hook, ch 8.
- Row 1: Slip stitch into each ch across (7 sl sts).
- Rows 2 and beyond: Ch 1, turn. Sl st in each st across.
- Continue rows until strap measures approximately 28 cm (11 in) or desired length, keeping stitches tight.
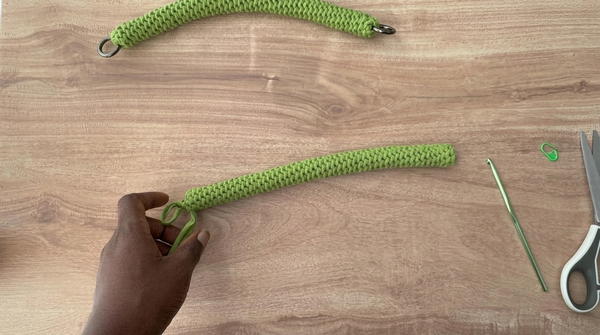
- Fasten off, weave ends, and use rings to attach each end of the strap(s).
Assembly
- Use tapestry needle and sewing thread/needle to sew handles securely to the marked bag sides.
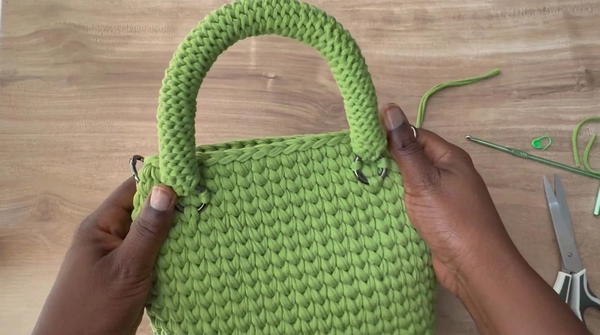
- Connect hardware:
- Large rings attach at the handle ends, with small rings added if needed for chain or magnetic clasp.
- Attach the magnetic clasp to the center upper edge of the bag, ensuring even closure.
- Sew on three buttons as ornamental features, evenly spaced or in a composition that pleases your aesthetic.
Tassel and Decorative Details
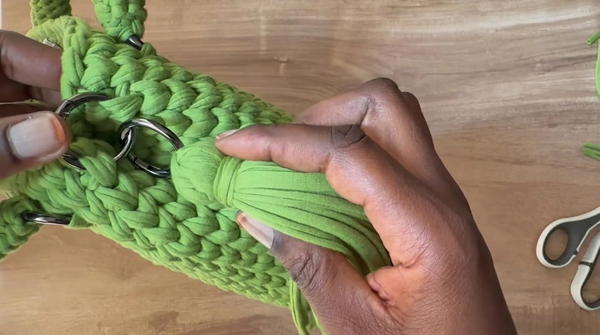
- Create a tassel by cutting several even lengths of leftover yarn.
- Tie tightly at the center, fold over, and secure at the top.
- Trim the ends for a uniform look.
- Attach the tassel and any decorative chain to the appropriate rings at bag sides or handle base.
Assembly and Sizing
- The finished bag base should measure approx. 19 cm in length and about 7–8 cm wide after base rows and edge rounds.
- Height is determined by the number of side rounds; for a standard size, aim for at least 18 rows (adjust as desired).
- Straps measure approx. 28 cm (11 in), or lengthen as desired for a crossbody effect.
- All hardware and embellishments should be attached after main body is constructed and all ends woven in.
Conclusion
With double-stranded t-shirt yarn, strategic edging, and sturdy spiral rounds, this bag is both fashionable and reliably robust. Thoughtfully placed hardware and striking decorative accents elevate the simple construction, making it suitable for a wide variety of outfits and uses. This project offers an approachable introduction to bag hardware and creative embellishment, while remaining accessible for crocheters ready to refine their finishing skills in a functional accessory.