Bring charm to your crochet projects with this free fancy bag pattern and enjoy making a stylish bag that matches any outfit or occasion.
Creating a handmade bag that blends style and practicality can be a delightful experience. A wonderful Free crochet Fancy Bag Pattern turns simple yarn into a charming accessory. On the U R Unik channel, this project is a great pick for anyone who loves crocheting, gifting, or adding a personal touch to their wardrobe.
Free Crochet Fancy Bag Pattern with Simple Instructions
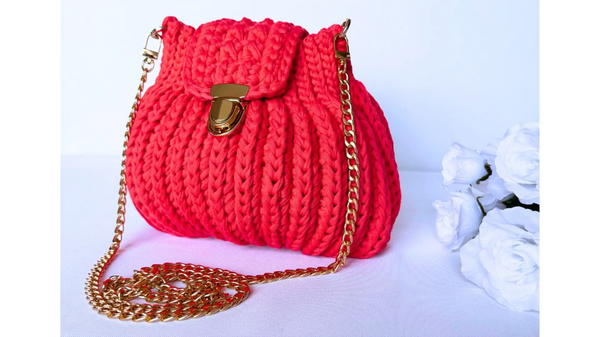
The bag is a beautiful rectangular shape with a firm but soft texture, made using a unique herringbone stitch. This stitch pattern gives the bag a distinctive woven look with neat lines and a slight openwork effect, making it both sturdy and lightweight. Bright colored yarn, such as the vibrant orange used in the tutorial, adds a fresh and lively feel to the piece.
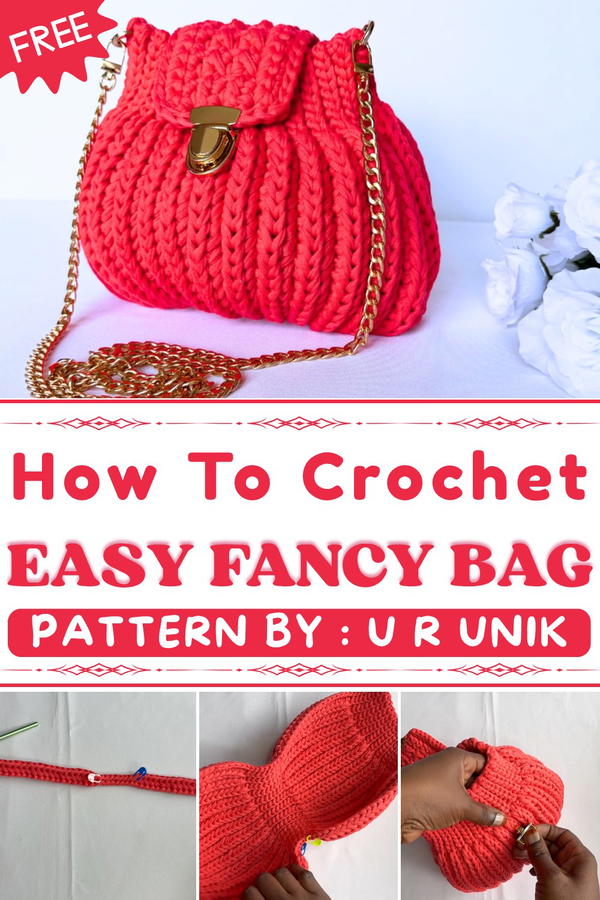
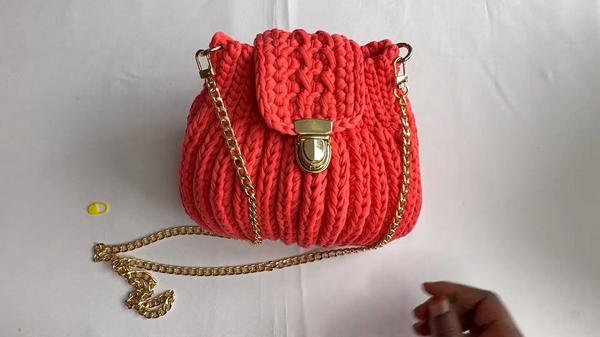
One of the most attractive features of this bag is the added hardware like buckles and rings, which not only enhance the look but also provide practical ways to attach a stylish chain strap. This makes the bag easy to carry on the shoulder or by hand. The finishing touches, including a handmade flap cover with a lovely stitch pattern, add charm and a polished appearance.
This fancy bag is not just eye-catching; it is versatile and useful for everyday outings or special occasions. Its durable construction holds essentials securely while making a bold fashion statement. The design’s balance of beauty and function makes it a perfect gift or personal keepsake to cherish.
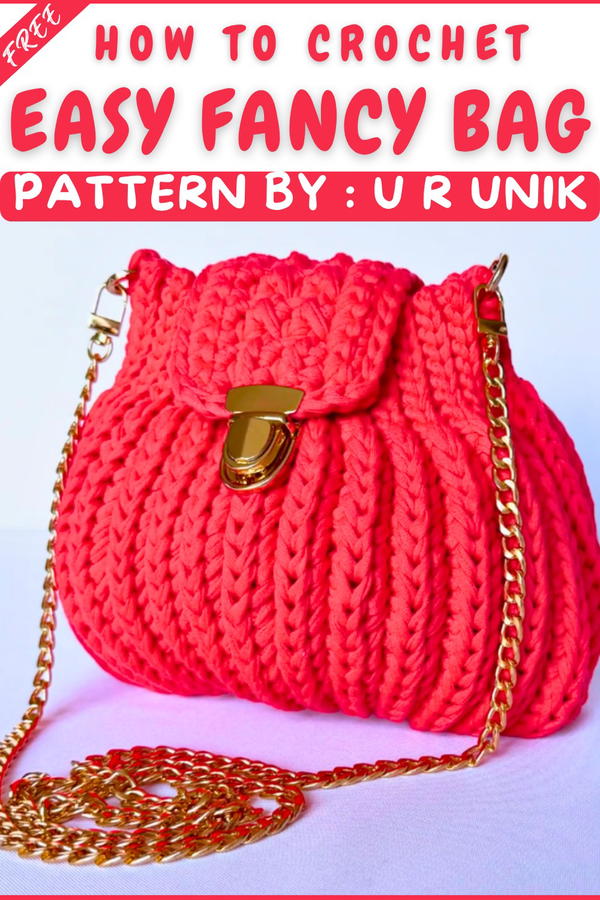
Fancy T-Shirt Yarn Bag with Decorative Cover and Chain
A structured bag project using t-shirt yarn, a mix of textured stitches, and elegant metallic hardware. The pattern forms a sturdy rectangle with a decorative cover, supported by a secure buckle and chain, making it fashionable, functional, and long-lasting.
Pattern Important Tips
- Stitch Consistency: Each row must maintain the sequence precisely—count and confirm stitches regularly to preserve symmetry and fabric tension.
- Marker Placement: Marking the turning points and key stitch intervals ensures perfect alignment, especially at sides and flap joins.
- Assembly Care: Work single crochets only in front loops for a neat and narrow seam during assembly.
- Hardware Security: Attach the buckle, O-rings, and chain snugly for the best support and appearance.
- Cover Shaping: Use crisp turning and stitch changes for a professional, tailored cover effect.
Skill Level
Intermediate. Skills needed include basic stitches (slip stitch, single crochet, half double crochet), herringbone stitch, working in rows, seaming, and standard hardware attachment.
Materials
- T-shirt yarn (approx. 192 meters, 32 meters × 6 rows)
- 6 mm crochet hook
- Buckle
- Two O-rings (with openings)
- Chain with an opening/clasp, long enough for the desired strap drop
- Stitch markers
- Scissors
- Yarn needle (for seaming and sewing on hardware)
Gauge and Stitch Pattern
- Bag base: 61 chains per row × 28 rows, approx. 8 slip stitches, 18 herringbone stitches, repeated.
- Cover: 16 chains wide, 8 rows tall with mixed stitch pattern.
- Finished size: Approx. 10–12" wide and 7–8" tall (will depend on yarn and tension).
Stitch Abbreviations
- CH: Chain
- SL ST: Slip Stitch
- SC: Single Crochet
- HDC: Half Double Crochet
- HB: Herringbone Stitch
Special Stitches
- Herringbone Stitch (HB): Yarn over, insert hook, yarn over and pull up a loop (3 loops). Pull first loop through the second loop (like SL ST). Yarn over, pull through both remaining loops.
- Front Loop Only (FLO): For assembly, insert hook only through the front loop of each stitch.
Notes for Starting the Pattern
- Work with even, firm tension; t-shirt yarn can stretch and shift.
- For all rows, turn with a chain corresponding to your next stitch.
- Place stitch markers precisely when indicated; do not skip marker or counting steps.
Pattern Instructions
1. The Base
- Foundation:
CH 61 (this is the lengthwise foundation).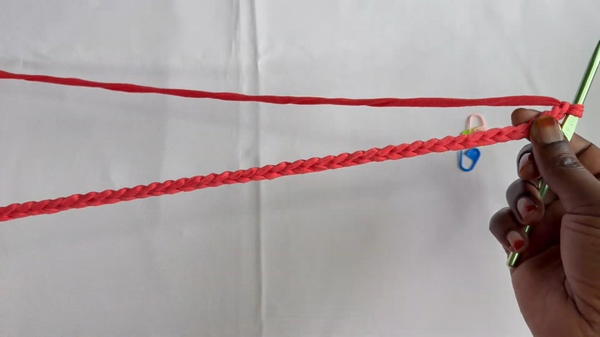
- Row 1:
- Work 8 SL ST. After the 8th, place a marker to indicate corner/turn.
- Work 18 HB stitches.
- Work 8 SL ST; place a marker in the 1st and 8th (beginning and end of this run).
- Work 18 HB stitches.
- End with 8 SL ST.
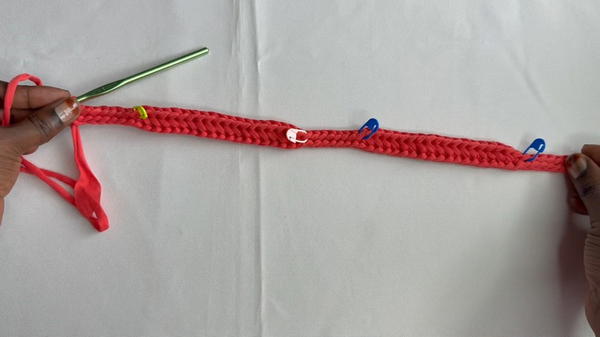
- All following Rows (2–28):
- Continue the pattern:
8 SL ST, 18 HB, 8 SL ST, 18 HB, 8 SL ST. - At the markers, confirm counts before moving to the next segment.
- Always chain and turn at the end of the row as needed for your current stitch.
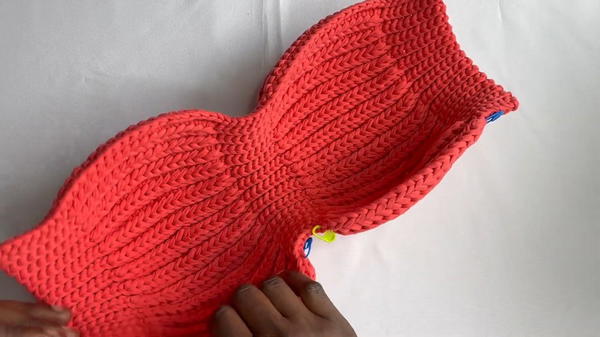
- Continue the pattern:
- Total: Work 28 rows in this pattern for a solid, rectangular piece.
2. Assembly
- Side Join:
- With piece wrong side out, align short edges together.
- With yarn and hook, work SC through the front loops only along both side edges. This narrows and stabilizes the side seams.
- Finishing:
- Once joined, turn bag right side out. You should see a neatly finished, rectangle-shaped pouch with strong, top-and-bottom seaming.
3. The Cover/Flap
- Foundation:
CH 16. - Rows 1–2:
- SC in each chain across (15 SC). CH 1, turn.
- Rows 3–6:
- Pattern row: SC in first stitch. Alternate HDC and SL ST across the row, ending with SC in last stitch.
- For each row: CH 1, turn at end.
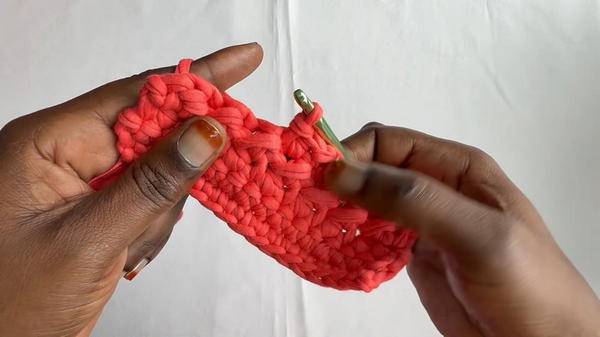
- Rows 7–8:
- SC in each stitch across (15 SC). Chain 1 and turn as needed.
- Edging:
- SL ST evenly around all four sides of the flap for reinforcement and an elegant, decorative finish.
- Take care at corners; you may add 2 SL ST in each corner for rounding.
4. Final Attachment and Hardware
- Attach Flap:
- With a yarn needle, sew the base of the cover/flap (starting edge of first row) to the back upper edge of the bag. Secure thoroughly for stability.
- Buckle:
- Position and sew the buckle centrally on the cover/flap, following the hardware’s instructions for yarn sewing.
- O-Rings and Chain:
- Attach O-rings (with openings) at both sides of the bag’s top edge.
- Fasten chain strap to each O-ring, securing the openings.
- Ensure that the chain is even and the bag hangs straight.
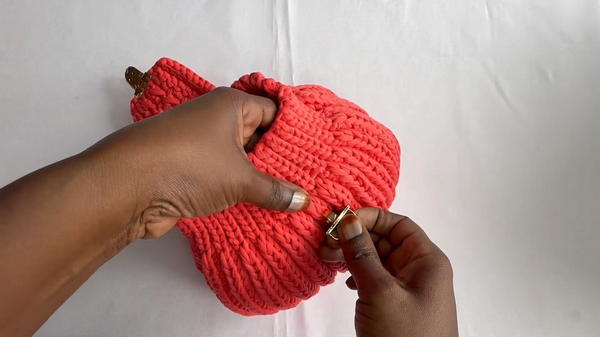
Assembly and Sizing
- Bag base: Measures approx. 10–12" wide and 7–8" tall (dependent on yarn and tension).
- Flap/cover: Covers the central upper front of the bag, providing secure closure via buckle.
- Straps: Chain length can be customized for crossbody or shoulder carry.
- O-rings and chain: Secure hardware is critical for bag durability; reinforce as needed.
- Finishing: Weave in ends neatly, tighten all attachments, adjust hardware to your aesthetic preference.
Conclusion
This fancy t-shirt yarn bag combines the strength of textured stitches and sturdy yarn with the elegance of metallic hardware and a tailored cover flap. The careful mix of herringbone, slip stitch, and half double crochet creates a modern aesthetic, while well-placed stitch markers ensure precision in every section. The result is a professional-quality handbag with practical dimensions, comfortable carry, and versatile styling—ideal for special occasions or elevated daily use. Every detail, from the shaped corners to the buckled flap, underscores both style and structural integrity, making this project notable both for skill-building and show-stopping results.