Give your leftover T shirts a fresh purpose with this Free Crochet Bag With T shirt Yarn Pattern for a simple useful and handmade bag.
One quiet afternoon, you find an old T-shirt that you no longer wear and wonder if it could become something useful. With a little creativity, that simple fabric can turn into soft, colorful yarn and then into a beautiful handmade bag. The Gepradocroche channel shows this idea in a simple and inspiring way, making the project feel easy to follow even for beginners.
Free Crochet Bag With T-shirt Yarn Pattern | Simple Project
A free crochet bag with T-shirt yarn pattern is a lovely choice for anyone who enjoys practical handmade projects. T-shirt yarn gives the bag a soft but strong texture, while its slightly stretchy nature makes it comfortable to carry. It is also a smart way to reuse old clothes instead of throwing them away.
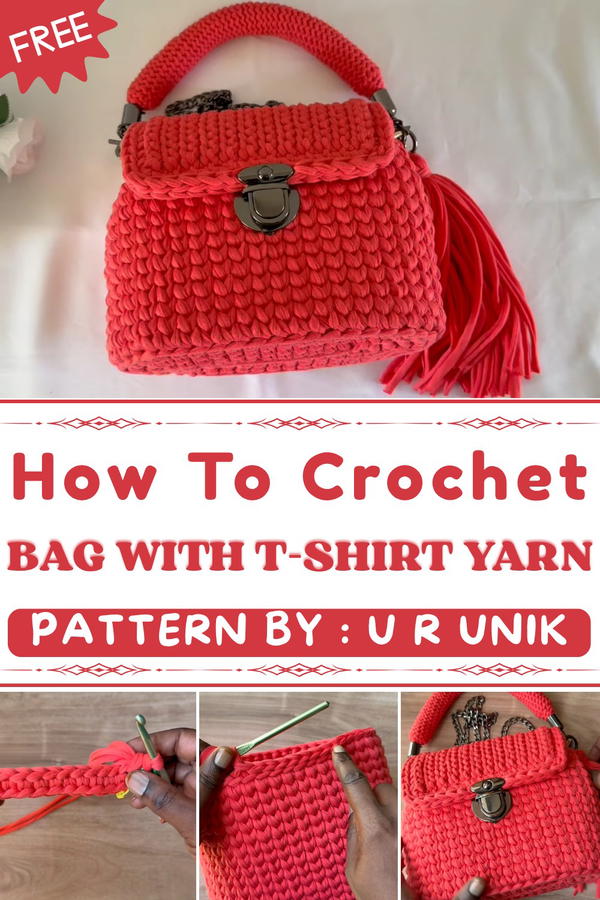
The bag can be used for shopping, carrying small daily items, going to the market, or even as a casual summer handbag. Its working style is based on simple crochet movements, with stitches built step by step to create a firm and useful shape. The thickness of T-shirt yarn also helps the bag grow quickly compared with very fine yarn.
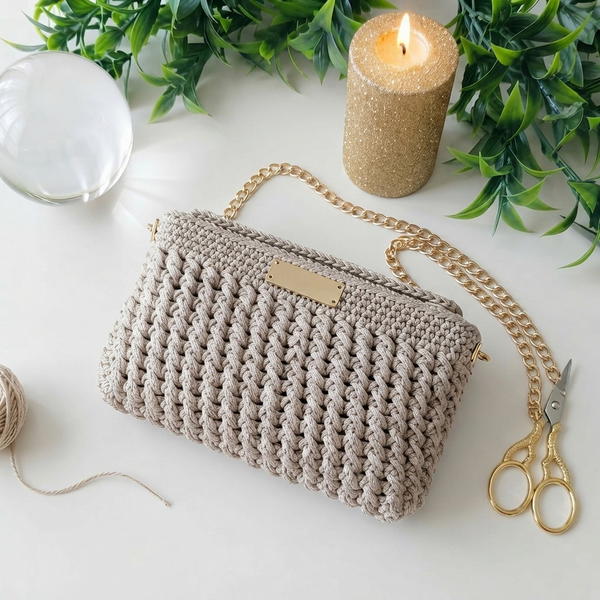
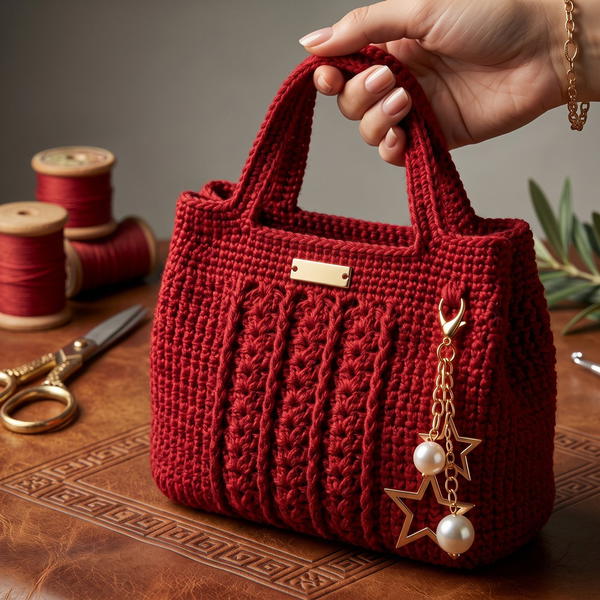
One of the most attractive features is its shape. A rounded or gently curved body combined with a neat handle gives the bag a stylish handmade look. The smooth texture, clean edges, and simple structure make it beautiful without looking overly complicated. Different T-shirt colors can also create playful patterns and make every finished bag feel personal and unique.
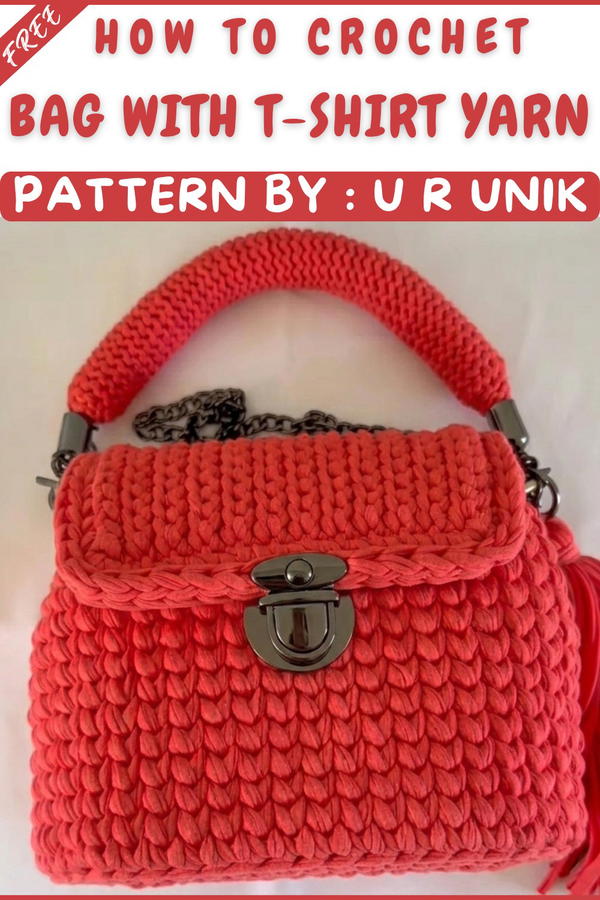
T-Shirt Yarn Oval Bag Pattern
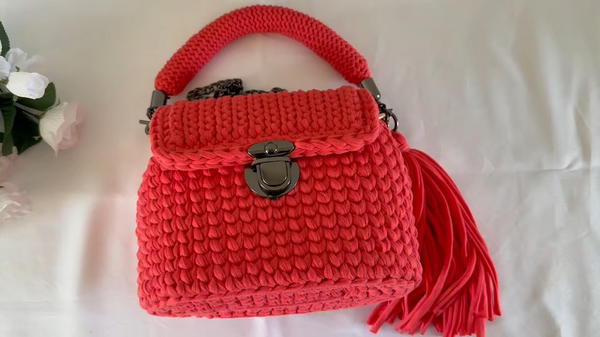
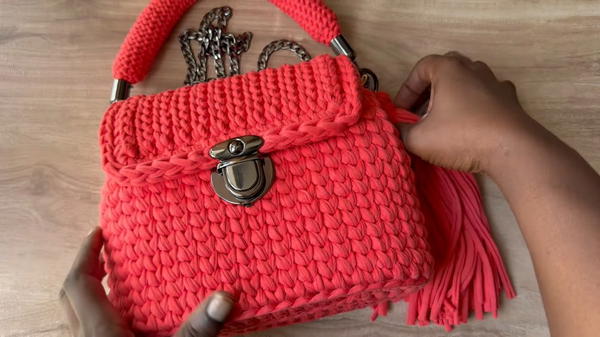
This project features an oval-bottomed bag worked in sturdy 2cm t-shirt yarn, with a structured body, flap cover, custom strap, and modern hardware accents. The pattern guides you through detailed shaping techniques, invisible joining, and adding professional finishes. Special attention is given to corners, strap construction, and hardware integration.
Pattern Important Tips
- Double your yarn if using lighter t-shirt yarn for improved strength and structure.
- Mark all corner and increase stitches during the base rounds for symmetry and shape.
- Crochet into back loops when directed to create crisp edges and minimize bulk.
- Work body rounds inside the "V" (under both loops) to achieve a denser, vertical fabric.
- Slip stitch finishing rounds create invisible joins and refined edging.
- Assemble hardware with care, aligning strap, buckle, and tassel placements before securing screws.
- Block or gently shape the bag when finished to enhance crispness and structure.
Skill Level
Intermediate
This bag is suitable for crocheters comfortable with continuous rounds, increases, special loop placement, and handling hardware. Some sewing and assembly skills are needed.
Materials
- Yarn: 2 cm t-shirt yarn (doubled if using light yarn)
- Hooks: 6 mm crochet hook (body), 4.5 mm crochet hook (strap)
- Hardware: Gunmetal chain, center buckle/lock, two strap buckles with screws, one ring for tassel
- Tools: Screwdriver, tapestry needle, stitch markers
- Notions: Scissors
Gauge (and Stitch Pattern)
- Gauge is not critical due to the bag’s structured nature, but base should measure approx. 13–15 cm wide after increasing.
- Main stitch: Single crochet (sc) in back loop and under "V" for body, slip stitch (sl st) for strap/flap.
- Flap is worked in slip stitch rows for a sturdy effect.
Stitch Abbreviations
- ch – chain
- sc – single crochet
- sl st – slip stitch
- blo – back loop only
- st(s) – stitch(es)
Special Stitches
- Single Crochet (Back Loop Only): Insert hook into the back loop only, leaving front loop unworked; used for base edge and round transitions.
- Single Crochet under “V”: Insert hook under both top loops for a dense, vertical fabric in bag body.
- Slip Stitch (Front Loop Only): For flap rows, insert hook in front loop only for smooth, flat rows.
Notes Before Starting
- Use two strands of yarn for the bag body/base; switch to one strand for straps.
- Use stitch markers to identify corners and increases, ensuring symmetry.
- Do not join rounds unless specified; work continuously, moving marker up each round.
- For hardware, check alignment and placement before final screwing or sewing.
Step-by-Step Pattern
1. The Bag Base
- With 6mm hook and double yarn, ch 13.
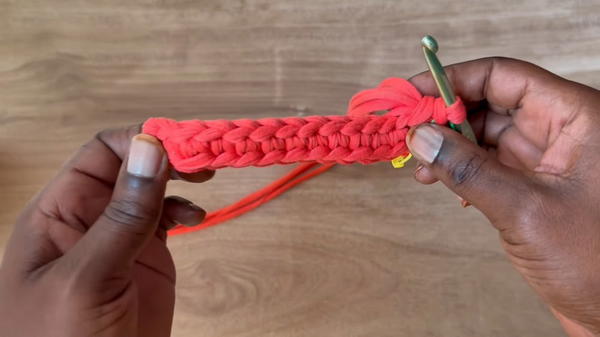
- Round 1:
- Sc into the back loop of each chain across.
- In the final (13th) chain, place 3 sc. Mark each.
- Continue sc along the opposite side of foundation chain (back loops).
- In the last stitch, place 2 sc and mark the second.
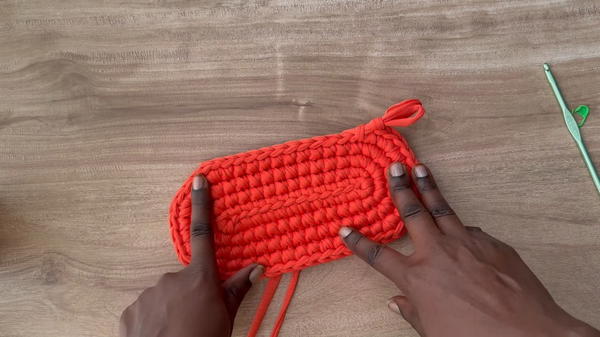
- Rounds 2–5:
- Work sc around, always increasing at marked corners:
- Increases: Place 2 sc at marked stitches (each round).
- Alternate sc and increases as needed to maintain an oval shape.
- Move markers each round as increases advance; expand base until it is flat and even.
- Total base rounds: 4 (to Round 5).
- Work sc around, always increasing at marked corners:
2. Bag Body
- Transition Round:
- Sc in back loops only around entire base for one round.
- Rounds 1–15 (Bag Height):
- Work sc inside the “V” (under both loops) for dense structure.
- Continue in spiral (do not join), moving marker to first st of each round, for a total of 15 rounds.
- Finishing Round:
- Work sl st into back loops only to finish; creates an invisible join and sturdy edge.
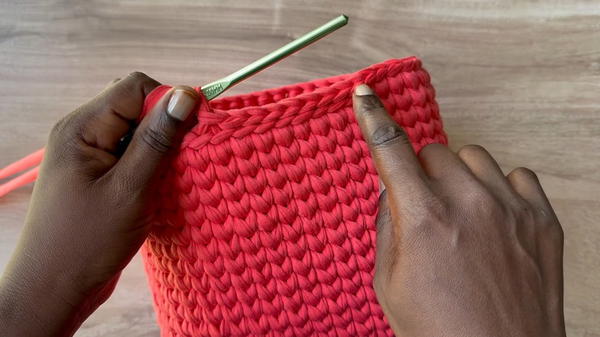
- Work sl st into back loops only to finish; creates an invisible join and sturdy edge.
3. The Cover/Flap
- With 4.5mm hook and single yarn, ch 13 for flap width.
- Rows 1–24:
- Slip stitch in front loops only of each chain/row. After every row, ch 1 and turn.
- Continue for a total of 24 rows, resulting in a flexible rectangular flap.
- Border Round:
- Work sc around flap, adding increases at each corner for a neat border.
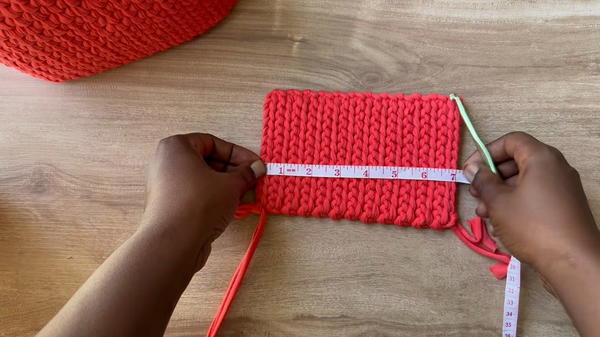
- Work sc around flap, adding increases at each corner for a neat border.
- Final Round:
- Slip stitch around edge for a refined finish.
- Attachment:
- Fold flap and position over bag opening; use slip stitches through both layers (flap and bag backside) to seam.
- Fasten off and weave in ends.
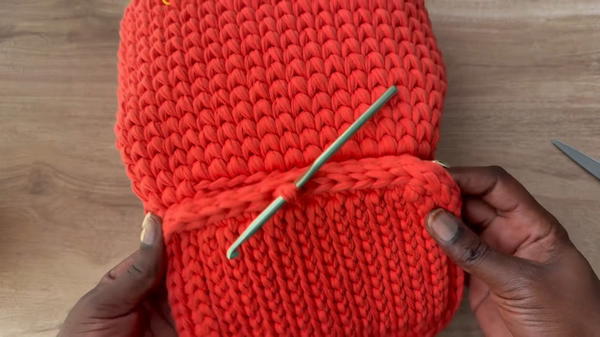
4. The Strap
- With 4.5mm hook and single yarn, ch 3.
- Work slip stitches in a continuous round to form a cord.
- Increase: Add chains between slip stitches until reaching 12 stitches around.
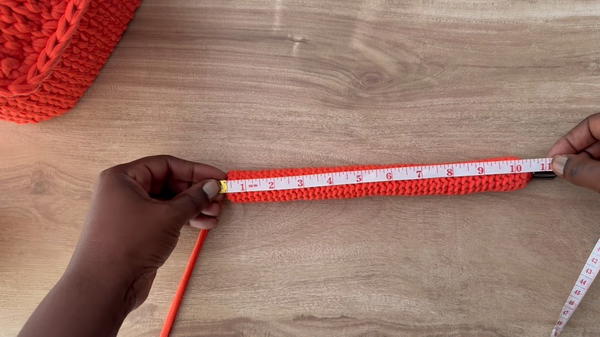
- Continue working 12 sl st per round, spiraling until strap is approx. 27cm (10.5 inches) in length.
- Decrease: Narrow strap by skipping stitches in final rounds; adjust width for hardware insertion.
- Secure hardware: Place hardware at strap ends, fitting screws through crochet fabric; tighten with screwdriver.
5. Final Assembly
- Attach buckle/lock: Position central buckle/lock at bag front and secure (refer to hardware instructions).
- Create tassel:
- Cut multiple strands of yarn 54cm (21in) long; fold and fasten at midpoint, forming a bulky tassel.
- Attach to bag using ring hardware, ensuring flowing finish.
Assembly and Sizing
- Base: Oval, approx. 13–15 cm wide after increases
- Body: Around 15 height rounds, yielding desired depth
- Strap: 27cm (10.5 inches) or adjusted as preferred
- Flap: 13 chains width, 24 rows height for full coverage
- Hardware: All attached after main construction; screw and seam securely
Conclusion
This oval bag design merges strong, sculptural t-shirt yarn with elegant gunmetal hardware, classic chain, and decorative tassel. Special shaping at the base and flap, precise edging, and thoughtful assembly produce a finished accessory with both style and substance. The stepwise approach and detailed marking create a project ideal for confidence-building and skillful finishing, presenting a professional and durable outcome ready for everyday wear or as a handmade gift.