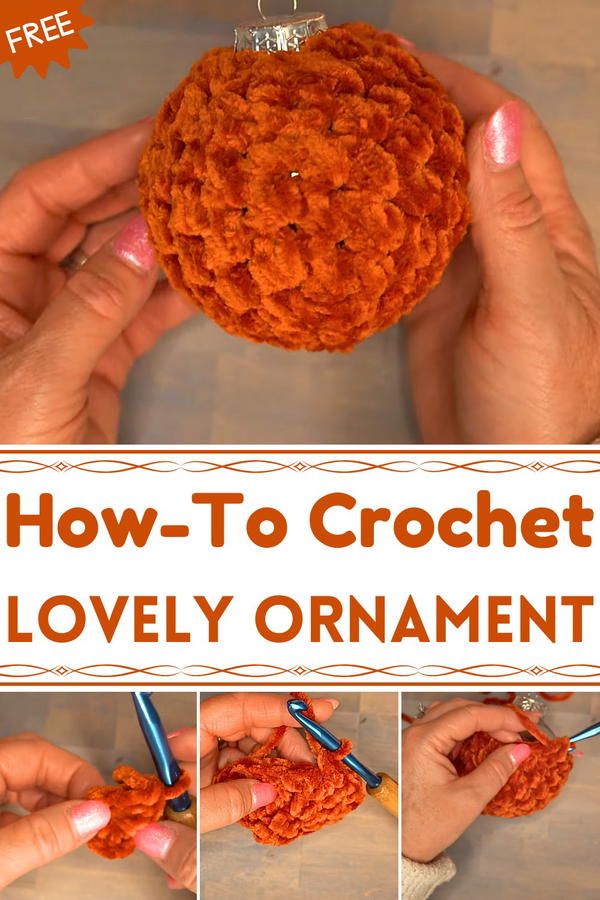
Glow with softness using this Free Crochet Chenille Ornament Pattern that's for elegant holiday décor and cozy handmade festive accents.
Soft winter lights shimmer across the room, reflecting off delicate handmade ornaments that bring warmth and comfort to holiday décor. The Free Crochet Chenille Ornament pattern captures that same cozy feeling, turning plush yarn into beautiful decorations that stand out for their texture and softness. The chenille material gives each ornament a velvety surface, making it both elegant and inviting to touch.
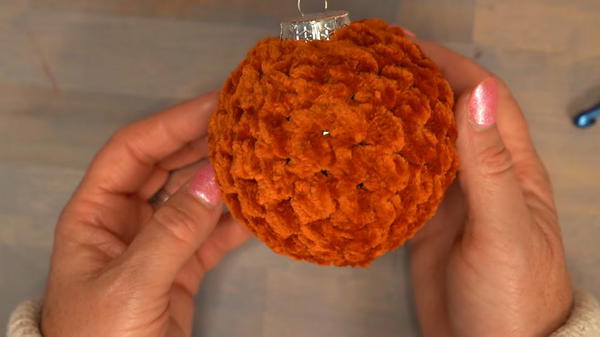
Perfection Crochet Chenille Ornament for Your Tree
Its fluffy finish catches light in a subtle way, adding a luxurious yet homely charm to any Christmas tree or seasonal display. Lightweight and durable, these ornaments are easy to hang and store, keeping their shape year after year. Their simple structure allows endless color combinations, from classic red and white to modern pastel tones, fitting any festive theme effortlessly. Perfect for gift exchanges, they offer a thoughtful handmade touch that conveys warmth and care.
The soft texture also makes them safe and child-friendly, ideal for homes with little ones or pets. Beyond decoration, they serve as lovely keepsakes, holding sentimental value over time. With their comfort-driven beauty and lasting quality, these crochet ornaments bring both elegance and coziness to holiday celebrations, turning simple yarn into a cherished symbol of joy and togetherness.
Special Features
- Chenille Yarn for Texture:
- The pattern uses bulky chenille yarn, providing softness and a luxurious texture that fits perfectly around the ornament.
- Spike Stitch Design:
- The alternating spike and single crochet stitches create a textured pattern that stands out beautifully.
- No Joining Rounds:
- The cover is worked in continuous rounds, creating a seamless look.
- Custom Fit:
- The project demonstrates how to shape the cover perfectly to the ornament ball, ensuring a snug design.
- Fall-Themed Flexibility:
- The choice of yarn color and texture makes the ornament suitable for fall trees or any seasonal décor.
Materials Needed
- Chenille Yarn:
- Any bulky chenille yarn will work, but ensure it is bulky weight for proper pattern execution.
- Note: Smaller chenille yarn will not work well for this pattern.
- Crochet Hook:
- 8mm crochet hook.
- Clear Ball Ornament:
- 3.15-inch size.
- Scissors:
- For cutting yarn ends.
- Crochet Needle:
- Used for weaving in ends.
- Stitch Marker:
- Essential for marking the start of each round.
Step-by-Step Instructions
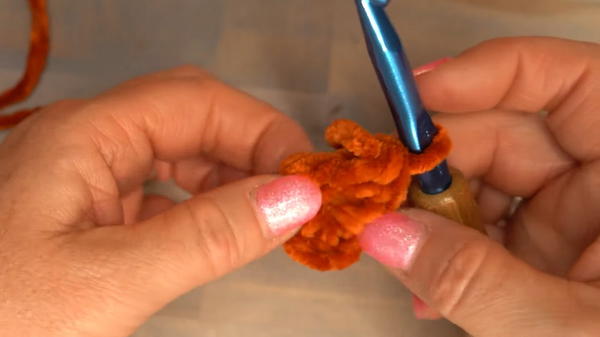
Step 1: Creating the Base Circle
- Skip the Magic Circle:
- Chenille yarn breaks easily when pulling a magic circle tight, so instead:
- Start with a slip knot and chain 3.
- Join the chains to create a circle by pulling the yarn through the first loop.
- Chenille yarn breaks easily when pulling a magic circle tight, so instead:
- Row 1:
- Crochet 7 half-double crochets (HDCs) into the circle.
- Hold the tail and work it into your stitches as you go.
Step 2: Increasing the Base
- Row 2 (Increase Round):
- Work 2 half-double crochets in each of the 7 stitches for a total of 14 stitches.
- Place a stitch marker in the first stitch to mark the start of the round.
- Row 3 (Alternating Increase):
- Begin with 1 half-double crochet, followed by 2 half-double crochets in the next stitch (increase).
- Repeat this pattern across the row to reach 21 stitches.
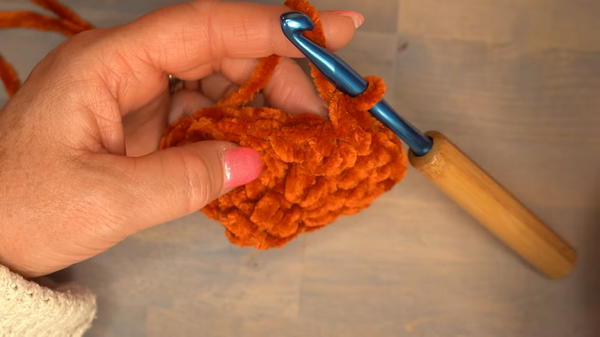
Step 3: Setting the Foundation
- Row 4:
- Crochet 1 single crochet in each stitch around for a total of 21 stitches.
- Replace the stitch marker at the start of the row.
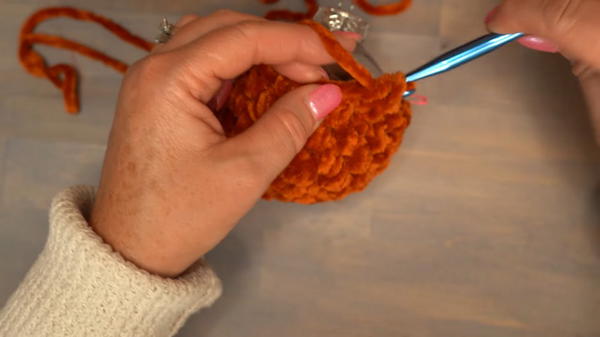
Step 4: Working the Spike Stitch Pattern
- Row 5 (Spike and Single Crochet):
- Begin with a spike single crochet:
- Insert your hook into the row below instead of the current row, pull up a loop, and complete a single crochet.
- Alternate between spike single crochet and a regular single crochet for the entire row.
- End with a spike single crochet and maintain 21 stitches.
- Begin with a spike single crochet:
- Row 6:
- Begin this row with a regular single crochet, followed by a spike single crochet.
- Alternate the stitches for the row, ensuring 21 stitches in total.
- Rows 5-10:
- Alternate the starting stitch for each row:
- Odd rows (5, 7, 9) begin with a spike, while even rows (6, 8, 10) begin with a single crochet.
- Place the stitch marker at the beginning of each row to help track rows, especially since chenille yarn can make stitches harder to see.
- Alternate the starting stitch for each row:
- Row Count Check:
- Count the bumps created by the spike stitches to verify you have completed all 6 rows of the pattern.
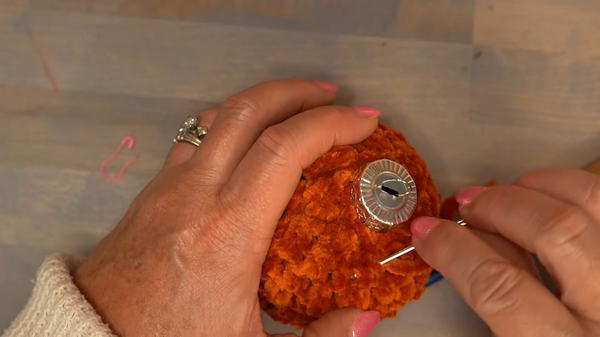
Step 5: Shaping the Cover
- Row 11 (Decrease Row):
- Begin decreasing by alternating 1 half-double crochet and 1 half-double crochet decrease:
- Yarn over, insert into the next stitch, pull through, insert into the following stitch, yarn over, pull through, and complete the decrease.
- After completing this row, you will have 14 stitches.
- Stretch the cover and insert the ornament ball at this point.
- Begin decreasing by alternating 1 half-double crochet and 1 half-double crochet decrease:
- Row 12 (Final Decrease Row):
- Work continuous half-double crochet decreases around the entire row until you have 7 stitches left.
- Work continuous half-double crochet decreases around the entire row until you have 7 stitches left.
Step 6: Finishing the Cover
- Secure the Top:
- Cut a tail and tie a knot.
- Weave in Ends:
- Use a crochet needle to weave through the inside loops around the top row to tighten the stitches.
- Trim any excess yarn, and hide the tail inside the work for a clean finish.
Level of Difficulty
- Beginner-Friendly to Intermediate:
- The basic stitches (slip knot, chain, half-double crochet, single crochet) are simple and beginner-friendly.
- Slightly more challenging aspects include spike stitch execution and managing decreases smoothly.
Tutor's Suggestions
- Use Bulky Chenille Yarn:
- Ensure your yarn is bulky weight for accurate pattern execution; thinner yarn will not stretch and fit the ball correctly.
- Skip the Magic Circle:
- The instructor advises against using a magic circle with chenille yarn due to its fragility. Instead, use the chain-3 method for creating the base.
- Keep Track of Rows:
- Always use a stitch marker and count rows carefully, as the fuzzy texture of chenille yarn makes it difficult to see details.
- Stretch Before Finishing:
- Place the ball inside the cover during the decrease row to ensure the stitches stretch and fit snugly.
Uses
- Holiday Décor:
- Great for decorating fall, winter, or Christmas trees.
- Gift Ideas:
- A thoughtful, handmade item that can be gifted during the holidays.
- Seasonal Home Accents:
- Perfect for creating unique centerpieces or hanging decorations.
A Handy Tip
When working with chenille yarn, maintain consistent tension to prevent stitches from loosening. Keep your hands relaxed to avoid the yarn breaking during tightening.
Conclusion
The Spike Stitch Chenille Ornament Cover combines texture, softness, and functionality to create a stunning yet simple holiday decoration. By using bulky chenille yarn and alternating spike stitches with single crochet, you can craft a snug-fitting cover for a 3.15-inch ornament ball. With clear, beginner-friendly tips and adjustments for chenille yarn, this tutorial ensures a successful and satisfying result.


