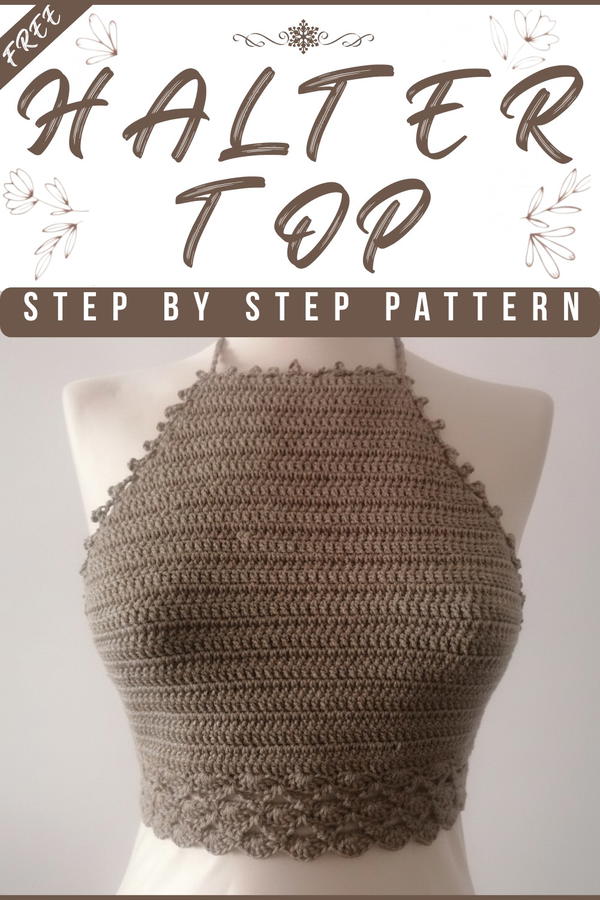
Get inspired by this bright crochet halter top pattern that’s perfect for sunny days, super comfy, and adds a fresh, stylish touch to any outfit.
This cool and breezy top is perfect for warm sunny days when you want to feel fresh and stylish. Made with soft yarn, it gently hugs your body, making you comfortable while showing off a simple, pretty design. The open back and light fabric make it a great choice for beach trips, parties, or casual outings. Its way of tying around the neck adds a playful touch, making it look fun and flirty.
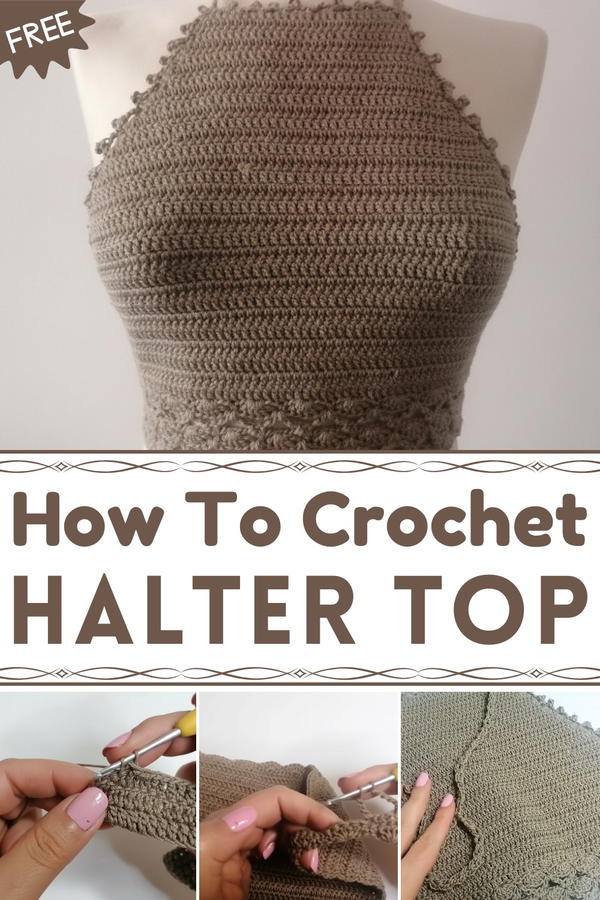
Vibrant Crochet Halter Top Pattern to Stand Out Fast
You can wear it alone or pair it with a skirt, shorts, or jeans, creating many lovely styles. The delicate stitches create a beautiful texture that looks handmade and special. It is light, airy, and easy to move in, so you stay cool and comfy all day. Whether for a casual day out or a special moment, this top brings a bright, youthful charm to your wardrobe that many will admire.

Crochet Summer Top Pattern
Special Features:
- Lightweight and breathable fabric ideal for summer
- Uses double crochet (dc), single crochet (sc), chains (ch) and fans
- Uses small crochet needles (size 2.0-2.5 mm) for a neat, tight fabric
- Suitable for beginners with familiarity of increase techniques
- Size adaptable from Small to XL using measurement guidelines
- Great as a handmade gift or personal wardrobe piece
Skill Level:
Beginner/Intermediate – basic stitches with increases and fan stitch pattern
Materials Needed:
- Acrylic yarn like Katia Saigon (100% acrylic, 100g/300m) or cotton
- Crochet hook size 2 mm or 2.5 mm
- Tapestry needle, scissors, measuring tape
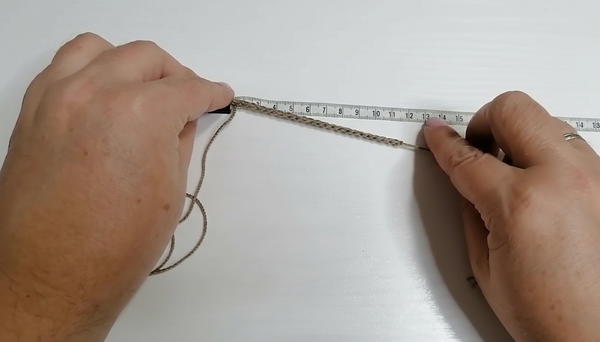
Step 1: Take Your Measurements & Chain Foundation
- Measure your bust circumference divided by two for the front width. Use a measuring tape to chain enough stitches to reach these widths:
- Small: 12 cm
- Medium: 13 cm
- Large: 14 cm
- XL: 15 cm
- Chain loosely to this measurement; no need for specific multiples or even numbers.
- No extra chains are needed—this is your base width.
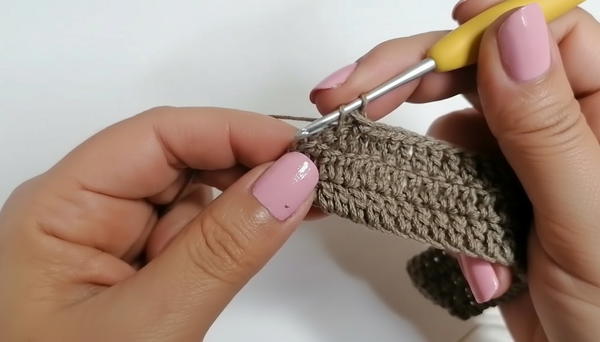
Step 2: Start First Row with Double Crochet (dc)
- Chain 3 (counts as first dc).
- Starting at the 4th chain from hook, place 1 dc in every chain across the foundation chain.
- Turn work and chain 3 to begin Row 2.
Step 3: Row 2 - Increase at Beginning and End
- At the start of the row, make 2 dc in the first stitch (increase).
- Continue with 1 dc in each stitch across.
- At the end, make 2 dc in the last stitch (increase).
- Chain 3 and turn.
Step 4: Repeat Increases
- Continue increasing 2 dc at the start and 2 dc at the end of every row.
- Work until the piece reaches the desired length for your bust coverage (about 26 cm for Medium size; adjust as needed).
- Try on the piece to adjust length as desired.
Step 5: Make Side Chains for Straps
- At the top corners, chain loosely to form straps of these approximate lengths:
- Small: 12 cm
- Medium: 15 cm
- Large: 17-18 cm
- XL: 18+ cm
- Secure the chains and cut yarn, leaving a tail for weaving in.
- Repeat for both sides.
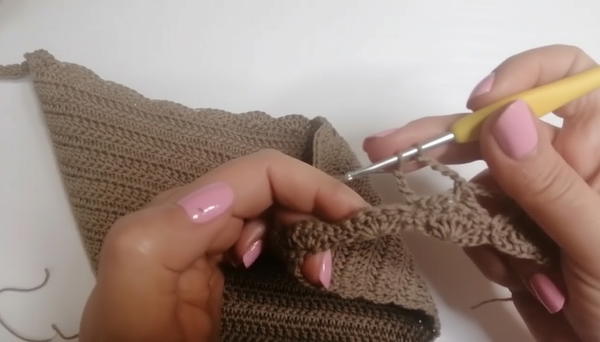
Step 6: Fan Stitch Section for Body
- Chain 3 to start.
- Skip 2 stitches, then in the third stitch, make 5 dc (this creates a fan).
- Skip 2 stitches and make 1 sc in the next stitch.
- Repeat across the row: fan of 5 dc, sc with 2 sts skipped in between.
- Adjust the number of fans according to the width you need.
Step 7: Following Row with Fans and Chains
- Chain 4 at the start.
- Into the middle dc of the fan below, make 2 dc.
- Chain 5, sc in between the fans.
- Repeat the pattern across the row.
- Continue alternating fan rows with chain rows until the top reaches your desired length.
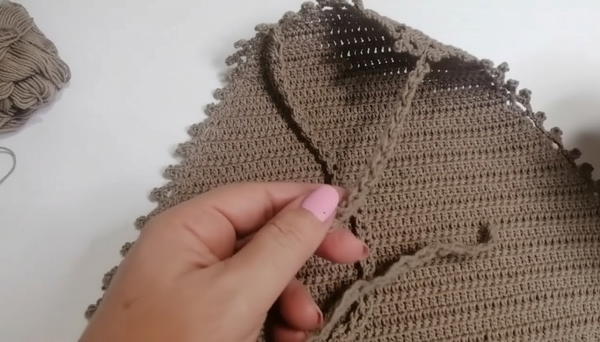
Step 8: Shape & Finish the Top
- At the top edges, work in rows of dc as needed to maintain shape for armholes.
- Finish the bottom edge with a neat border of sc or chains for stability.
- Attach straps by sewing the chain ends securely to the back or leaving adjustable.
Step 9: Add Neck Straps
- Chain the length needed for neck straps (about 44 cm for Medium).
- Sew or tie straps at the neck edges to secure fit. Use buttonholes or knots if desired for adjustability.
Step 10: Weave in Tails and Block
- Weave in all loose ends securely with a tapestry needle.
- Lightly block or steam your top for an even and polished look.
Tutor’s Tip:
Use tight tension with a small hook to avoid sagging or transparency. Adjust the increases if you want a looser or tighter fit and always try your top on as you go for best fit.
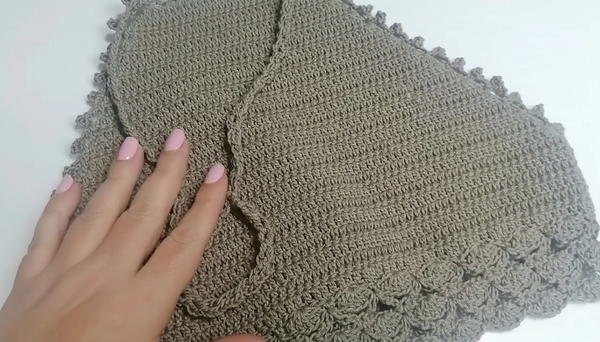
Conclusion:
Your handcrafted summer top is now ready! This lightweight and breathable top with elegant fan stitch detailing is perfect for warm weather and stylish layering. Customize colors and sizes to create your ideal piece.