Crochet a beautiful openwork maple leaf with our free pattern that adds elegant and airy details to your autumn projects with ease and style.
There’s something truly magical about capturing the delicate beauty of autumn in a handmade creation. This project lets you do just that with the free crochet openwork maple leaf pattern, a perfect design to celebrate the changing seasons in style.
Free Crochet Openwork Maple Leaf Pattern for Seasonal Home Accents
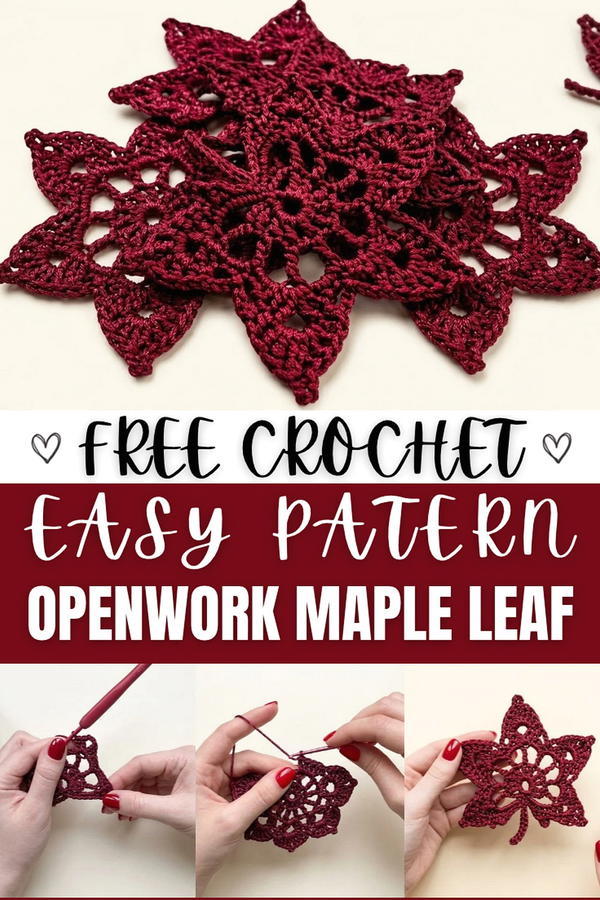
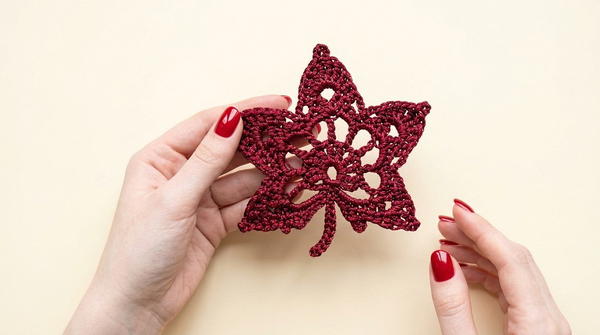
This openwork maple leaf features an elegant and airy style that feels both timeless and fresh. Its lightweight design makes it ideal for adding subtle fall-inspired touches without overwhelming your space or outfit. Whether you want to brighten up your home decor with seasonal accents or craft unique embellishments for clothing and accessories, this piece fits effortlessly into a variety of uses. Pair it with cozy sweaters, scarves, or use it as decorative motifs on blankets and table runners during crisp autumn days.
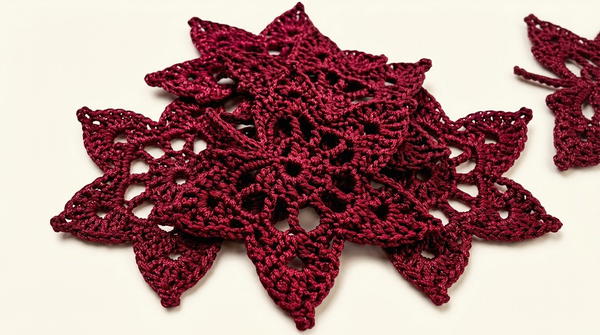
The pattern showcases a stunning texture through its open, lace-like stitches, creating a delicate interplay of light and shadow. The leaf’s intricate veins and scalloped edges evoke natural elegance, demonstrating expert craftsmanship while remaining approachable for crocheters of various skill levels. This balance of intricate detail and breathable design makes each finished leaf both visually captivating and comfortable to wear or display.
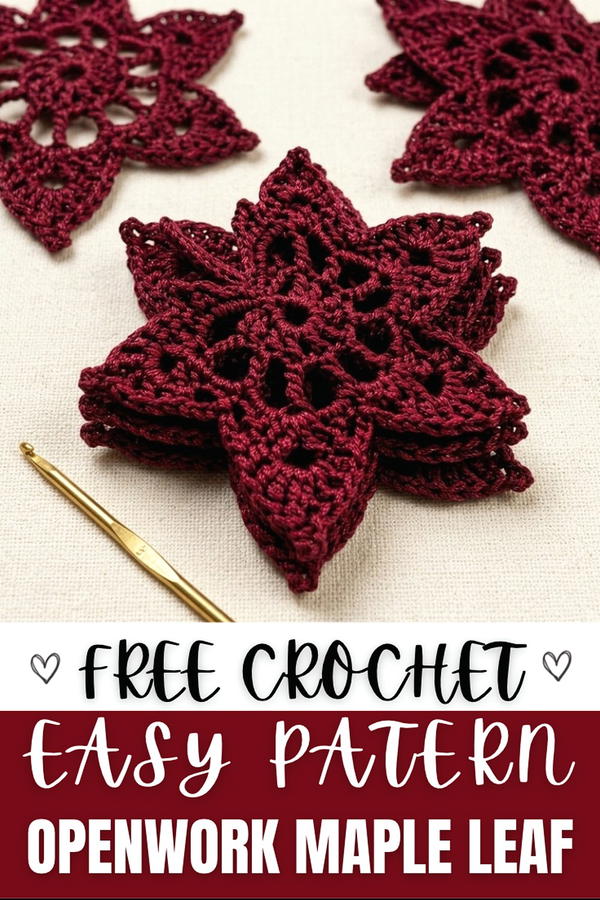
Crochet Pattern: Lacy Maple Leaf
This Lacy Maple Leaf Crochet Pattern captures the beauty of autumn in a delicate and elegant design. With its intricate shaping and stunning texture, it replicates the natural curves and points of a maple leaf. This project is perfect for seasonal home decor, table settings, or embellishments for larger crochet projects such as garments or accessories.
Skill Level
Intermediate – The pattern includes a mix of foundational crochet techniques and intermediate-level skills, such as double treble crochets, picot edging, and shaping arches into leaf points. Suitable for crocheters with a solid understanding of basic stitches and working in the round.
Materials
- Cord/Yarn: 2 mm polyester cord or yarn in an autumn-inspired color (e.g., red, orange, yellow, or green). Polyester cords are ideal for this project due to their durability and shape retention.
- Crochet Hook: 2.5 mm hook for clean, crisp stitches.
- Tools:
- Scissors for cutting ends.
- Yarn needle for weaving in ends.
- Steam iron or pressing cloth (for finishing and blocking).
Stitch Abbreviations
- Ch: Chain
- Sl St: Slip Stitch
- SC: Single Crochet
- HDC: Half Double Crochet
- DC: Double Crochet
- DTR: Double Treble Crochet
- Picot: A decorative chain-3 or chain-4 loop attached back to the previous stitch.
Special Stitches
Double Treble Crochet (DTR):
A tall stitch used to form arches and create distinct leaf points.
- Yarn over three times.
- Insert the hook into the designated stitch, yarn over, and pull up a loop (5 loops on hook).
- Yarn over and pull through 2 loops at a time until only one loop remains on the hook.
Picot Stitch:
A lace embellishment used along the edges to define the characteristic texture of a maple leaf.
- Chain 3 or 4 stitches.
- Slip stitch back into the base of the chain (or a specified stitch).
Useful Tips
- Tension Control: Keep your stitches consistent, particularly for the taller stitches (DTR), to maintain a symmetrical shape.
- Track Progress: Use stitch markers to identify arches and points while working on each section to ensure accuracy.
- Blocking Advice: Use a steam iron with a cloth barrier to gently block and flatten the leaf, highlighting the lace details.
- Prevent Fraying: Since polyester cords can fray, gently melt the cut ends with heat for durability. Proceed with caution to avoid damaging nearby stitches.
Pattern Instructions
This lacy maple leaf is created in four main sections (center, arches, points, and edges), and concludes with a sturdy stem. Each section builds upon the previous one to form the complete leaf.
Foundation
Round 1
- Begin by chaining 6 stitches.
- Join the last chain to the first with a Sl St to form a loop.
Row 1: Center Setup
- Step 1: Start with Ch 4 (counts as the first DTR).
- Step 2: Work 5 DTR into the ring, each separated by a Ch 1.
- Step 3: Follow with 4 DC, again separated by Ch 1 between each.
- Step 4: End the round with Ch 4, and join to the starting stitch with a Sl St.
- At this point, you have established the circular center.
Row 2: Forming Arches
- Step 1: Begin by chaining 7 stitches (this creates the first arch).
- Step 2: Work 1 DTR into the base of the first DTR stitch from the previous row.
- Step 3: Continue with a pattern of alternating Ch 3 and tall stitches (DTR, DC) to form arches, working evenly around the rest of the stitches in the circle.
- You should end up with 5 arches that serve as the foundation for the maple leaf points.
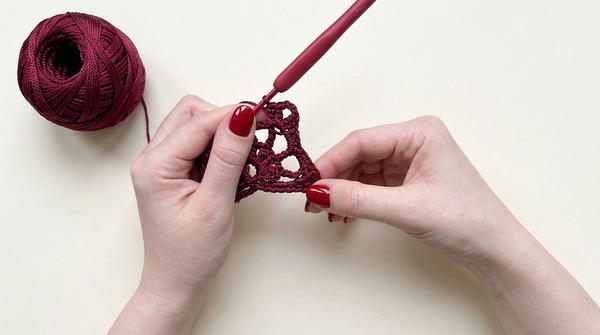
Row 3: Shaping the Leaf Points
Each arch corresponds to one tip of the maple leaf.
- Step 1: In the first arch, work 5 SC evenly spaced.
- Step 2: Begin shaping the first leaf point as follows:
- Work 1 HDC, 1 DC, Ch 3 (forms the peak), 1 DC, and 1 HDC, mirrored on the opposite side of the arch.
- Step 3: Repeat this pattern for the other 4 arches, adjusting the position of the tallest stitches (DTR or DC) at the center of each arch to form a natural curve.
- By the end of this step, your leaf structure will take shape with 5 defined points.

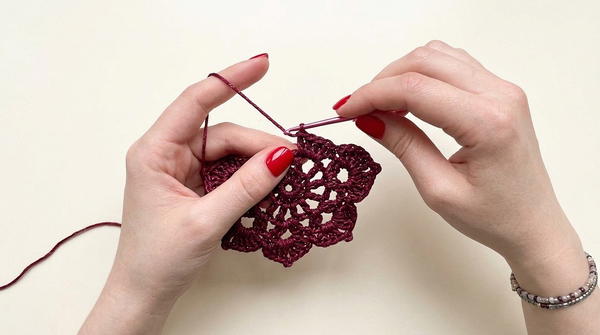
Row 4: Adding Lace Edges
This step creates the intricate lace detail signature to maple leaves.
- Step 1: Begin working along the edges of the leaf. Alternate small stitches (Sl St, SC, HDC) and tall stitches (DC, DTR) to create flowing curves along the lobes.
- Step 2: Add picots at regular intervals, especially at the tips of the points and along the outer edges, for added texture.
- For each picot: Chain 3 or 4, then slip stitch back to the base stitch.
- Step 3: Work symmetrically across all points and lobes, ensuring smooth transitions between different stitch types.
Stem
The stem is added at the base of the leaf to complete the design.
- Step 1: Locate the base of the leaf (where the foundation stitches were started). Attach the yarn if needed.
- Step 2: Ch 10 to form the stem's length.
- Step 3: Work Sl St back down the chain to create a strong, sturdy stem.
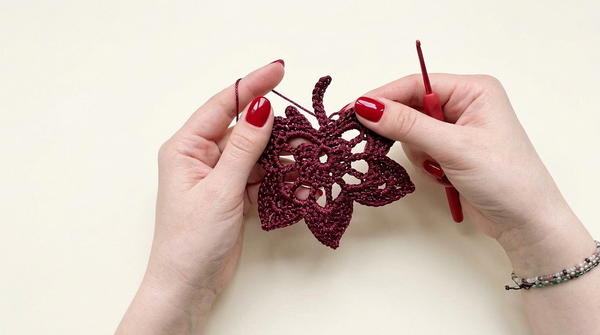
- Step 4: After reaching the base of the leaf, secure the stem with a Sl St, then fasten off and cut the yarn.
Finishing
- Secure the Ends: Use a yarn needle to weave in any loose ends on the reverse side of the leaf. If using polyester cord, carefully melt the ends with heat to prevent fraying.
- Steam and Block: Lay the finished leaf flat. Cover with a thin cloth and gently press with a steam iron to smooth out the fabric and highlight the lace texture. Avoid direct heat contact with the cord or yarn.
Conclusion
The Lacy Maple Leaf Crochet Pattern is both decorative and functional, making it an excellent project for the autumn season. The detailed points, arches, and lace edges combine to create a stunning design that can be used as standalone decor or as part of a larger creative project. Experiment with different yarn colors to evoke the vibrant tones of fall.