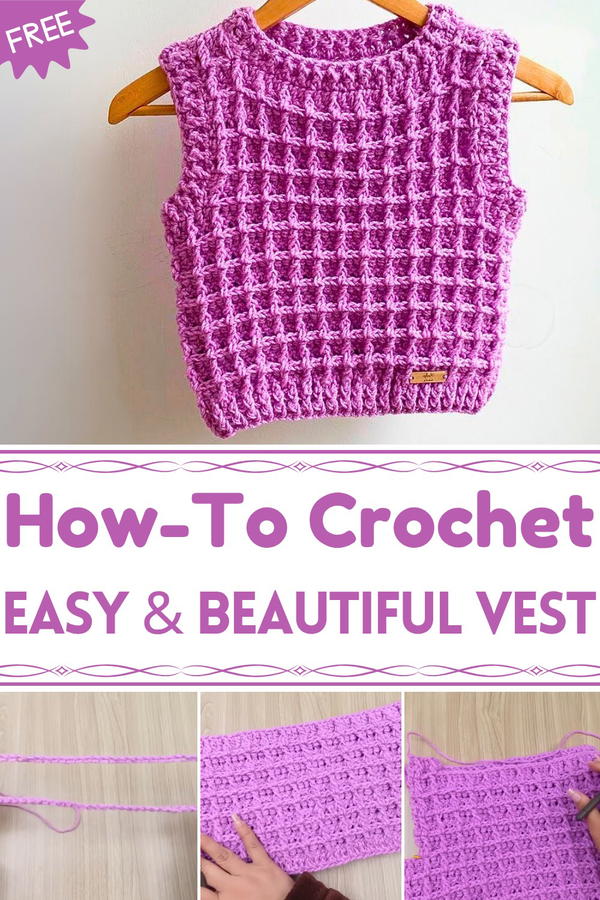
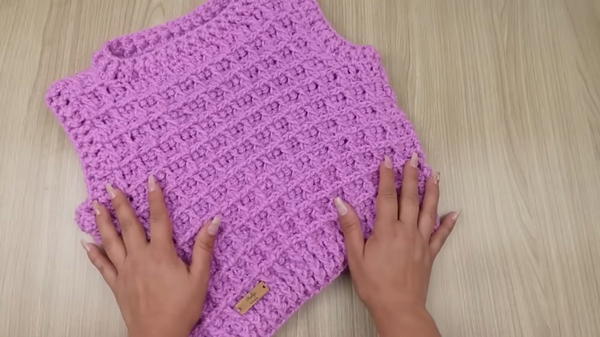
Elevate your wardrobe with this Free Crochet Vest Pattern, a stylish handmade piece that adds cozy texture and unique charm to any outfit.
On brisk mornings when layering becomes essential, a lightweight vest can transform an outfit from simple to sophisticated while offering warmth and comfort. The Free Crochet Vest pattern turns yarn into a versatile piece that combines practicality with subtle style. Its open yet structured stitch work creates breathable texture, making it ideal for layering over shirts, dresses, or casual tops throughout the year.
Simple Crochet Vest Pattern for Stylish Wardrobe Essentials
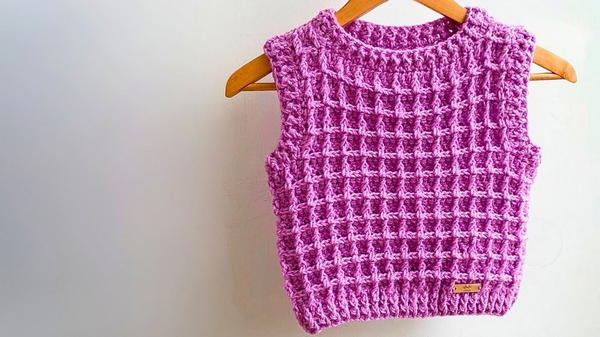
Perfect for transitional seasons or cooler indoor spaces, this vest adds dimension and charm without bulk, allowing freedom of movement and effortless wear. The repetitive crochet process provides a soothing, meditative experience suitable for both beginners and experienced crocheters, resulting in a finished piece that reflects patience, skill, and personal touch.
Beyond personal use, this vest makes a thoughtful handmade gift, offering functionality and elegance that store-bought garments rarely match. Its adaptable design allows for creative choices in color, yarn type, and finishing details, ensuring each piece is unique and personalized. Combining comfort, versatility, and handmade appeal, this vest serves as a wardrobe staple that balances utility and style.
Materials Needed
- Yarn: 3 mm yarn, approximately 200 g.
- Crochet Hook: 5.5 mm (to give the vest a loose and manageable structure).
- Additional Tools:
- Stitch markers
- Scissors
- Yarn needle (for securing and hiding threads)
Step 1: Creating the Base of the Vest
1. Starting the Chain:
- Create a slip knot and crochet a base chain with 88 chains (70 cm) for size 7-8 years.
- Optional: A reference chart is provided in the video for other sizes.
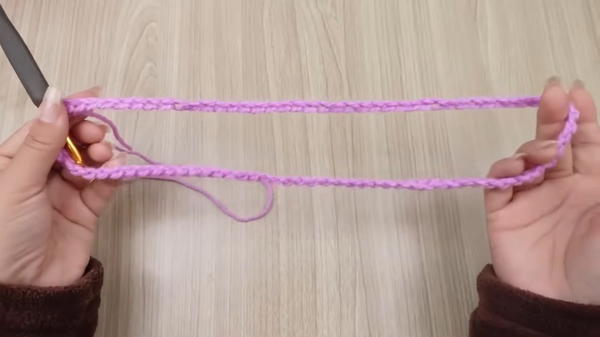
2. Connecting the Chain:
- Holding the chain at both ends, ensure the chain is not twisted.
- Join the first chain with the last using a slip stitch, forming a circular base.
3. First Round: Double Crochet (DC):
- Chain 1, then crochet 88 double crochet (DC) stitches into each chain stitch of the base chain.
- At the end of the round, close it using a slip stitch at the top of the first DC.
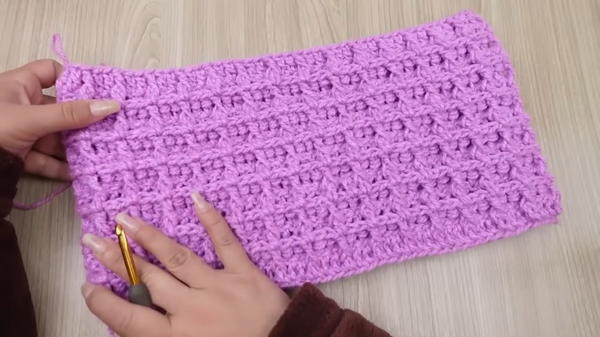
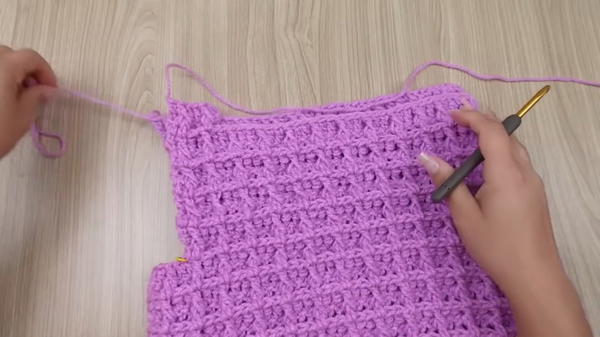
Step 2: Learning the Waffle Stitch Pattern
1. Round 2 (Waffle Stitch Basic Setup):
- Begin by chaining 1 and turning your work (to work on the opposite side).
- Crochet 1 front-post double crochet (relief stitch) on the first stitch.
- Crochet 2 double crochets in the next 2 stitches.
- Repeat this sequence:
- Relief stitch, 2 double crochets
- Complete the round, ensuring you finish with 2 double crochets, and close with a slip stitch.
2. Round 3:
- Chain 1 and turn your work.
- Replace the 2 double crochets from the previous round with front-post relief stitches and the relief stitch with a double crochet (reversing the roles from Round 2).
- Sequence:
- 2 Relief stitches, 1 double crochet
Notes on Repeating Steps:
- Alternate Round 2 and Round 3 to form the waffle stitch pattern.
- Continue crocheting following this pattern for 14 rounds (or 19 cm) for the body section before starting the armholes.
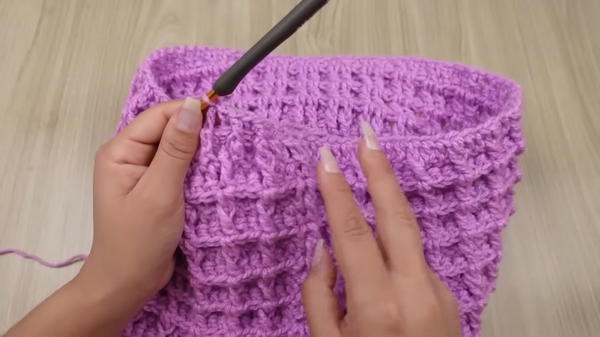
Step 3: Creating the Armholes
1. Marking the Armholes:
- Divide your work into two sections (front and back).
- Count 6 stitches on either side of the markers for each armhole.
2. Working the Armholes Separately:
- Begin on one side and crochet the front section, maintaining the waffle stitch pattern (2 raised stitches, 1 double crochet).
- Turn your work at the end of each row to continue.
3. Back Section:
- Repeat the same steps for the back section, ensuring symmetry with the front.
- Work 10 rows for the back and 8 rows for the front to allow proper shaping.
Step 4: Adding Shoulder Straps
- Work 6 stitches on each shoulder section, maintaining the waffle stitch pattern.
- Crochet 2 small rows for each strap.
- Finish off and cut the yarn, leaving a small tail for stitching.
- Sew the shoulder sections together using whip stitches.
Step 5: Adding Ribbing to Edges
Neckline:
- Attach yarn to the neckline and work a round of double crochets followed by a round of alternating raised and purl stitches for a ribbed effect.
Armholes:
- Repeat the same process for each armhole to give a clean, snug edge.
Bottom Edge of the Vest:
- Add 2 rounds of ribbing (alternating raised and purl stitches).
- Add 2 rounds of ribbing (alternating raised and purl stitches).
Tutor’s Suggestions
- Customizing Size: Use the size chart provided in the video for reference to adjust the chain length and number of rounds.
- Tension Control: Use a slightly larger crochet hook than usual to ensure the waffle stitch doesn’t make the vest too stiff.
- Symmetry: Use stitch markers to divide sections evenly and ensure precision.
Tip
Before starting the armholes and straps, try fitting the piece to confirm the length and width match your desired sizing. Adjust rows or measurements as needed before continuing.
Conclusion
This waffle stitch vest project is simple yet creative, allowing even beginner crocheters to achieve a polished, stylish design. The detailed instructions and repetitive stitch patterns make it easy to follow while offering opportunities for customization.


