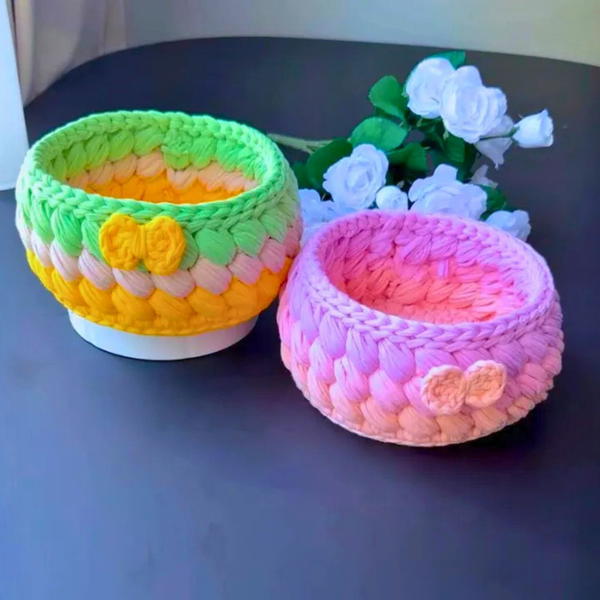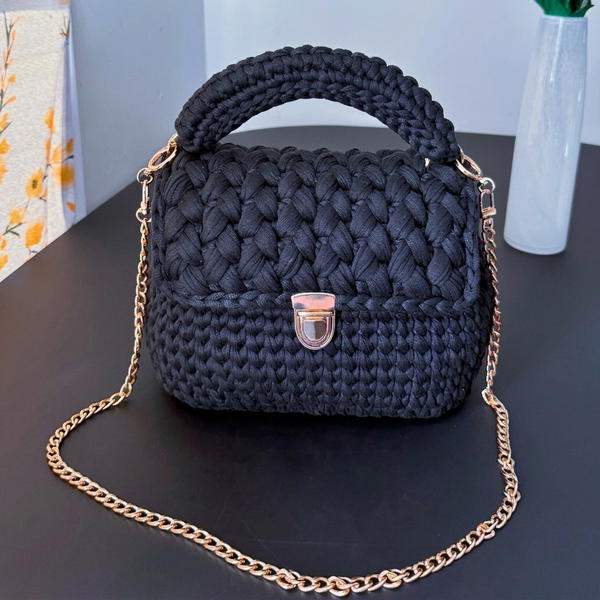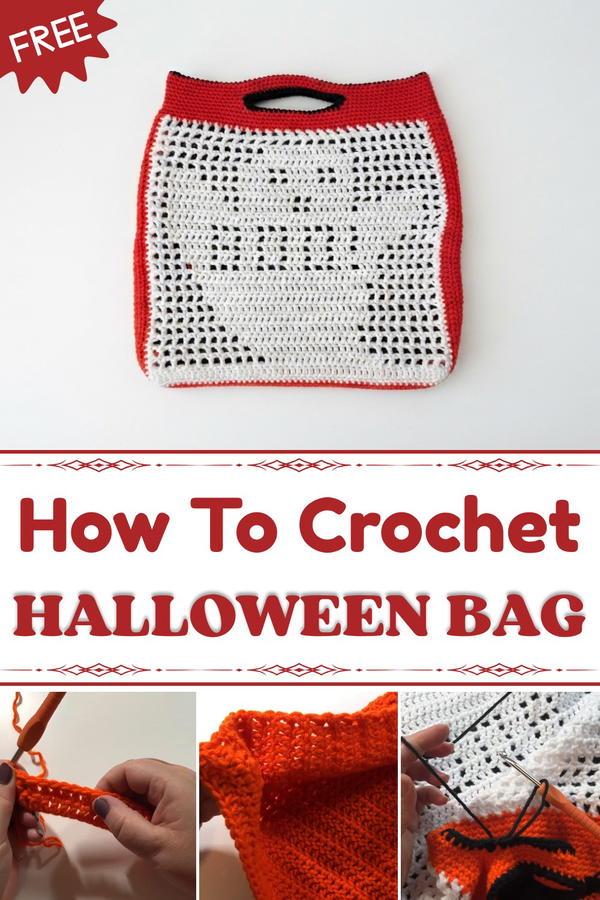
This project is ideal for those with beginner to intermediate crochet skills. It’s a great way to practice working in rounds, creating neat edges, and experimenting with decorative crochet stitches or embellishments. While straightforward enough for motivated newbies, it still offers an enjoyable challenge for experienced crocheters who want to play with design variations and personalization.
With the Free Crochet Halloween Bag Pattern, you’ll finish with a delightful bag that’s both functional and festive. Along the way, you’ll sharpen your stitch techniques, learn easy ways to add charm through simple decorations, and bring a handmade touch to one of the most beloved holidays. If you’re looking to celebrate Halloween with a bit of handmade flair, this project is a perfect fit.
Halloween Crochet Bag Pattern
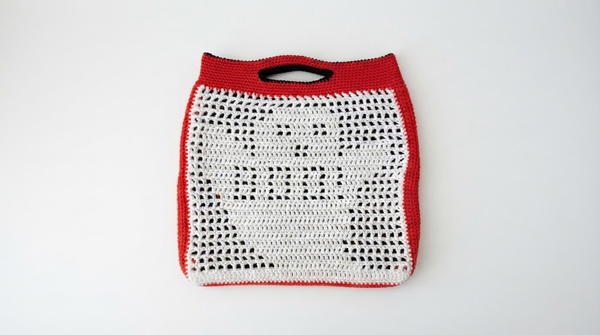
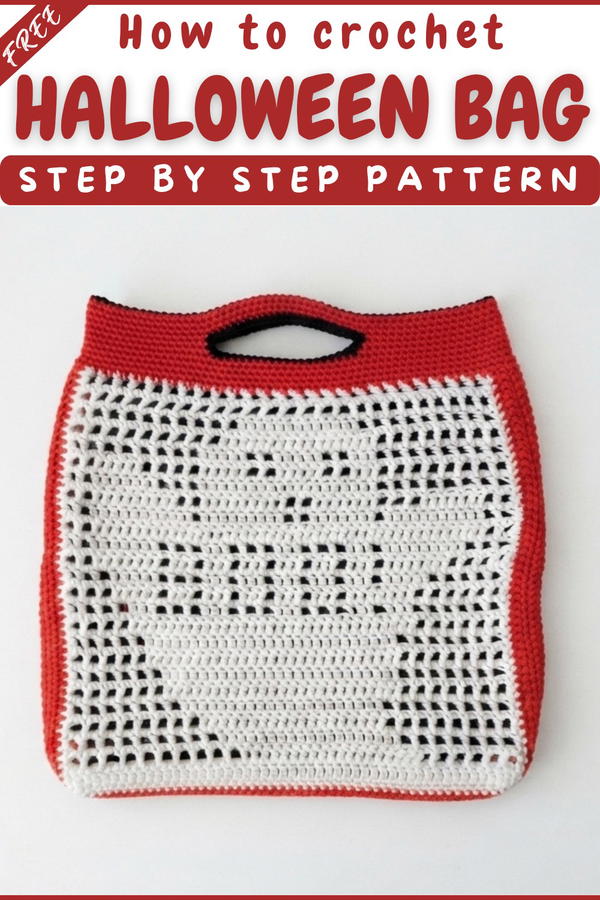
This Halloween bag features a spooky filet crochet motif on the front and a comfortable, sturdy design with integrated handles. Made using medium-weight yarn and a 5mm crochet hook, this bag measures approximately 14 inches wide by 15 inches high (35.5 cm by 38 cm). This easy-to-follow pattern uses basic crochet stitches to help you create a practical and festive accessory.
Quick Overview
- Main material: Medium-weight yarn (Bernat Super Value)
- Hook size: 5 mm (US H-8)
- Bag Size: ~14" wide x 15" tall
- Techniques: chain (ch), double crochet (dc), single crochet (sc), slip stitch (sl st)
- Features: Filet crochet motif, integrated handles, volume band
Notes for Beginners
- Use markers to keep track of your handle placement.
- Always count stitches at end of rows and rounds to maintain the correct size.
- Remember that the chain 2 at the beginning of rows counts as your turning chain, not a double crochet (dc).
- Work with consistent tension for a neat finish.
- Have fun and take your time!
Materials Needed
- Worsted weight yarn in orange, black, and white
- 5 mm crochet hook
- Yarn needle for weaving ends
- Stitch markers (optional)
- Filet crochet motif pattern of your choice (ghost, jack-o-lantern, cat, or moon & stars)
Abbreviations
| Abbreviation | Term | Explanation |
|---|---|---|
| ch | Chain | Yarn over, pull through loop |
| dc | Double Crochet | Yarn over, insert hook, pull through 2 loops twice |
| sc | Single Crochet | Insert hook, pull through 2 loops |
| sl st | Slip Stitch | Insert hook, pull yarn through loop |
Pattern Instructions
1. Back of the Bag
Foundation Chain:
- Chain 53.
Row 1:
- Skip the first 3 chains.
- Work 1 dc into the 4th chain and in each chain across.
- You should have 51 double crochets (dc) by the end of this row.
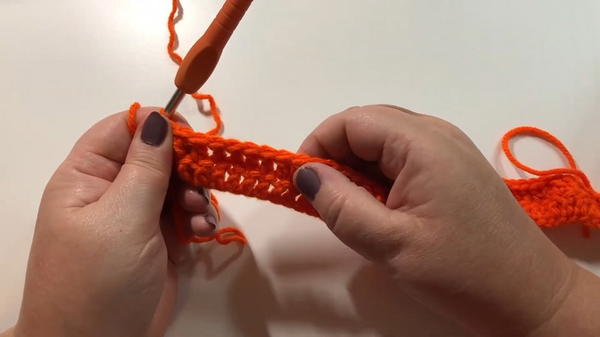
Rows 2 to 25:
- Chain 2, turn.
- Skip the first stitch under the turning chain.
- Work dc in each stitch across, finishing with a dc in the top of the turning chain at the end.
- Maintain 51 dc per row.
- Repeat until you complete 25 rows.
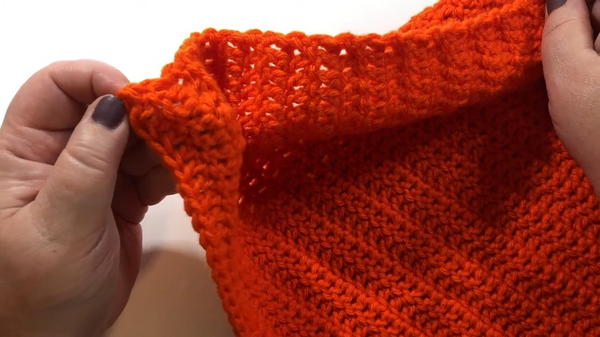
Edging the Back Piece:
- Turn your work sideways.
- Join yarn with a slip stitch (sl st) at a corner.
- Chain 1 to start.
- Work single crochet (sc) evenly around the two side edges and bottom edge.
- In each corner, work 3 sc to create a smooth turn.
- Join with slip stitch to the first sc.
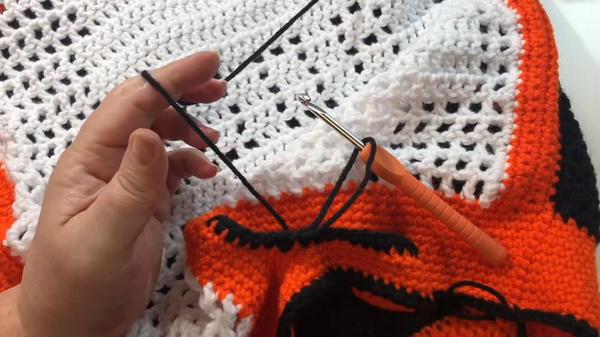
2. Front of the Bag
Choose & Create a Filet Crochet Motif:
- Select one motif (jack-o-lantern, cat, ghost, moon & stars).
- Complete the motif panel following its pattern.
Add Border:
- Join orange yarn at the top corner of the motif.
- Chain 1.
- Work single crochet (sc) evenly around the three sides (two sides and bottom) of the motif, placing 1 sc in each stitch or block, no extra stitches on corners.
- Repeat this border for 5 rows total.
3. Assembly
Join Front and Back Panels:
- Place the back panel over the front motif panel, aligning edges and corners.
- Join orange yarn at a top corner.
- Work single crochet (sc) through both layers along the three sides (two sides and bottom), joining them together.
- Use stitch markers or yarn pieces to mark corners if necessary.
Turn the Bag Inside Out:
- After joining, turn the bag inside out so the seams are hidden.
4. Adding Volume Band and Handles
Top Band — Round 1:
- Join orange yarn at any corner at the top opening.
- Chain 1.
- Work sc in each stitch evenly around the entire top opening.
Add Extra Stitching on Orange Sides:
- On the side areas (orange sections), add 5 extra single crochets (sc) evenly spaced within each round for stability.
Complete 5 Rounds of SC:
- Continue working a total of 5 rounds of single crochet around the top band.
Mark Handle Placement:
- Lay bag flat, find the center of the top band.
- Mark 10 stitches left and 10 stitches right from center on both front and back (total of 20 stitches per handle opening).
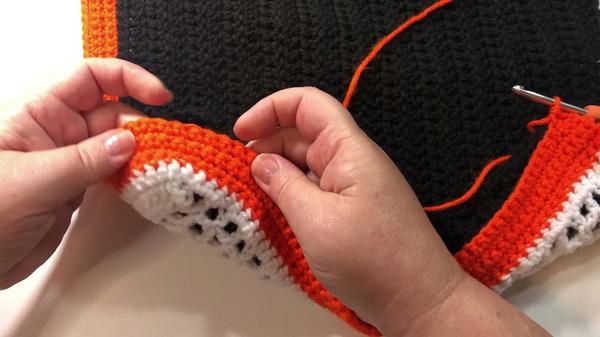
Create Handle Openings:
- Work sc until the first marker.
- Instead of sc, work 20 slip stitches (sl st) across the handle opening to create a gap.
- Resume sc past the opening.
- Repeat the slip stitch section on the other side for the second handle.
Form Handle Bridges:
- At the beginning of the next round, chain 20 across the skipped area.
- On the following round, work 20 sc evenly into this chain space.
Finish Top Band Rounds:
- Work 4 more rounds of sc evenly around the band and handles.
Add Final Accent Round:
- Switch to black yarn.
- Join with slip stitch, chain 1.
- Work a final round of sc around the top band and handles.
- Slip stitch to join and fasten off.
5. Finishing Touches
Edge the Handles:
- Attach yarn at the base of each handle opening.
- Chain 1.
- Work sc evenly around the handle perimeter, working into spaces created by slip stitches for a smooth edge.
- Join with slip stitch and fasten off.
Weave in Ends:
- Use a yarn needle to securely weave in all loose ends.
Assembly & Finished Size
- The finished bag is approximately 14 inches wide x 15 inches high (35.5 cm x 38 cm).
- Integrated handles make carrying comfortable and sturdy.
- The front showcases your chosen Halloween motif with bold, bright colors.
Conclusion
This Halloween crochet bag is a delightful project combining simple crochet stitches with decorative motifs and functional design. Perfect for Halloween gift-giving or festive use, it offers experience with filet crochet, shaping, and panel joining. Remember to practice consistent tension and stitch counting, and don’t rush — your finished bag will be worth it!