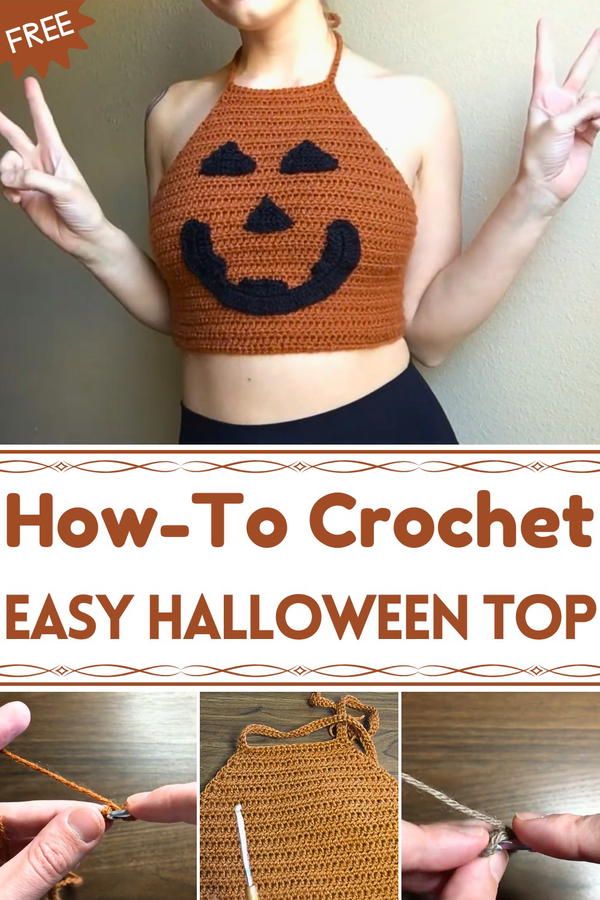
Elevate spooky style with this Free Crochet Halloween Top Pattern, filled with playful handmade details for a fun and festive costume twist.
Autumn evenings often call for something cozy yet stylish, perfect for outings or seasonal events. The Free Crochet Halloween Top brings comfort and charm together in a simple, elegant way. Soft yarn gives it a gentle drape that layers easily over shirts or pairs well with skirts and pants, while subtle stitch details add a touch of texture without being too busy.
Spooky Fun Crochet Halloween Top Pattern for Casual Looks
Lightweight and breathable, it keeps you comfortable for hours, making it ideal for casual wear or festive occasions. Its versatile style works with classic Halloween colors or more neutral tones, letting each piece reflect personal taste. Beyond looks, it adds warmth and a handmade touch that makes it special for both wearing and gifting.
Easy to style, practical, and full of character, this top adds personality to any autumn wardrobe. It’s a piece that feels effortless yet thoughtful, combining simple elegance with seasonal fun. With its cozy fit, soft texture, and subtle charm, the crochet Halloween top turns ordinary yarn into a stylish, wearable accent that brings comfort and a festive touch to everyday fall outfits.
Materials Needed
- Yarn: Approximately 700+ yards of weight 3 yarn (lightweight, soft, and easy to work with).
- Hook: 3.5mm crochet hook for delicate stitching and consistent tension.
- Other Essentials: Scissors, a yarn needle (for sewing pieces together), and stitch markers if needed.
Special Features of the Top
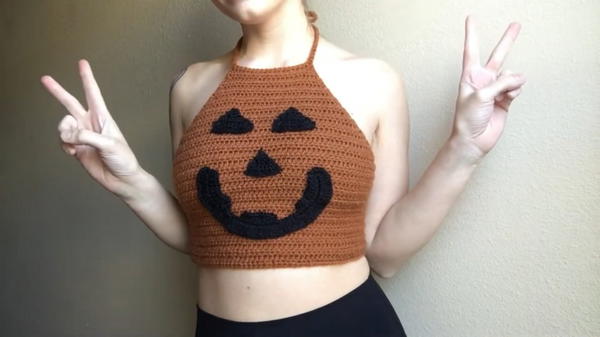
- Festive Design: The top includes Jack-O’-Lantern-inspired eyes, a mouth, and a nose for a playful, Halloween-themed look.
- Adjustable Fit: The tie-back straps make it highly customizable to fit a variety of body shapes and sizes.
- Versatile Uses: Ideal for costumes, festivals, or adding flair to your fall wardrobe.
- Beginner-Friendly Techniques: Uses basic stitches like half-double crochet and single crochet.
Level of Difficulty
The project is classified as beginner to intermediate. Although basic crochet stitches are used, the project involves shaping techniques (such as decreases) and sewing appliqués, which may require some practice for beginners.
Step-by-Step Instructions
1. Creating the Base Panel (Starting with a Rectangle)
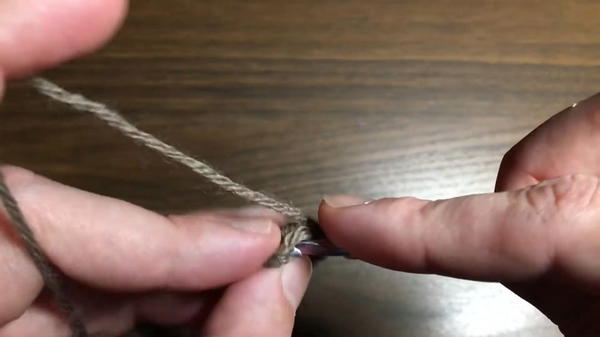
- Begin with a slip knot: Fold the yarn, grab the shorter end, pull through, and insert your hook into the loop. Tighten the knot.
- Chain 70 stitches and add 2 additional chains.
- Row 1: Starting in the 3rd chain from the hook, work half-double crochet (hdc) into every chain across.

- Rows 2–15: Chain 2 at the start of each row, turn your work, and work hdc into each stitch across. The result is a large rectangle that will form the base of the top.
2. Shaping the Top (Decreasing for the Upper Section)
- Transition to decreasing rows:
- At the start of each row, work 1 hdc in the first stitch, skip the next one, then continue hdc across.
- At the end of the row, skip the second-to-last stitch and hdc in the final stitch.
- Repeat the decrease rows for 25 rows until the top narrows into a triangle-like shape.
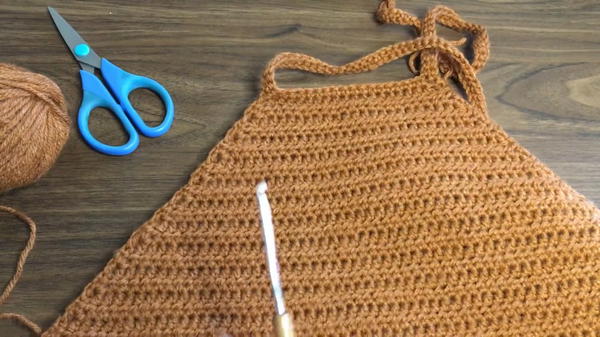
3. Adding the Straps
- For the straps, chain 75, then work single crochet (sc) into the second chain from the hook and all the way back down.
- Attach the strap to the top by skipping the first stitch of the body and slip-stitching into the next stitch.
- Repeat the process on the other side to create two straps.
4. Adding the Side Panels
- Attach yarn to the bottom corner of the main body panel.
- Chain 2 to start, and use double crochet (dc), inserting stitches evenly along the edge until you reach the straight section of the body.
- Work 2 rows of dc, creating a solid side panel.
5. Creating the Tie Spaces on the Side Panels
- On the third row of the side panel, create spaces for the ties as follows:
- Start with dc in the first 2 stitches.
- Chain 3, skip the next 3 stitches, and resume dc in the next 3 stitches.
- Continue this process across the row to create even spaces for threading ties.
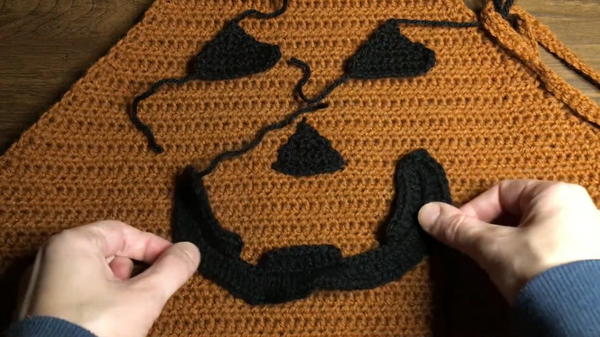
6. Making the Appliqués (Jack-O’-Lantern Features)
For the Eyes:
- Create a slip knot and chain 13.
- Begin sc in the second chain from the hook and work across.
- Work decreasing rows to form a triangle shape (skip stitches as described).
For the Nose:
- Chain 8, then sc across.
- Use decreasing rows to shape it into a smaller triangle.
For the Mouth:
- Chain 42, then work dc into the first 9 chains.
- Chain 2, slip-stitch back into the final dc of the previous section, creating curved segments (teeth).
- On the reverse side, work 2 dc into each stitch to curve the mouth into a smile.
7. Attaching the Appliqués
- Use your yarn needle to carefully sew the completed eyes, nose, and mouth onto the body of the top. Make sure the placement is symmetrical for the best visual effect.
Tutor’s Suggestions
- Check Measurements: Kate emphasizes adjusting the size of the rectangle and straps to suit your body for a perfect fit.
- Keep Stitches Consistent: Working with a lighter weight yarn requires even tension to avoid loose or uneven sections.
- Take Breaks: Longer pieces like the straps and appliqués may take time, so pace yourself and enjoy the process.
Uses of the Top
- Halloween Costume: A unique outfit for parties or trick-or-treating.
- Seasonal Wear: Pair it with jeans or skirts for a casual fall look.
- Creative Gift: A handmade, one-of-a-kind gift for Halloween enthusiasts.
Tip for Success
- Block Your Work: After completing the base panel and side panels, lightly spray your crochet piece with water and pin it into shape. This will help prevent curling and ensure the appliqués are sewn on neatly.
Conclusion
The Jack-O’-Lantern Top is a delightful and fun project that combines creativity with functionality. By following Kate’s clear steps, you’ll produce a wearable piece that’s as playful as it is unique. Whether for Halloween gatherings or festive fall outings, this top is sure to turn heads.


