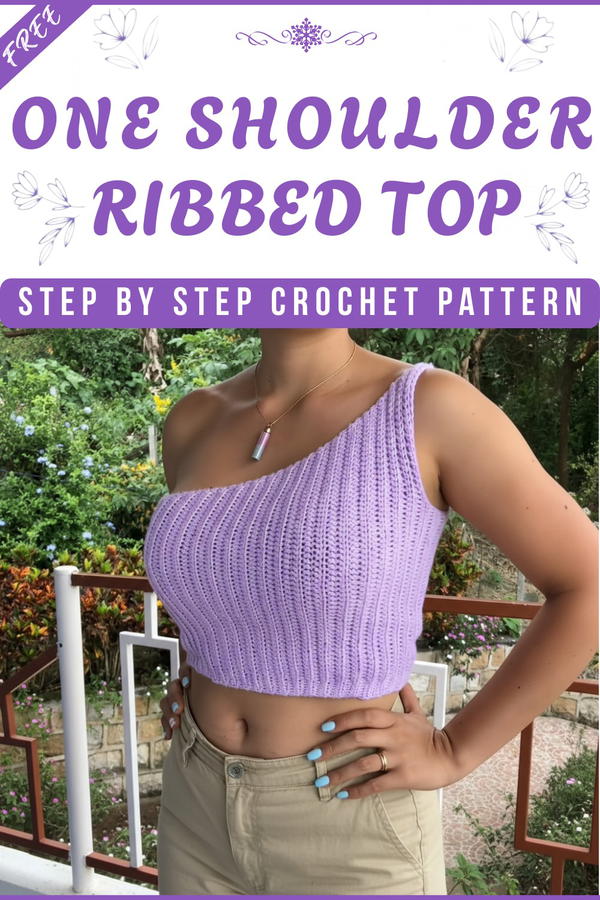
Rock a playful look with the Crochet One shoulder Top Pattern for a trendy breezy top that feels fun to wear and perfect for sunny days and outings.
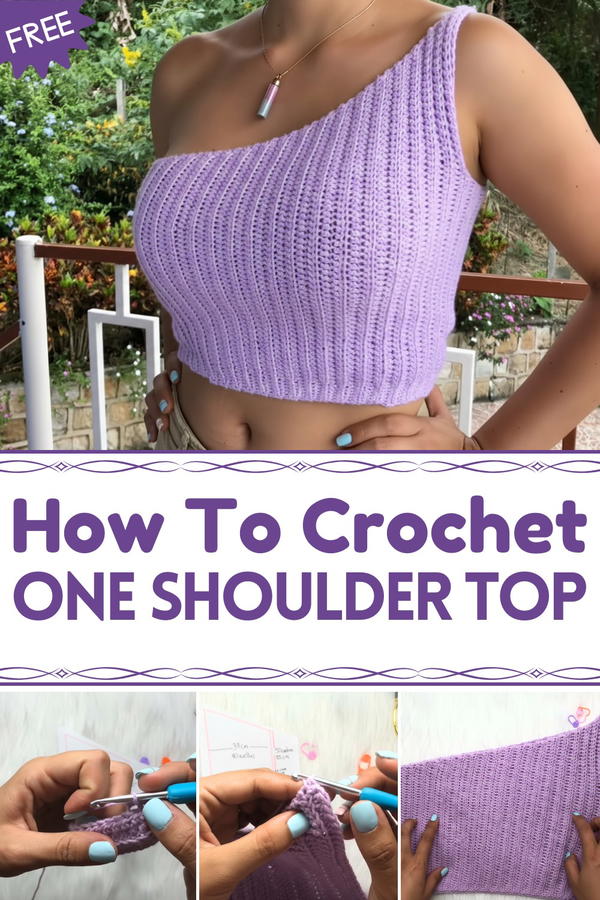
Crochet One Shoulder Top Pattern That Turns Heads
Warm weather calls for something stylish yet comfortable, and this Free Crochet One shoulder Top Pattern is a lovely choice for a modern handmade outfit. With its trendy asymmetrical style, it works beautifully as a summer top, beachwear piece, or festival outfit.
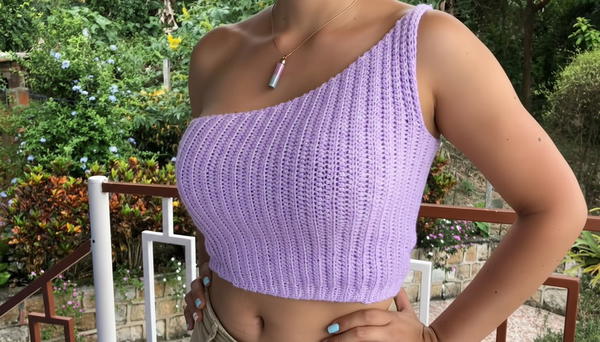
The pattern offers a flattering fit, breathable texture, and flexible sizing for different body types. You can pair it with skirts, shorts, or jeans for a chic casual look. Perfect for beginners and experienced crocheters, this crochet top pattern is both fun and practical, giving you a fashionable piece that feels unique and confidently handmade.
Materials List
- Yarn: Category #3 Acrylic Microfiber (lightweight, soft acrylic yarn). Approximately 200–300g depending on size.
- Crochet Hook: 4 mm
- Accessories:
- Point markers (4–5 stitch markers)
- Measuring tape
- Scissors
- Tapestry needle (for seaming and weaving ends)
Skill Level
Beginner to Intermediate
Key Abbreviations
- Ch: Chain stitch
- Sl st: Slip stitch
- Sc: Single crochet
- Hdc: Half double crochet
- Rep: Repeat
- St(s): Stitch(es)
- Inc: Increase
- Dec: Decrease
Special Notes
- This pattern is written in US Crochet Terminology.
- The top is composed of two mirrored panels: one for the front and one for the back. Additional panels are included for the sides and armpit coverage.
- Adjust the size of the foundation chain and the number of rows to fit any body shape.
- Measure as you crochet to ensure proper fit, especially for width and shoulder measurements.
Step-by-Step Pattern Instructions
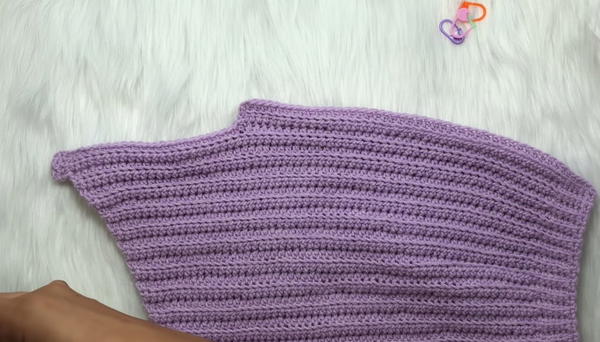
Step 1: Front Panel
Foundation Chain:
- Start with 50 chains (about 25 cm) for a cropped style. Adjust the chain count for your desired length.
- Add 2 extra chains to act as the turning chain.
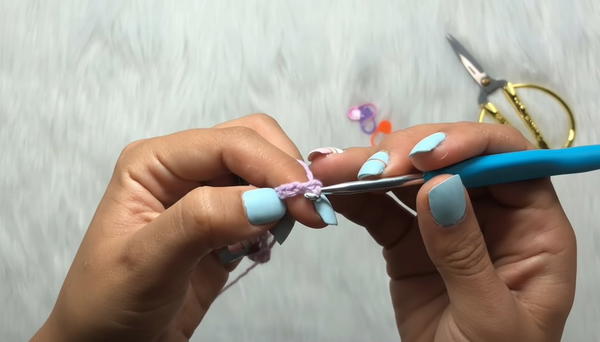
Row 1:
- Work Hdc into the third chain from the hook.
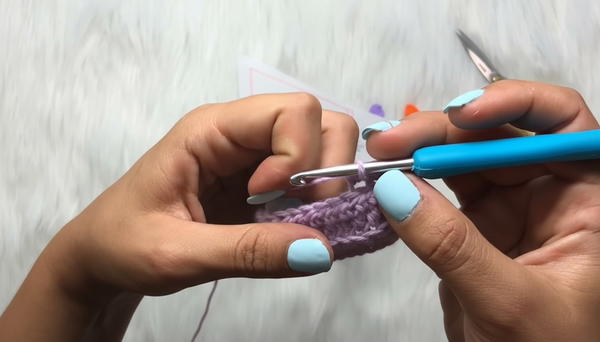
- Continue working Hdc across the chain until 6 stitches remain.
Row 2:
- Switch to Sc for the last 6 stitches of the row. These stitches create a fitted waistband.
- Place a stitch marker in the first Sc stitch to transition between Hdc and Sc.
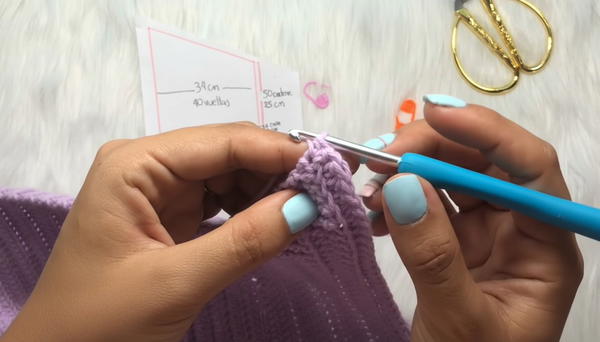
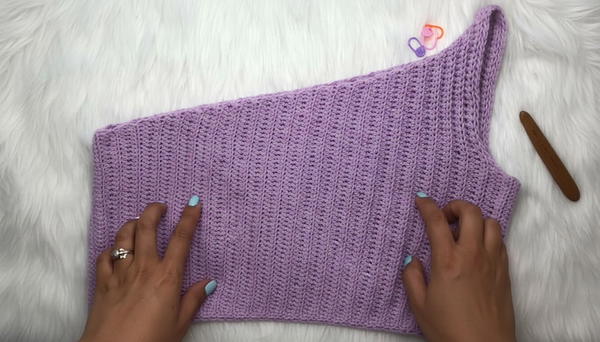
Row 3:
- Turn your work; Ch 1.
- Work Sc back across the 6 stitches, taking only the back loop to create a ribbed texture.
- Continue with Hdc for the remainder of the row.
Repeat Rows:
- Repeat the pattern by alternating Hdc and Sc in the back loop for consecutive rows.
- For a one-shoulder design, you’ll increase at the rows on one side only.
Increases (For Shoulder):
- On the last stitch of every alternate row, add an Hdc increase by working two Hdc into the same stitch.
- This will gradually widen the panel to create the shoulder slope.
Total Front Panel Width:
- Continue working with increases in this manner until the panel is 34 cm wide (or as needed to fit your body).
- Continue working with increases in this manner until the panel is 34 cm wide (or as needed to fit your body).
Step 2: Back Panel
Foundation Chain:
- Create a foundation chain equal in length to the front panel (50 chains + 2 chains turning).
Rows & Stitch Pattern:
- Repeat the same process as the front panel (Hdc across, Sc ribbed section) but without any increases.
Measurements:
- The back panel width and height should match the final dimensions of the front panel. Verify by aligning the panels and comparing them directly.
Step 3: Side Panels (Armpit Expansion)
Measurement:
- Use your tape measure to determine the side measurement under your arm. This usually ranges between 8 to 10 cm.
Foundation Chain:
- Create a chain corresponding to the desired length.
Rows:
- Work 2–3 rows of Hdc with the ribbing section (Sc in the back loop) if desired.
- Create one identical panel for each side.
Step 4: Assembly
Joining Front and Back Panels:
- Place the panels right sides facing inward.
- Use a tapestry needle and yarn to sew the panels together along the sides and shoulder seams, leaving space for the armpit and one shoulder exposed.
Incorporating Side Panels:
- Attach the side panels to the armpit areas to ensure greater coverage. Sew into place with a whip stitch or mattress stitch.
Edging:
- For a polished look, work one row of Dc or Sc all along the neckline, armhole, and exposed edges of the top.
- For a polished look, work one row of Dc or Sc all along the neckline, armhole, and exposed edges of the top.
Step 5: Final Touches
- Weave in Loose Ends: Use a tapestry needle to hide all loose ends inside the garment seams.
- Check the Seams: Ensure all seams are smooth and even for a professional finish.
- Block the Top: Lightly block the crochet top to even out stitches, especially around the neckline and ribbed waistband.
Additional Information
Tips for Success
- Use stitch markers generously to stay organized when transitioning between stitches or rows.
- Regularly measure the panels against your body or a well-fitting shirt for the best custom fit.
- When sewing, be careful not to pull the yarn too tight to maintain a seamless and stretchy join.
Pattern Variations
Color Options:
- Use a gradient-colored or variegated yarn for a dynamic look.
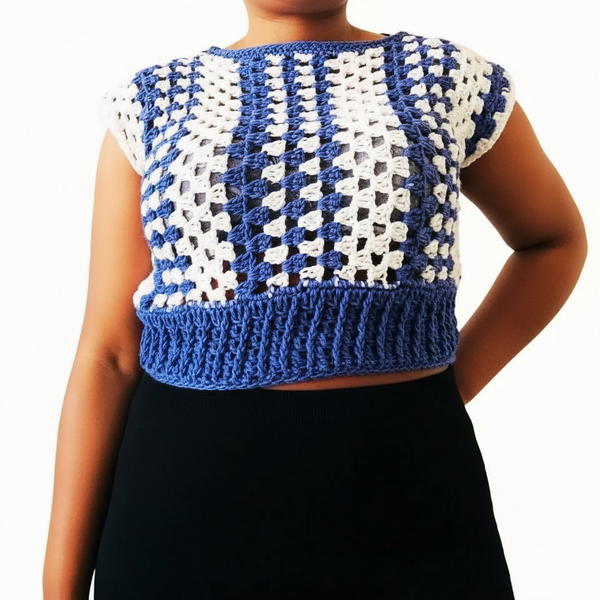
- Alternate rows with contrasting colors for a striped effect.
Adjusting Size:
- For larger sizes, increase the number of foundation chains and the width of all panels. Add extra rows for length as needed.
- For smaller sizes, reduce chain counts and row numbers proportionately.
Styling:
- You can make the top longer by increasing the number of rows before starting the shoulder increases.
- Add decorative edging (like shells or picots) to create a more feminine look.
Conclusion
This fashionable one-shoulder top is a versatile addition to your crochet wardrobe. The combination of simple stitches, a ribbed texture, and sleek shaping makes this project both beginner-friendly and rewarding. Whether cropped or full-length, in bright colors or neutral tones, this customizable piece is sure to turn heads.