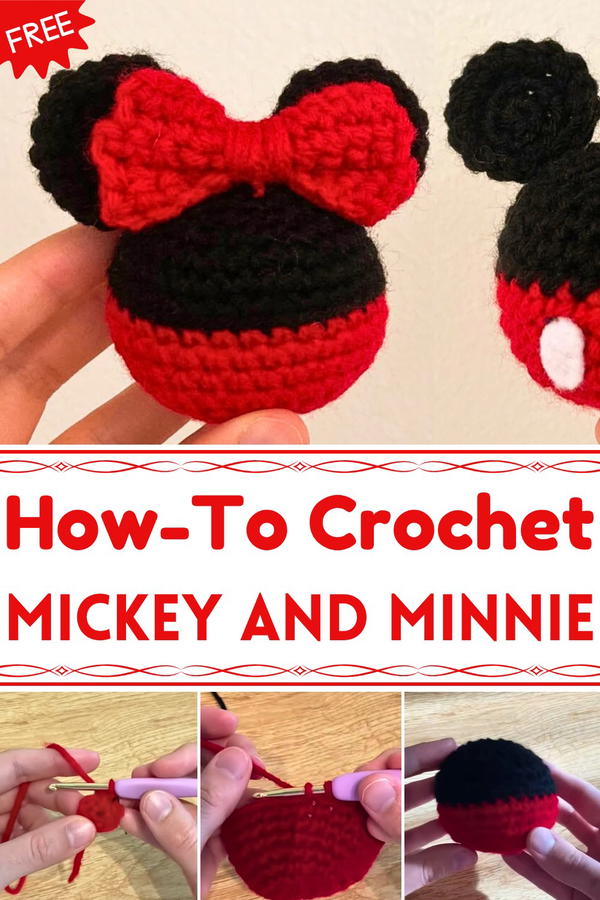
Celebrate classic charm with this Free Crochet Mickey and Minnie Pattern, ideal for creating adorable handmade figures that bring joy and nostalgia.
Few characters have captured hearts across generations like Mickey and Minnie Mouse, whose playful antics and timeless charm have made them symbols of joy and nostalgia. Bringing these iconic figures into a handmade form allows fans to enjoy their favorite characters in a tangible, personal way. The Free Crochet Mickey and Minnie Pattern transforms their familiar features, Mickey’s cheerful grin, Minnie’s signature bow—into soft, huggable figures that are both decorative and interactive.
Adorable Crochet Mickey and Minnie for Bedroom Decor
These crochet companions are more than just collectibles. Children can enjoy them as toys, engaging in imaginative play that sparks creativity and storytelling, while adults may display them as nostalgic décor that evokes fond memories. Their lightweight and durable construction ensures they can be handled, hugged, or moved around without risk, while the carefully stitched details provide a satisfying visual appeal.
They also make thoughtful gifts for birthdays, holidays, or special occasions, combining sentimentality with craftsmanship. Working on this project offers the added benefit of a rewarding crocheting experience, resulting in figures that carry both charm and personality. The Free Crochet Mickey and Minnie Pattern captures the essence of these beloved characters in a way that blends playful appeal, functionality, and lasting handmade warmth, making them cherished companions for all ages.

Materials Required
- Yarn: Red and black yarn, or any two colors of your preference.
- Crochet Hook: Choose an appropriate size for your yarn to produce tightly woven stitches (size not specified in the scrap).
- Stitch Marker: To track rounds easily.
- Scissors: For cutting yarn ends.
- Tapestry Needle: For weaving in ends and closing gaps.
- Stuffing: To fill the rounded body to give it shape.
Step-by-Step Instructions
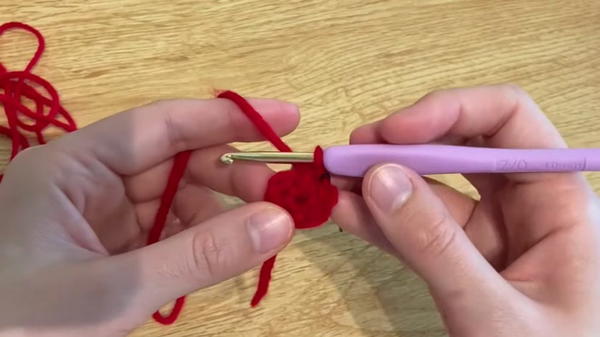
1. Creating the Base (Alternative to a Magic Ring)
- Initial Chain: Slip your yarn, and loosely chain 2.
- Single Crochet Base:
- Flip your chain and locate the second bump from the hook.
- Insert your hook into the bump and create 6 single crochets.
- This forms a small loop that functions like a magic ring.
- Mark the Round: Use a stitch marker on the last stitch.
2. Round 2 – Increasing Stitches
- Increase in Every Stitch:
- Crochet 2 single crochets in each stitch (total of 12 stitches).
- Mark the last stitch again with the stitch marker.
3. Round 3 – One Single Crochet and Increase
- Pattern: Work 1 single crochet in the first stitch, followed by an increase (2 single crochets in the next stitch).
- Repeat: Continue the pattern all around to reach 18 stitches total.

4. Round 4 – Smoothing the Shape
- Adjust the Pattern:
- Start with 1 single crochet for balance.
- Follow the pattern: 2 single crochets in consecutive stitches, then an increase.
- End with 1 single crochet.
5. Rounds 5–8 – Shaping
- Round 5: Chain 1 single crochet, work 3 regular single crochets, then increase (repeat to the end).
- Rounds 6–8: Crochet all stitches individually with no increases or decreases.
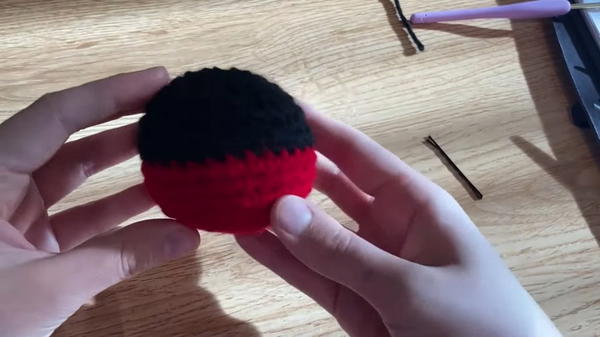
6. Adding Color Changes
- Cut the First Color: Leave a small tail of red yarn and switch to black yarn.
- Color-Switching Technique:
- Insert your hook and complete the last stitch using the new color yarn (black).
- Ensure the tails of both yarns are underneath your stitches as you work about 5–6 stitches for secure weaving.
- Continue with Black Yarn: Resume crocheting as usual.
7. Decreasing to Shape the Body
- 3 Single Crochets and Decrease: Start with 3 single crochets, then decrease by pulling through 2 loops in two consecutive stitches (3 loops combined into one).
- Adjust for Smooth Shape: In the next round, start with 1 single crochet, then continue with the pattern of 2 single crochets and a decrease.
8. Stuffing and Closing the Body
- Stuff the Body: Use your chosen filling to ensure the piece is firm but not overstuffed.
- Final Decreases: Work the last round with only decreases (6 decreases total).
- Close the Opening:
- Leave a long yarn tail, use the tapestry needle to sew through the front loops of the remaining stitches, and pull tight to close the hole.
- Weave the tail through the body and cut off the excess yarn.
9. Creating the Ears
- Starting with the Ear Base (Magic Ring or Alternative):
- Chain 2, turn to the back, and work 5 single crochets into the second chain from the hook.
- Round 2 – Increase: Work 2 single crochets in each stitch (total of 10 stitches).
- Round 3 – One Single Crochet and Increase: Work 1 single crochet, then an increase, all around (total of 15 stitches).
- Prepare the Ears: Cut the center yarn tail short, weave it into the ear, and cut off the excess.
- Make Two Ears: Repeat the above steps for the second ear.

10. Attaching the Ears
- Position the Ears: Use the tapestry needle to sew the ears onto the body. Plan their position symmetrically to mimic the desired shape.
- Secure the Ears: Sew the ears firmly using the yarn tail. Ensure the stitches are tight for durability.
Special Features
- Alternative to Magic Ring: This project introduces an accessible alternative for those who struggle with the magic ring technique.
- Color-Switching Insight: Offers a practical demonstration of seamlessly changing yarn colors while securing loose ends.
- Customizable: You can adapt the size, shape, or color to suit your preferences or recipient.
Level of Difficulty
This project is beginner to intermediate-friendly, with straightforward stitches and techniques. While the alternative to a magic ring simplifies starting, skills like stitching ears onto the body or seamlessly changing colors might require some focus for beginners.
Tutor’s Suggestions
- Use a Stitch Marker: Always mark the last stitch of the round to avoid confusion as you work in continuous rounds.
- Focus on Tension: Maintain even tension in your stitches, especially when switching colors.
- Practice Decreases: Try practicing the decrease stitch (pulling 2 loops together) beforehand for a smoother finishing look.
Uses
- Toys: Perfect for making soft toys or keychains.
- Decorative Piece: Can be used as a small decorative crochet piece for desks or nurseries.
- Gift: Handmade and personalized crochet pieces make heartfelt gifts.
Pro Tip
When attaching the ears, block the finished piece beforehand (wet and shape it, let it dry) to ensure the ears stay proportional and aligned with the rounded body.
Conclusion
This crochet tutorial offers clear guidance on creating a beautiful project with beginner-friendly techniques and room for creativity. Whether you are learning new methods or practicing old ones, this step-by-step guide ensures a polished and charming result.


