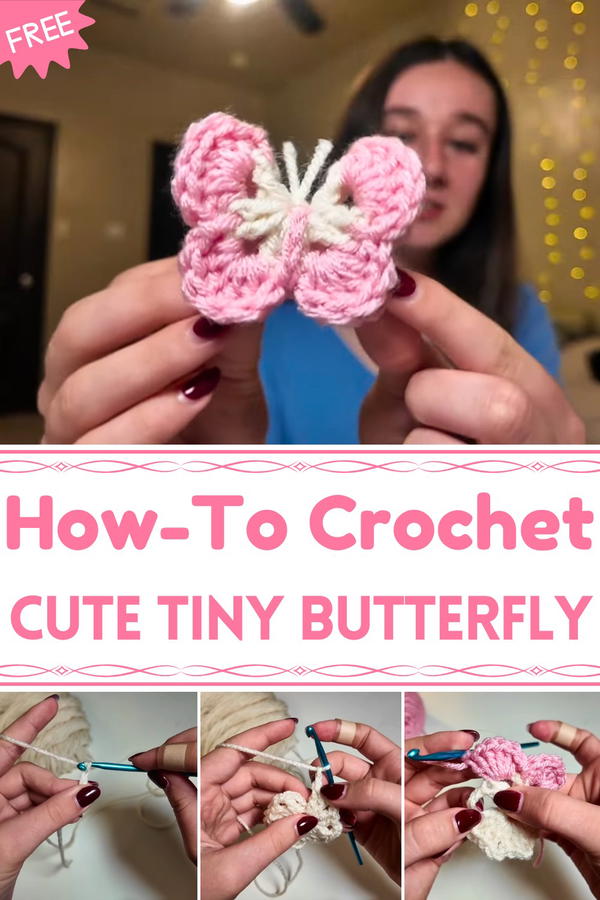
Flutter into creativity with this Free Crochet Tiny Butterfly Pattern, perfect for adding delicate handmade accents to décor, accessories, or gifts.
The delicate flutter of a butterfly has long symbolized transformation, lightness, and the beauty of nature’s small details. Capturing that charm in a handmade form allows its grace to be enjoyed in everyday life without the fleeting presence of a real insect. The Free Crochet Tiny Butterfly Pattern brings these intricate creatures to life in soft yarn, transforming delicate wings and fine detailing into a lasting, touchable creation. Each tiny butterfly carries a sense of movement and vibrancy, making it a versatile addition to both projects and décor.
Pretty Crochet Tiny Butterfly Pattern for Adding to Accessories
These miniature butterflies serve multiple purposes. They can be attached to hair accessories, clothing, or bags for a whimsical accent, or used to embellish home décor such as cushions, curtains, or wall hangings. Their lightweight and compact size makes them ideal for scrapbooking, greeting cards, or handmade gifts, adding a personal touch to every project.
Beyond decoration, creating these butterflies provides a calming, rewarding experience for crocheters, allowing focus and creativity to merge into a tangible result. The Free Crochet Tiny Butterfly Pattern transforms simple yarn into delicate, lifelike figures that celebrate nature’s elegance, offering both aesthetic appeal and practical versatility while bringing charm and handmade warmth to every creation it enhances.
Materials Required
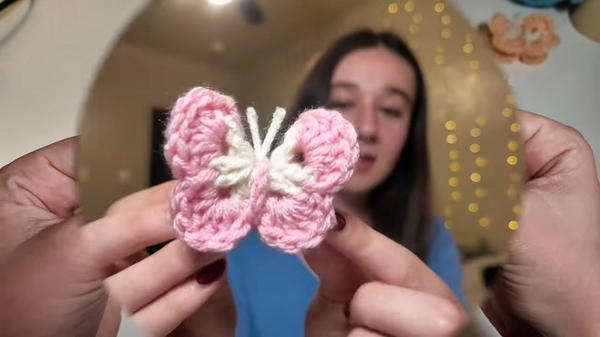
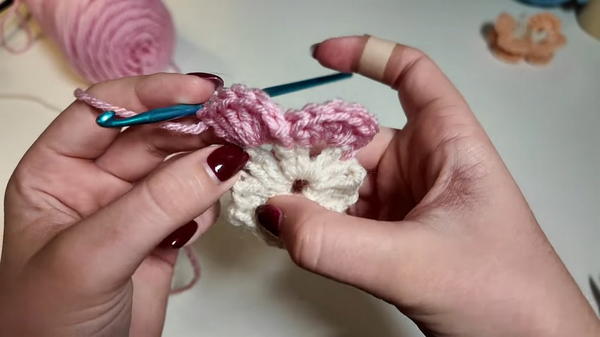
- Yarn: Two colors of soft acrylic yarn (Mat uses white and pink in the video).
- Crochet Hook: Size appropriate for your yarn (Mat does not specify, but a common size for similar projects is 2.5mm to 3.5mm).
- Scissors: To cut the yarn.
- Yarn Needle: For sewing in the ends and attaching the antennas.
Step-by-Step Instructions
Part 1: Starting the Butterfly
- Make a Slip Knot:
- Take the tail end of your yarn and hold it in your left hand.
- Use your right hand to cross the yarn over to form a loop.
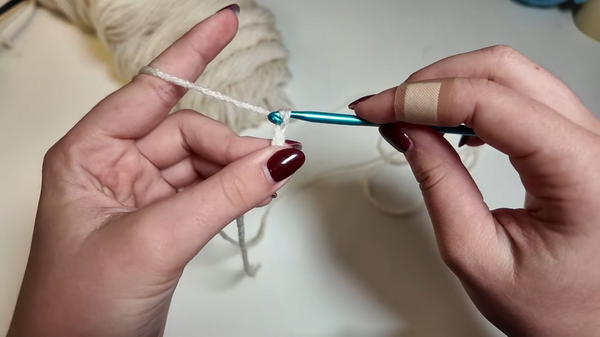
- Insert your fingers through the loop, grab the long yarn strand, and pull it through the loop to create a slip knot. Place this slip knot on your crochet hook.
- Chain 6:
- Yarn over and pull through the loop on your hook six times to create a chain of six stitches.
- Form the Ring:
- Insert your hook into the first chain stitch you made.
- Yarn over and pull through both loops on your hook to make a slip stitch, forming a small ring.
Part 2: Creating the Butterfly's Base
- Chain 3:
- Yarn over and pull through the loop on your hook three times.
- Double Crochet:
- Yarn over, insert your hook into the ring, yarn over, and pull up a loop.
- Yarn over, pull through two loops, yarn over again, and pull through the remaining two loops.
- This creates your first double crochet stitch.
- Chain 2:
- Yarn over and pull through the loop on your hook twice.
- Additional Double Crochets:
- Repeat the double crochet stitch pattern (yarn over, insert into the ring, yarn over, pull up a loop, yarn over, pull through two loops, yarn over, pull through the last two loops) twice more.
- Repeat Pattern:
- Continue the pattern of chaining two, then working two double crochets into the ring until you have a total of eight chain spaces.
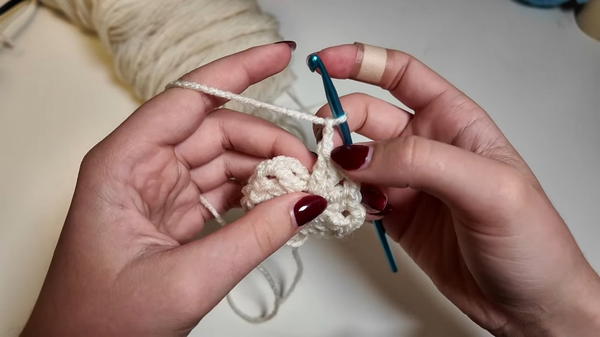
Part 3: Joining to Complete the Center
- Slip Stitch to Join:
- Slip stitch into the top of the initial chain-3 to join the round.
- Chain 1 and Fasten Off**:
- Cut the yarn, leaving a few inches for securing, and pull through the loop to fasten off.
Part 4: Adding the Wings
- Attach Second Color:
- Insert your hook between the first two double crochets of any pair.
- Attach the second color yarn and secure it with a knot.
- Work in Chain Spaces:
- In the first chain-2 space, work six double crochets.
- Slip stitch between the next pair of double crochets.
- Continue this pattern of six double crochets in each chain-2 space followed by a slip stitch between the pairs of double crochets until you complete the round.
- Final Slip Stitch and Chains:
- Slip stitch into the same stitch where you joined the new yarn, chain eight.
- Wrap the chain around the butterfly to form its body and secure with a slip stitch.
Part 5: Adding the Antennas
- Create Antennas:
- Cut a small piece of yarn (about the length of your choice).
- Fold the yarn in half, create a loop at the top, and insert it into one of the chains at the top of the butterfly.
- Draw the loop through and pull the ends through the loop to secure.

- Trim Antennas:
- Cut the yarn to the desired length for the antennas.
Special Features
- Quick and Easy: This project can be completed in a short amount of time, making it perfect for last-minute gifts or quick crafting sessions.
- Two-Color Design: The tutorial uses two colors, giving the butterfly a charming and vibrant look.
- Beginner-Friendly: The project involves basic crochet stitches like chain stitches, double crochet, and slip stitches, suitable for beginners.
Level of Difficulty
Beginner-Friendly:
- The tutorial utilizes simple stitches and techniques, making it accessible to those new to crochet.
Tutor’s Suggestions
- Weave in Ends as You Go: Mat suggests weaving in the yarn ends after each section to make the final steps easier.
- Check Stitch Count: Ensure you have the correct number of chain spaces (eight) before moving on to the next step to avoid mistakes.
Uses
- Decorative Item: Add the butterfly to gifts, crochet projects, or home decor as a cute embellishment.
- Brooch or Hair Accessory: Attach a pin or hair clip to create a custom accessory.
- Gift: These butterflies make charming and thoughtful handmade gifts for friends and family.
Final Tip
To achieve neat and consistent stitches, ensure that your tension is even and try to keep the yarn snug but not too tight. Practicing a consistent tension will result in a more uniform and attractive finished product.
Conclusion
This tiny crocheted butterfly project is a delightful and quick way to create beautiful crochet decorations. With its simple stitches and straightforward instructions, it is perfect for both beginners and experienced crocheters.


