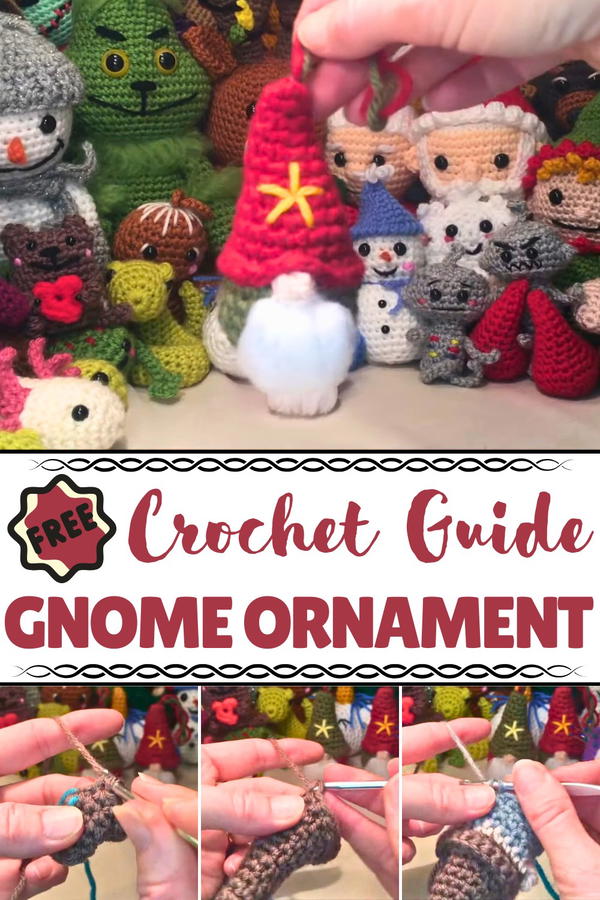
Bring festive magic home with this Free Crochet Gnome Ornament Pattern, ideal for holiday décor, charming gifts, or adding whimsy to any space.
In many homes, tiny ornaments tucked among festive decorations have long brought smiles and a sense of wonder during special seasons. The Free Crochet Gnome Ornament pattern brings this charm to life, offering a whimsical accent that brightens any space. Its small, detailed form makes it perfect for hanging on trees, displaying on shelves, or adding character to gift packages. Its decorative appeal, this gnome ornament provides a calming and mindful experience, encouraging focus and patience while stitching each part.
Easy Mini Crochet Gnome Ornament Pattern for Quick Projects
It’s an excellent choice for makers looking to enhance their skills, offering both beginner-friendly steps and opportunities to refine hand coordination. Lightweight and portable, the gnome can be carried anywhere, making it a perfect companion for crocheting sessions at home, in cafés, or during travel. Multiple ornaments can be combined into garlands, centerpieces, or themed displays, adding cohesive charm to seasonal décor.
The Free Crochet Gnome Ornament pattern also serves as a thoughtful gift, giving friends and family a handcrafted treasure that feels personal and heartwarming. Each finished piece embodies creativity and care, turning a simple crochet project into a memorable keepsake that brings joy and festive cheer year after year.
Materials Needed
- Yarn:
- Medium weight (#4), including white or other colors for the gnome hat and body.
- A secondary color for the nose.
- Optional yarn for the beard (or you can brush out the yarn strands used for the hat).
- Crochet Hook: 4.25 mm hook.
- Darning Needle: Used for finishing and tacking the hat around the nose area.
- Stuffing: For filling the gnome body and hat to achieve the desired shape.
- Stitch Marker: Optional but helpful for marking the beginning of each row.
- Scissors: For trimming excess yarn.
- Pet Brush or Fine Comb: Optional, used for fluffing out the beard.
Step-by-Step Instructions
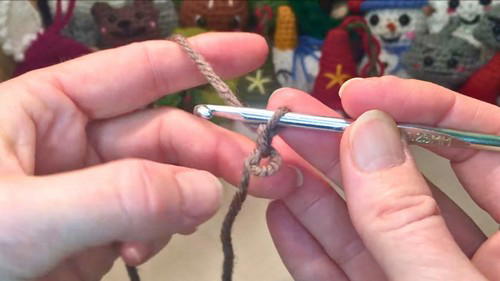
1: Starting the Hat (Rows 1-13)
Row 1:
- Start with a magic loop or any preferred starting method.
- Crochet 6 single crochets (SC) into the loop. Pull the yarn tail to close the loop.
2:
- Place 1 SC in each stitch (total: 6 SC).
3:
- Start shaping: Crochet 2 SC, 2 increases, and 2 SC to reach 8 total stitches.
Row 4-8:
- Build the cone by alternating rounds of single crochets and increases.
- For example: Row 5 = 3 SC, 2 increases, 3 SC for 10 total stitches.
- Finish Row 8 with 12 SC across and check if the tip of your hat is taking shape.
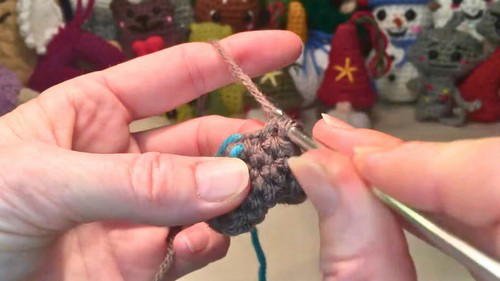
Row 9-13:
- Continue increasing and building the hat. Once you reach 16 stitches (Row 9) and beyond, single crochet rows to stabilize the shape.
2: Adding the Gnome Body (Rows 14-21)
14:
- Work in the front loops only to create a clean brim for the hat. Single crochet 20 stitches.
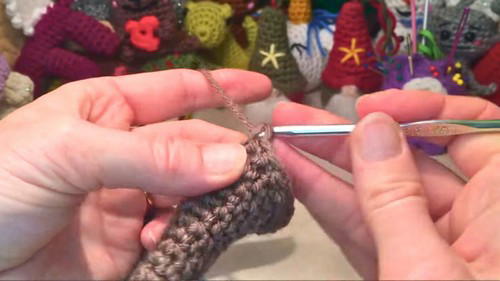
Row 15-18:
- Switch to the main body color (use the "tie and switch" yarn method if unfamiliar).
- Crochet 20 SC for each row, building body length.
19:
- Begin decreases by crocheting 2 SC, 1 decrease, repeated around (total: 15 stitches).
- Add stuffing to the body at this stage. Make sure it is firm but not overly packed.
20:
- Decrease further: crochet 1 SC, 1 decrease, repeated around (total: 10 stitches).
Row 21 (Final Row):
- Finish the body with 5 decreases, then slip stitch to close the gnome base.
3: Creating the Nose and Beard Details
Adding the Nose:
- Using a contrasting yarn color (e.g., skin color), crochet 9 single crochets in the back loops near the hat's brim. Add a double crochet cluster (4 stitches together) for a round nose shape.
Creating the Beard:
- Cut short pieces of yarn (about 5 inches); fold them into strands for the beard.
- Attach each strand by pulling it through stitches around the nose.
- To get a fluffy look, use a pet brush or comb to separate yarn strands, working gently to avoid pulling too hard.
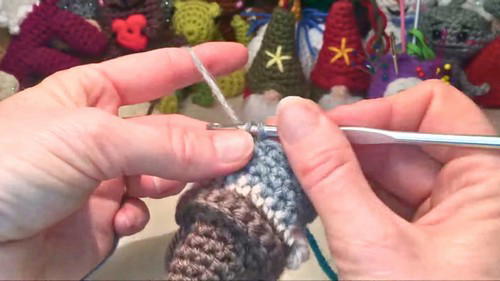
4: Adding the Ornament Loop
- Use the yarn tail from the top of the gnome’s hat to form a loop.
- Twist or braid the strand, tie it off, and cut excess yarn to create a hanging loop for your ornament.
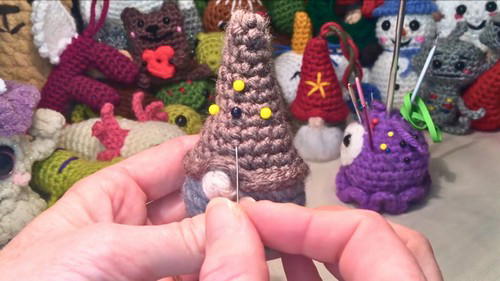
5: Optional Star Detailing on the Hat
- Add a star design or other decorative embroidery on the hat. Use pins to map the design for symmetry before stitching with a contrasting yarn.
Key Features & Uses
- No-Sew Design: Requires minimal sewing, with tacking only necessary for hat placement.
- Customizable: Choose different colors for the hat, body, or beard to create unique gnomes.
- Versatility: These ornaments are ideal for Christmas trees, holiday gifts, or DIY home decor projects.
- Beginner-Friendly: Straightforward techniques like the magic loop, single crochet, and decreases make this project accessible for all skill levels.
Tutor’s Suggestions
- Use stitch markers to ensure you don’t lose count in rows or rounds.
- Brush the beard outward for a more natural, fluffy texture.
- Stuff the gnome lightly but ensure firmness at the tip of the hat for the best shape.
- Employ the back loops only technique to create a neat brim for the hat to fold down.
Level of Difficulty
This project is beginner-friendly, though it includes slightly advanced techniques like color changes, double crochet clusters, and front/back loop stitches. The step-by-step guide and demonstration make it easy for learners.
Tips for Success
- Always leave long tails when cutting yarn—they are useful for tying, sewing, and adding the ornament loop.
- Keep your stitches relaxed but consistent to ensure the gnome holds its shape.
- If your gnome tilts, adjust the bottom stuffing or stitch a small weight into the base for stability.
Conclusion
Congratulations! You've crocheted a charming gnome ornament. With its simple design and customizable details, this project is perfect for holiday decorations, gifts, or just adding a whimsical touch to your décor.


