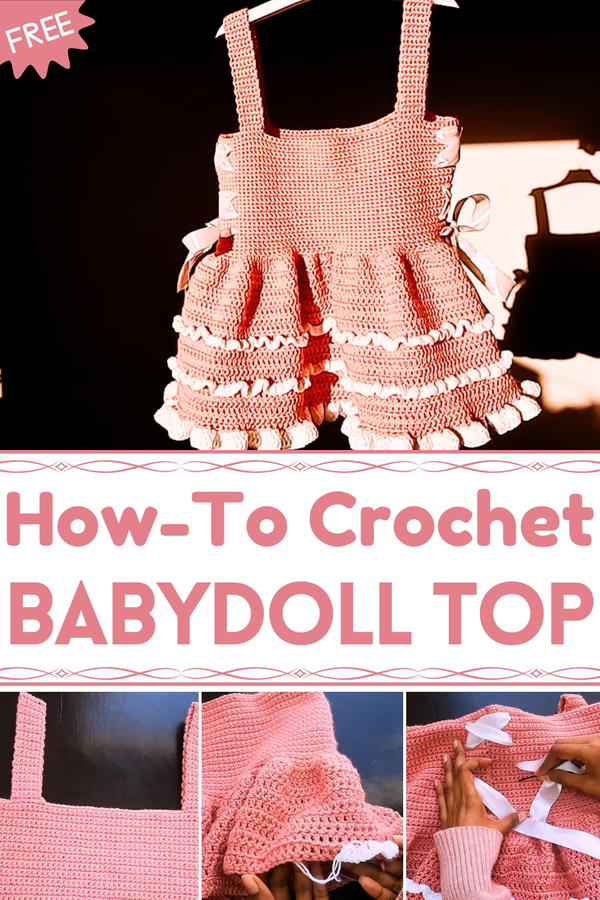
Show breezy elegance with this Free Crochet Babydoll Top Pattern offering a light and stylish piece perfect for sunny days and casual wear.
Summer wardrobes often call for pieces that feel light, graceful, and comfortable while still making a statement. A babydoll top answers that need beautifully with its flowing silhouette and easy wearability. The Free Crochet Babydoll Top Pattern offers a stylish way to bring this timeless look into everyday outfits, making it a versatile choice for casual gatherings, beach days, or even paired with elegant accessories for evenings out. Its gentle shape flatters a variety of body types while keeping comfort at the forefront.
Cozy Crochet Babydoll Top Pattern that Feels Soft on Skin
Working on this project provides the satisfaction of building a garment that looks both polished and effortless. The airy texture ensures breathability during warmer months, while the fit allows it to layer seamlessly with a jacket or cardigan in cooler weather.
Other advantage lies in its adaptability, whether styled with jeans for a relaxed look or with skirts for a feminine touch, it fits multiple occasions with ease. The relaxed charm of the babydoll top adds confidence and style to the wearer while keeping practicality in mind. With the Free Crochet Babydoll Top Pattern, the result is not just a fashionable garment but also a reliable staple that can remain a favorite through many seasons.
Headings & Content
1. Special Features of the Dress
- Fully customizable dress size (can be adjusted for babies, dolls, or any desired size).
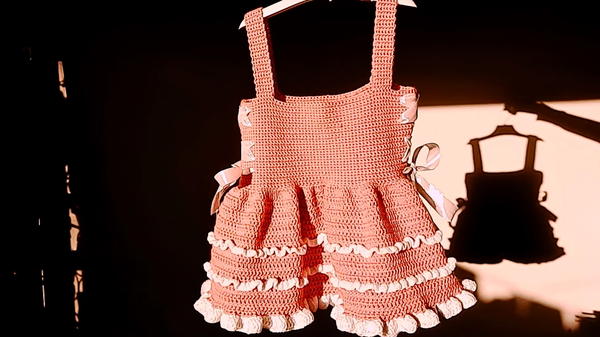
- Includes elegant ruffles and ribbon details.
- Uses simple crochet techniques (e.g., chains, single crochet, and double crochet).
- Combines panels and straps to give a clean, well-structured look.
2. Materials Required
- Yarn: Any yarn size or type (Marida recommends three balls of pink yarn, 1 ball of white yarn — 75g each).
- Hook: 5mm crochet hook.
- Tools: Scissors and pins to mark stitches.
- Decorative Ribbon: Used to embellish the dress.
3. Measuring Methods
- Method 1: Using a Favorite Dress
- Measure your body using an existing dress as a size guide (can be sleeveless or with sleeves).
- Mark the areas for the front panel, back panel, and straps.
- Method 2: Measuring the Body
- Take body measurements directly (shoulder to bust, bust circumference, etc.).
- Divide the bust measurement into two equal parts—for the front and back panels.
4. Crochet Instructions
Step 1: Front Panel
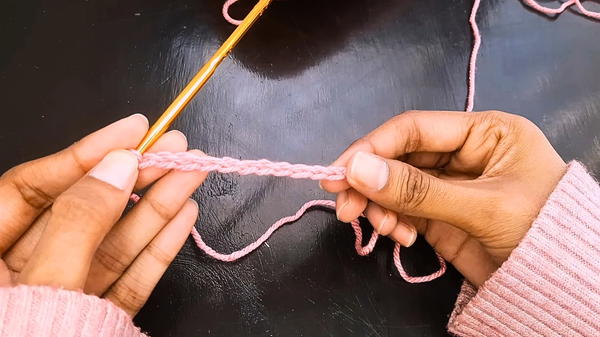
- Start with a slip knot, followed by chain stitches.
- Crochet a chain until it matches the width of the front panel (Marida used 60 chains for her example).
- Add 1 extra chain to start the first row.
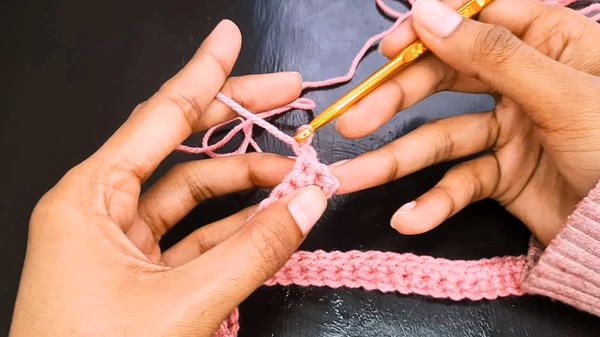
- Create single crochet stitches across the row, repeat for 32 rows to complete the front panel.
Step 2: Back Panel
- Create the back panel following the exact same steps as the front panel.
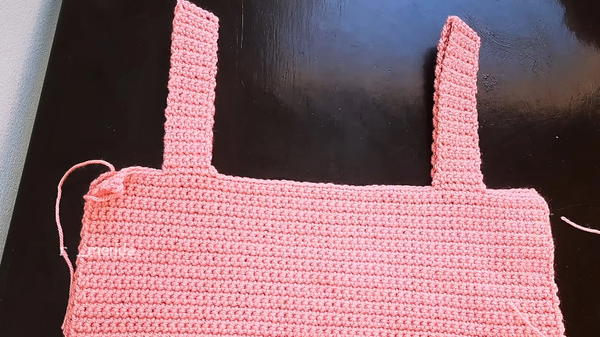
Step 3: Straps
- Mark 10 stitches on the front panel (left and right sides).
- Crochet seven single stitches wide straps, ensuring they match your desired length (Marida crocheted 52 rows).
- Attach the straps to the back panel using single crochet stitches, ensuring they are not twisted.
Step 4: Connecting the Panels
- Attach the front and back panels row by row using single crochet stitches.
Step 5: Adding the Bottom Ruffles
- Attach yarn to the bottom of the panels and chain two.
- Work across the bottom with two double crochet stitches per stitch to form the ruffle effect.
- Work a total of 10 rows for a flared look.
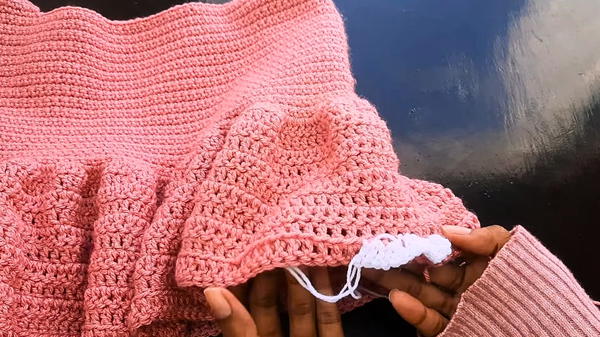
Step 6: Additional Ruffles with Color Contrast (Optional)
- Without turning the work, use the back loops of a row to add contrasting ruffles (Marida used white yarn).
- Create three double crochets in one back loop across the row.
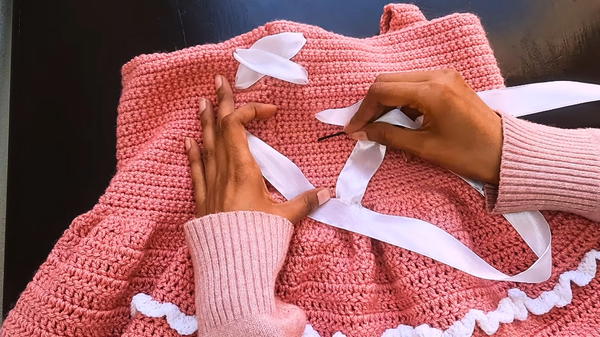
Step 7: Adding the Ribbon
- Insert a ribbon where the front and back panels connect near the bust. This decorative accent enhances the final look.
5. Tutor's Suggestions
- Use any yarn size and type, but adjust chains and rows accordingly.
- The design is flexible for any size, from newborns to adult dresses.
- Pause the video and replay sections to ensure understanding if needed.
- Keep stitches consistent—not too tight or loose—for neat results.
6. Level of Difficulty
- Beginner-Friendly: The tutorial uses simple crochet techniques (e.g., single and double stitches).
- Clear explanations and options to pause/replay make this project manageable for novice crocheters.
7. Uses of This Dress
- Ideal for special occasions like photoshoots, birthdays, or family gatherings.
- Can be a thoughtful and unique handmade gift for loved ones.
- Customizable into a top by omitting the ruffles.
Conclusion
Crochet Babydoll Top tutorial allows you to create an elegant and personalized piece through straightforward steps. By following her instructions, you’ll not only complete a beautiful and functional project but will also strengthen your crochet skills. From its simple design to its delicate ruffles and ribbon embellishment, this project provides an enjoyable and rewarding experience.
Bonus Tip
When working with ruffles, use thinner yarn for a softer, lightweight look. Experiment with different color combinations to make your design stand out!


