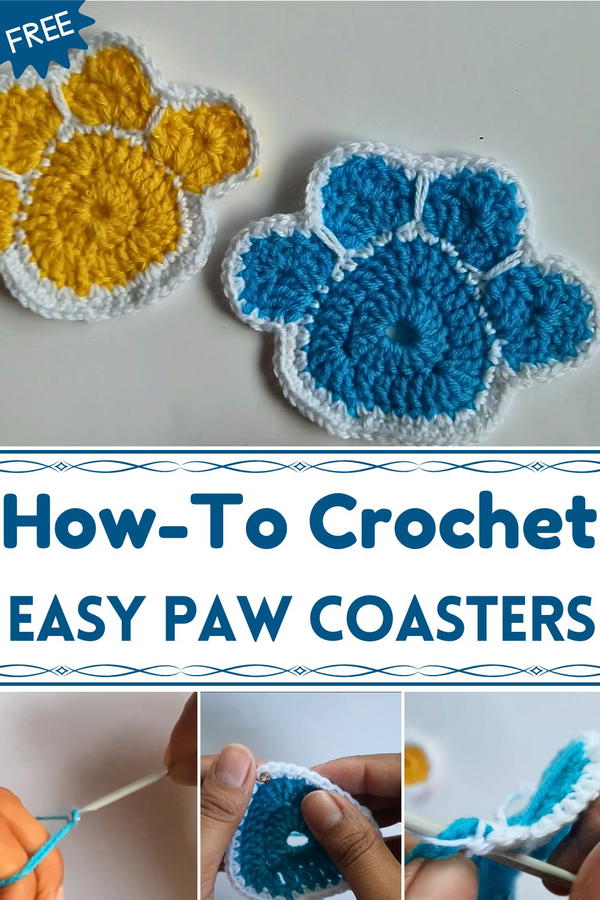
Protect your surfaces with charm and practicality using the Free Crochet Paw coasters Pattern, adding playful, durable style to any home setting.
In a cozy living room, a cup of tea slipped slightly on the polished wooden table, narrowly avoiding a spill. That’s when the charm of small, protective accents like paw-shaped coasters becomes apparent. These delightful crochet paw coasters offer more than just a cute visual—they provide practical protection for surfaces against moisture, heat, and scratches, keeping tables, countertops, and desks in pristine condition.
Free Crochet Paw Coasters Pattern for Stylish Coffee Breaks
Their soft texture absorbs condensation efficiently, making every coffee or tea break mess-free and pleasant. Perfect for animal lovers, these coasters add a subtle, playful touch to home décor, while also serving as conversation starters during gatherings. Their lightweight nature allows for easy storage or portability, letting you carry them to picnics, offices, or cozy nooks in your home.
Handmade with care, each coaster reflects a sense of warmth and personality, turning an everyday utility into something charmingly expressive. Whether placed under a steaming mug, a cold glass, or even small plant pots, these paw coasters provide both functional protection and visual appeal. They are a thoughtful, practical gift option for friends and family, offering a blend of usefulness and style in one small, handcrafted piece. Over time, their durability ensures they remain a staple on tables, combining reliability with heartwarming charm.
Special Features of the Coaster
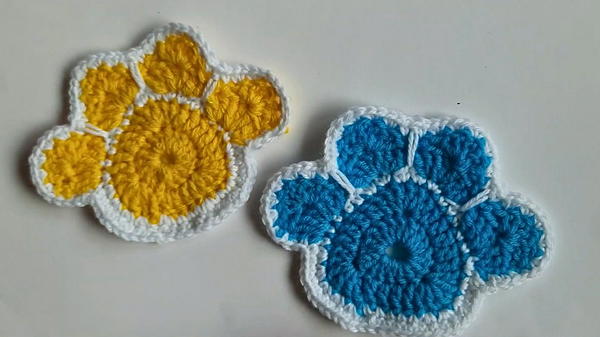
- Two-Tone Design: These coasters use two yarn colors, making them easy to customize to match any decor.
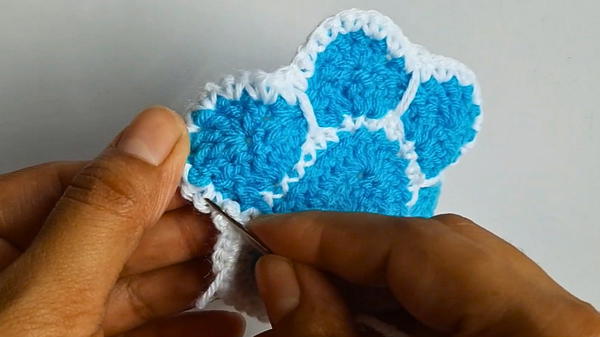
- Triangular Shape: The coasters take on a unique triangular floral-like form after completion, setting them apart from standard round coasters.
- Intricate Texture: Through the use of double and single crochets, these coasters have a detailed and decorative texture.
- Adaptability: Colors and yarn types can be modified to fit various styles for different occasions.
Materials Required
- Yarn: Two colors of yarn. (Suggested: Medium-weight yarn.)
- Crochet Hook: A 3.2 mm crochet hook.
- Scissors: For cutting the yarn.
- Tapestry Needle: For weaving in loose ends.
- Stitch Markers (Optional): For marking specific stitches, particularly while working on the triangular corners.
Skill Level
Beginner to Intermediate
This project is beginner-friendly because of its foundational stitches (magic circle, single crochet, double crochet, slip stitch, and chaining). However, the triangular shaping towards the end may require some attention, so patience is key.
Step-by-Step Instructions
1. Start with a Magic Circle (or Alternative Method)
- Wrap the yarn around your fingers to create a magic circle.
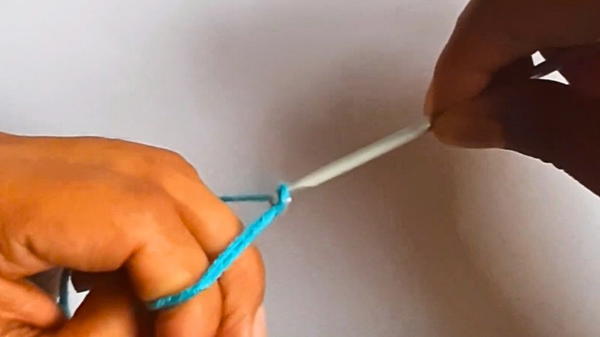 Insert the hook under the first strand and pull the second strand through, twisting to form a loop. Pull the yarn through the loop to create a magic circle.
- Alternative Option: Create a slip knot, chain 4, and join the first chain with a slip stitch to form a ring.
2. Create the Base Circle
- Chain 3 (counts as the first double crochet), then make 17 double crochets inside the magic circle. This will make a total of 18 double crochets in the first round.
- Tighten the magic circle and join with a slip stitch to the first double crochet (not the chain 3).
3. Begin Shaping the Triangle
- Chain 3 and make 4 double crochets in the next 4 stitches.
- In the next stitch, create 5 double crochets in the same stitch.
- Repeat the pattern:
- Make 5 double crochets in the next 5 stitches, then 5 double crochets in one stitch.
- Continue until the end of the round.
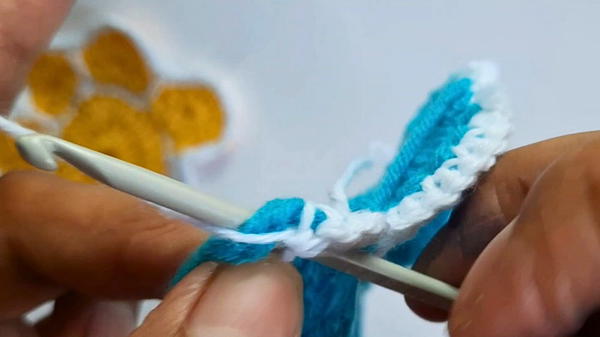
4. Add the Second Color
- Change the yarn without cutting the original color.
- Insert a single crochet in the same stitch where the slip stitch was made.
- Create 5 single crochets in the next 5 stitches.
- For the next 5 stitches, place 2 single crochets in each stitch.
- Alternate between 5 single crochets in the next 5 stitches and 2 single crochets in the next 5 stitches, continuing the pattern.
- Once the round is complete, join with a slip stitch and fasten off the yarn.
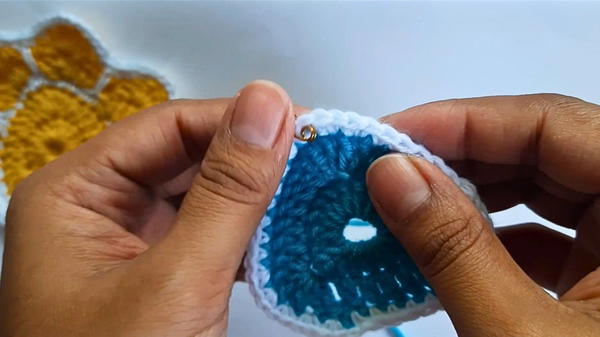
5. Form the Triangular Corners
- Take one corner and mark the top stitch, then count and mark the 10th stitch on both sides.
- Attach the second color yarn to the marked stitch. Chain 3 (counts as the first double crochet) and make 2 double crochets in the same stitch.
- Skip 3 stitches and repeat the triangular corner pattern:
- 2 double crochets in the first stitch, 3 double crochets in the next stitch, and 2 double crochets in the subsequent stitch.
- Repeat this for all three corners.
6. Final Rows and Finishing Touches
- Change yarn for the final row. Insert the yarn into one end and chain 1.
- Single crochet in the same stitch and in the next 3 stitches.
- For the next 5 stitches, make 2 single crochets in each stitch.
- Continue the pattern:
- Alternate between 1 single crochet in the next set of stitches and 2 single crochets in the subsequent stitches.
- Complete the round with a final slip stitch, fasten off, and weave in all loose ends.
Tutor’s Suggestions
- Master the Magic Circle: If the magic circle is too difficult, use the alternative method of chaining 4 and joining into a ring with a slip stitch.
- Tighten Loose Ends: While tightening the magic circle or weaving in ends, make sure the stitches stay firm to maintain the shape.
- Use Stitch Markers: For beginners, marking triangular corner points will help ensure symmetry.
- Experiment with Colors: Try mixing and matching yarn colors to create unique designs for each coaster.
Uses of the Coasters
- Functional Decor: These stylish coasters are perfect for protecting furniture while adding a decorative touch.
- Gift Ideas: Handcrafted coasters make thoughtful and personalized gifts for family and friends.
- Practice Project: An excellent project for building crochet skills, especially for beginners.
Tip
When switching yarn colors, avoid cutting the previous yarn unless necessary. Instead, carry the yarn along and hide it with your stitches to reduce loose ends and streamline the process.
Conclusion
This tutorial provides a fun and practical design for crocheting decorative coasters. The step-by-step instructions and adaptable design allow for creativity and customization, making it an enjoyable project for beginners and seasoned crocheters alike.


