Slide into a breezy crochet beach cover-up that’s simple to follow, lightweight to wear, and perfect for sunny days by the shore with effortless charm.
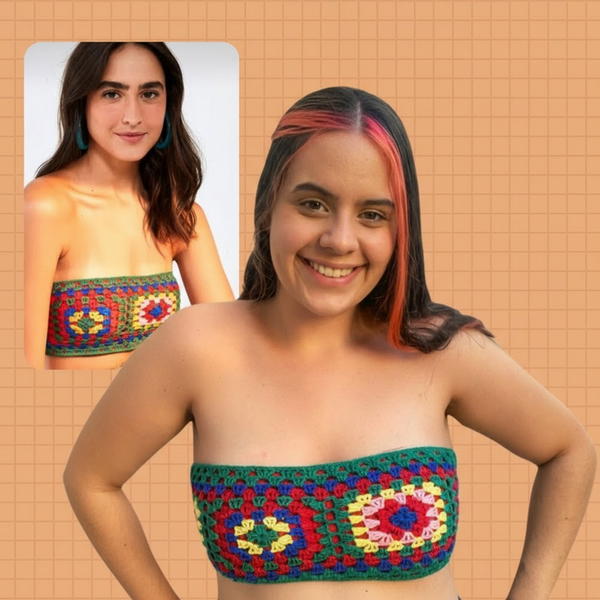
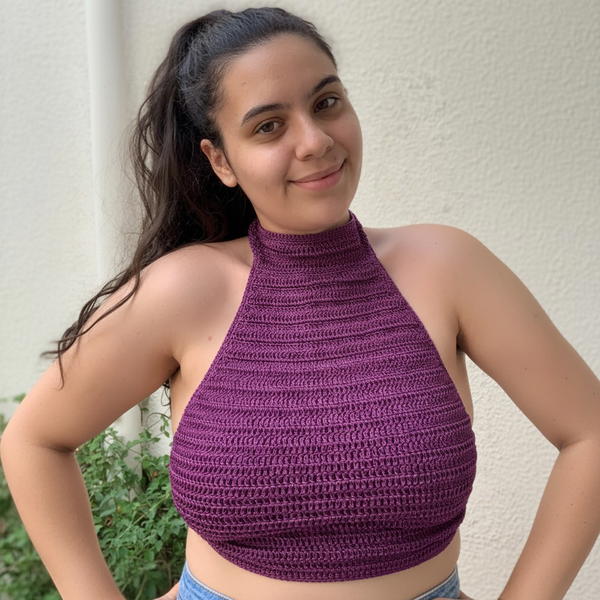
Easy to slip on over swimwear for quick coverage, this beautiful beach cover-up is perfect for sunny days by the water. Its light and airy design features open, delicate stitches that let the warm breeze flow through, keeping you cool and comfortable. The soft fabric moves gently with every step, while the flowy shape flatters all body types, making you feel confident and relaxed.
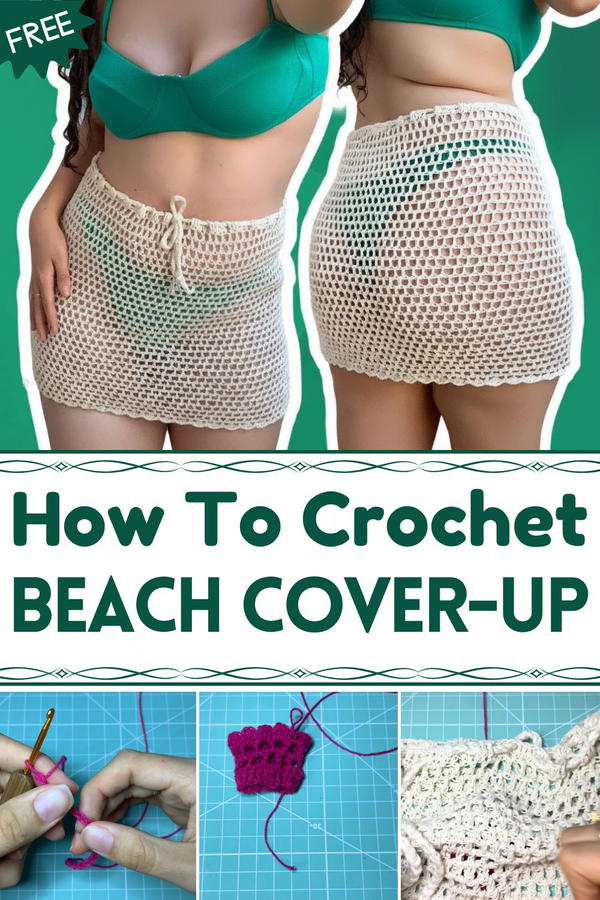
Chic Crochet Beach Cover-Up Pattern for Casual Outings
Whether you’re walking along the shore, lounging on the sand, or enjoying a seaside meal, this cover-up adds a stylish, laid-back touch to your outfit. Its casual elegance and charming texture bring a fresh, summery vibe that’s both fashionable and practical. With this cover-up, you get the perfect mix of comfort, style, and ease—making it an essential addition to your beach wardrobe.

Crochet Beach Cover-Up: Step-by-Step Pattern
Materials
- Medium-weight crochet thread (Passione thread recommended)
- Crochet hook size 3 mm
- Scissors
- Tapestry needle for weaving in ends
All materials used by the tutor will be listed in the video description for reference.
Difficulty Level
Easy to Intermediate
Basic crochet stitches are used with attention to positioning stitches inside the chain spaces to avoid crookedness. The pattern is repetitive but requires focus on stitch placement for best results.
Pattern Steps
Step 1: Creating the Foundation Chain (Cord)
- Chain an odd number of stitches long enough to fit comfortably around your hips (because this is a circular piece).
- Join the chain with a slip stitch (very low stitch) to the first chain, making sure not to twist the chain.
- Pay close attention here since joining incorrectly will cause the piece to spiral and look crooked.
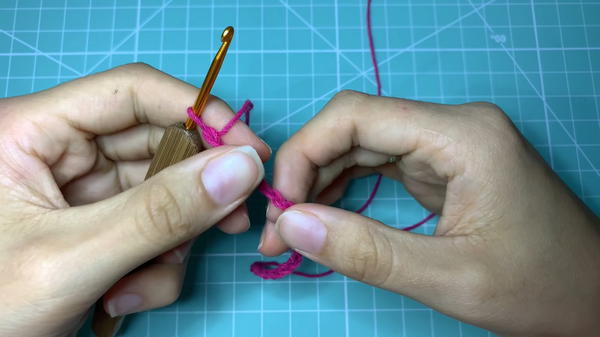
Special tip from Tutor: Use very small slip stitches to avoid bulk and ensure a smooth join.
Step 2: Round 1 – Building the Base Row
- Chain 3 (counts as your first double crochet).
- Work 1 double crochet (high point) into each base chain around.
- This round forms the base and also helps when you insert the cord later around the waist for tightening.
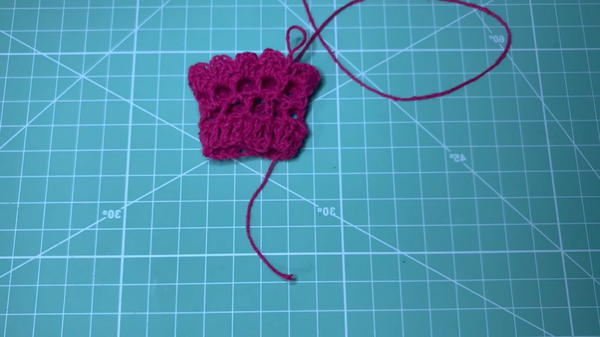
Step 3: Round 2 – Beginning the Lace Pattern
- Close the round with a slip stitch at the third chain of the starting chains.
- Chain 4 (counts as 1 double crochet + 1 chain for space).
- Skip 1 base stitch, double crochet in next stitch, chain 1 — repeat this pattern around.
- Finish the round with a chain and slip stitch in the third chain of the starting chain.
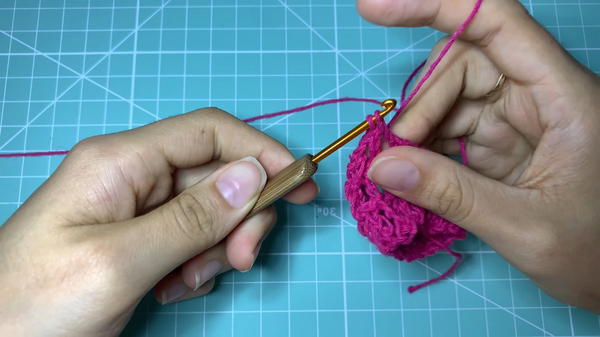
Step 4: Round 3 and Onward – Lace Stitch Pattern
- Start by inserting your hook inside the chain space (not on top) from the previous round to prevent crooked edges.
- Make a slip stitch inside that chain space.
- Chain 3.
- Repeat the pattern: double crochet, chain 1, skip 1 stitch, double crochet all worked inside chain spaces from previous rounds, maintaining the lace effect.
- Close the round with slip stitch on the third chain of the starting chain.
- Repeat this round as many times as desired to reach your preferred length.
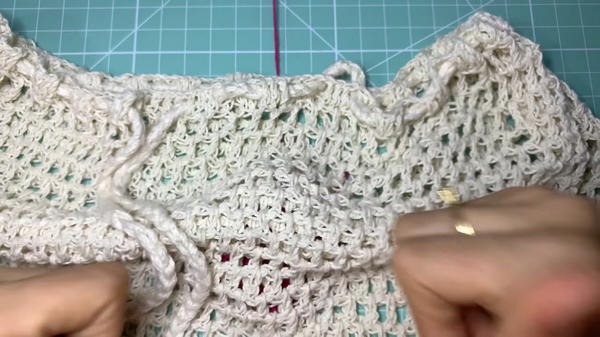
Step 5: Waist Cord
- After achieving the desired length from the previous rounds, you will create the waist cord to cinch the cover-up.
- Crochet a cord using four strands of thread braided together for thickness and durability.
- Make a chain for the cord longer than your waist measurement to account for adjustments and tying.
- Thread the cord through the double crochet spaces around the waist.
- Use a high point stitch adjacent to the cord to secure it, alternating passing the cord front and back through the spaces.
- Adjust tightness and tie a bow or knot as preferred.
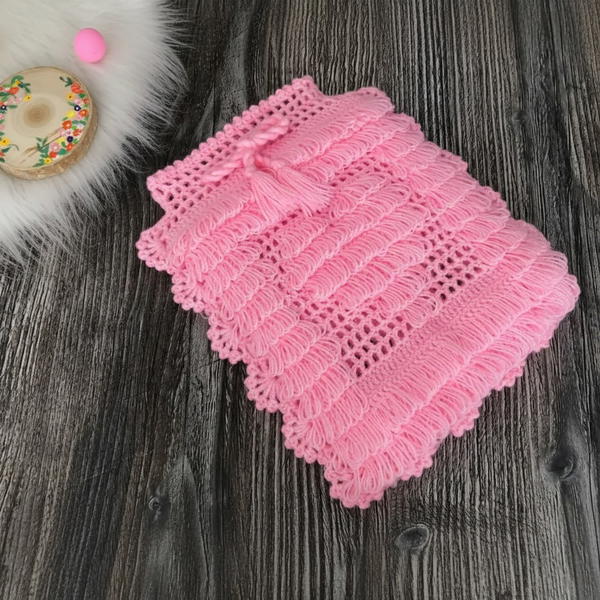
Step 6: Finishing Edges (Hem)
- After the cord placement, work a round of stitch pattern edging:
- In each gap between double crochets, make a single crochet (low stitch), chain 2, then single crochet again.
- This creates a neat scalloped edge for the hem.
- Finish by slip stitching into the starting point and weave in all ends securely.
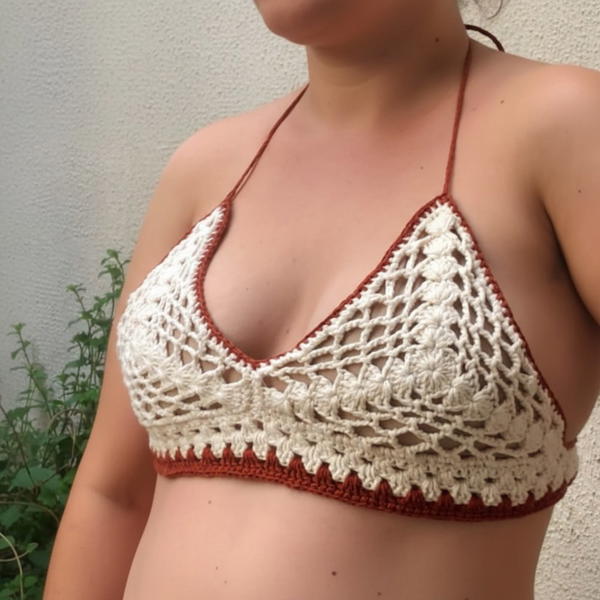
Special Features of This Pattern
- Circular construction allows for easy fitting around hips with natural stretch.
- The waist cord adds a stylish cinch to define the waist, adjustable for any body shape.
- Lace pattern offers breathability, perfect for hot weather beachwear.
- Customizable length: make it as short or long as you want!
- Economical as it uses minimal materials and simple stitches.
Tutor’s Suggestions
- Pay special attention to joining rounds without twisting — this is essential for a non-crooked piece.
- When working stitches in rounds, always insert your hook inside the chain spaces, not on top, to keep shape even.
- Experiment with various yarn colors and cord types to customize looks.
- Subscribe and like tutorials from the tutor for more tips and updates!
Conclusion
This crocheted beach cover-up is a fun, simple project that yields a fashionable and functional garment perfect for summer outings. With a few basic crochet techniques, and some attention to detail for stitch placement, you can create a versatile, comfortable cover-up to wear on the beach or over casual outfits. The adjustable waist cord allows for crafting a flattering silhouette for different sizes. Happy crocheting!
Bonus Tip
Avoid crooked edges by always making your first stitch of the round inside the chain space from the previous row, never on top of a chain stitch. This small adjustment dramatically improves stitch alignment and overall garment shape.