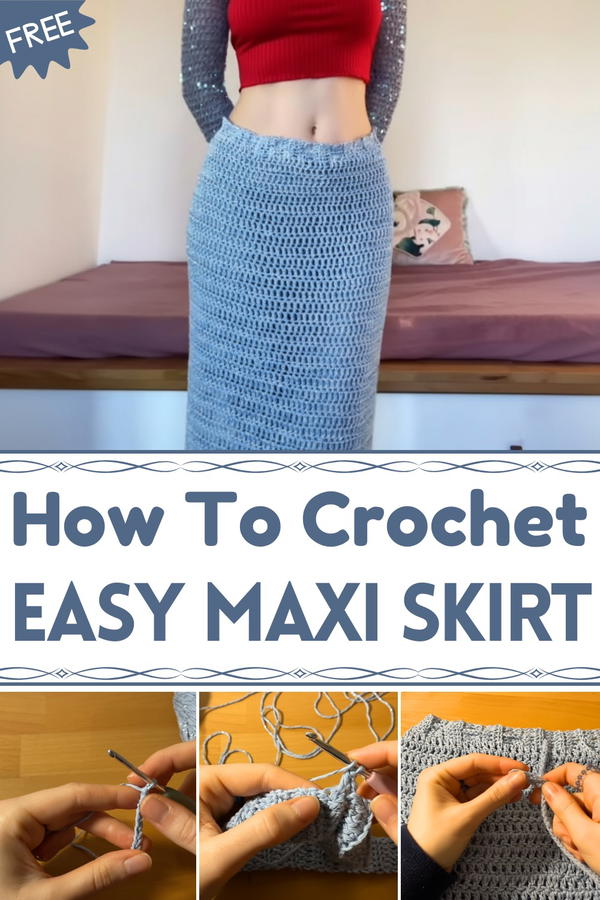
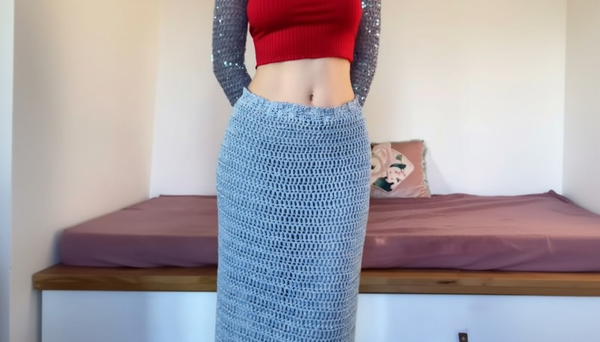
Step out in style with a Crochet Maxi Skirt Pattern that moves easily, stays cool, and looks fun for beach days, parties, or sunny walks.
This skirt feels soft and moves nice when you walk. It looks very pretty with special stitches that you make by hand. You can wear it anytime—when you go outside, to a party, or just stay at home. It is long and light, so it keeps you cool and comfortable. You can make it in many colors, so it will be just for you.
Vibrant Crochet Maxi Skirt Pattern That Adds Style Fast
This skirt goes well with any shirt or top you like. When you wear it, you will feel happy and proud because you made it yourself. It is not just a skirt, it is something special that shows your style and care. Everyone will notice how nice and different it is. You will enjoy wearing it every day!
Crochet Maxi Skirt Pattern: Step-by-Step Guide
Materials Needed
- Cotton blend yarn with Lurex, approximately 320g
- Crochet hooks: 3mm (small) and 4mm (larger)
- Stitch markers (optional)
- Large needle or crochet hook for threading drawstring
Difficulty Level
Beginner to Intermediate — Simple stitches with some shaping techniques. Great for those learning to switch between hooks and make openwork.
Special Features
- Adjustable length and waistband
- Side opening for walking comfort (optional)
- Drawstring waist for easy fit adjustment
- Sparkly thread option for a subtle shine
Step-by-Step Instructions
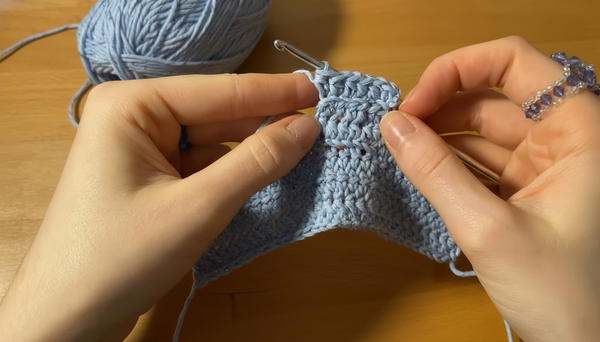
1. Foundation Chain & Base Row
- Using the 3mm hook, chain enough stitches to reach desired skirt width. For reference, the tutorial stitches 74cm wide.
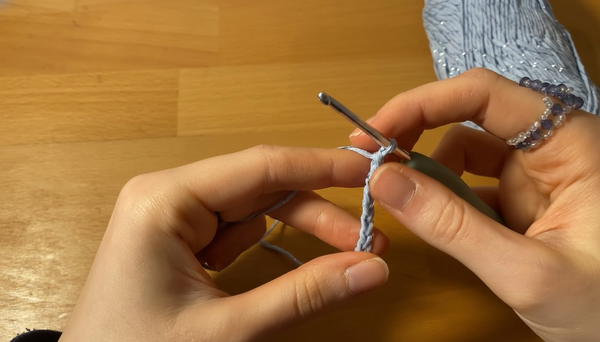
- Skip first 2 chains, then make a half double crochet (HDC) in the 3rd chain from hook.
- Continue with HDC across the chain; you should have about 6 HDC per row (adjust based on your starting chain length).
2. Rows 2 onwards: Half Double Crochet in Back Loops
- Chain 2 and turn work.
- Make a HDC in the back loop only of each stitch across the row.
- Repeat this row, chaining 2 and turning, making HDC in back loops until the width (circumference) fits your hip plus ease. For the sample, 75 cm was used, reduced due to stretch.
- Check regularly to ensure it fits comfortably over hips.
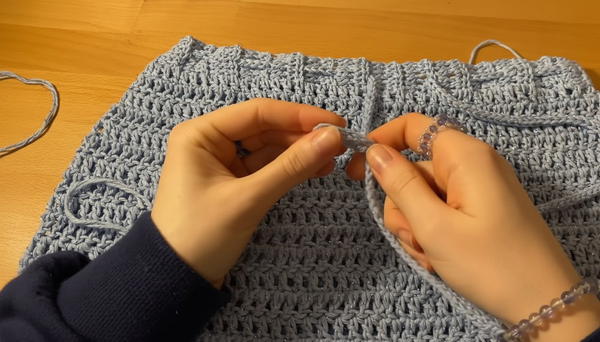
3. Joining the Skirt Tube
- After reaching desired width, join the sides by:
- Inserting your hook through the first stitch at the beginning of your row and through the first stitch of the opposite side.
- Pull yarn through both stitches, then complete a slip stitch (SS) to join flat, not rolled.
- Continue making slip stitches through both edges until the sides are joined into a tube shape.
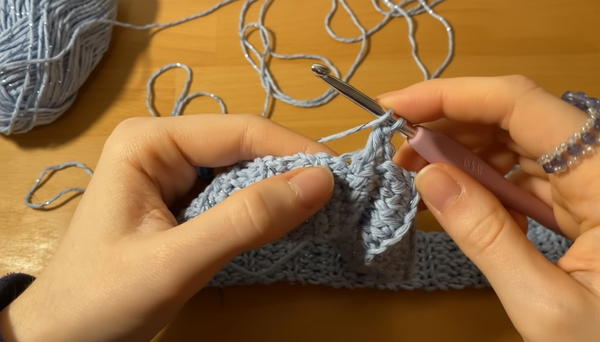
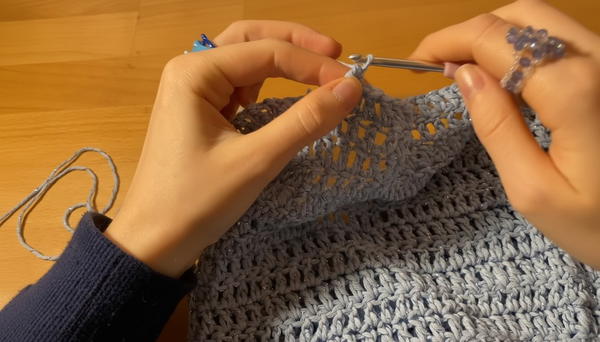
4. Switch to Larger Hook & Mesh Stitch Row
- Change to the 4mm hook.
- Chain 3 (counts as first double crochet (DC)), turn.
- Make a DC in spaces between stitches from previous rows to create a mesh-like open pattern. Repeat this pattern around the skirt.
- The number of "straps" or DC spaces depends on your size and yarn. The tutorial achieved 99.
5. Working Mesh Rows
- At the end of each row, join with a slip stitch into the top of the starting chain 3.
- Chain 3, turn.
- Continue with double crochet stitches in each space, skipping slip stitches until the next join point (markers help).
- Repeat for desired skirt length.
6. Optional Side Opening
- When you reach near the skirt’s length, to create an opening:
- Instead of joining the last stitch, continue working in rows (without joining into a tube) for the desired opening length.
- Each row: chain 3, turn, skip one stitch, then double crochet in next stitch. Repeat until opening length is reached.
7. Making the Drawstring Waist
- Using the 3mm hook, take two strands of yarn held together.
- Leave about 10cm tail, then create a chain by looping the hook through the two strands (similar to a braid) to make a strong, elastic cord.
- Continue until cord measures approximately 130 cm (or enough to comfortably gather your waistband).
- If this technique is difficult, you can simply chain 130 cm, but it will be less elastic.
8. Inserting Drawstring
- Use a large needle or crochet hook to thread the cord through the waistband casing at the top of the skirt.
- If you made a side opening, thread the cord carefully to avoid pull out.
- Tie knots at both ends of the cord to secure. Trim excess yarn.
Tips from the Tutor
- Always check your gauge and fit regularly—especially the waistband stretch and hip fit.
- Use stitch markers to mark the beginning and end of rows for easier counting.
- Don’t worry if your yarn choice needs a different hook size—adjust hook sizes to achieve similar tension and measurement.
- Adding the side opening makes walking more comfortable; it’s optional but highly recommended for easier wear.
Uses
This customizable maxi skirt is perfect for casual outings, summer days, or even seaside strolls. The breathable crochet pattern keeps you cool while providing a chic, handmade look.
Conclusion
This maxi crochet skirt pattern combines ease of work with beautiful openwork and practical design. Whether you're a beginner or intermediate crocheter, you’ll enjoy making this stylish skirt with adjustable length, a comfy drawstring waist, and elegant airy texture. Try it in your favorite color and feel confident rocking a handmade garment made just for you!
Helpful Tip
To keep your skirt looking neat, block it gently after finishing. This helps to smooth out stitches and set the shape for a polished final look.


