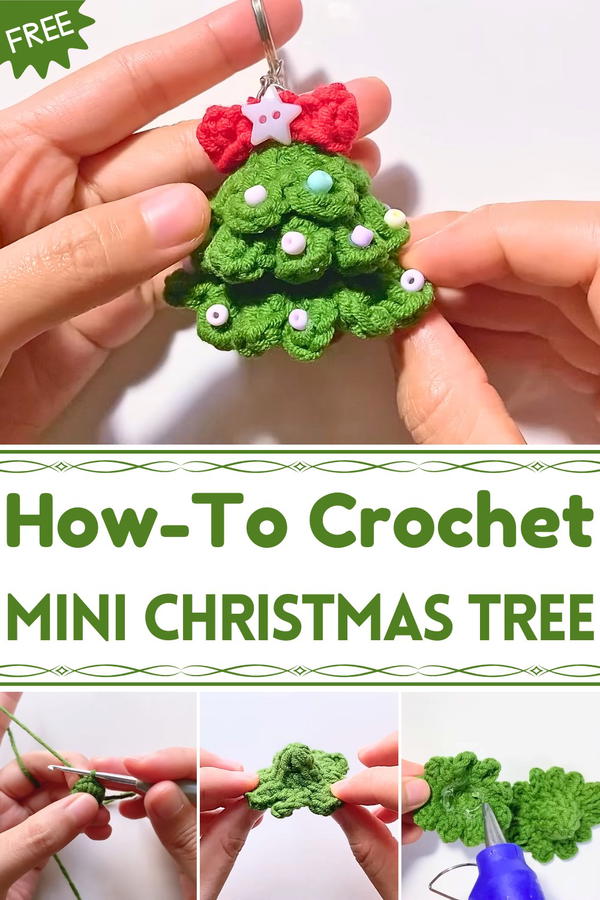
Celebrate festive charm with this Free Crochet mini Christmas tree Pattern that guides you to make adorable, handmade trees for cheerful holiday décor.
Crocheting miniature holiday decorations has become a popular way to bring warmth and creativity into seasonal décor, and this Crochet Mini Christmas Tree is a perfect example. This small yet elegant project offers a simple and rewarding experience, even for beginners. It’s a decorative item that can be used as an ornament, a tabletop centerpiece, or a thoughtful handmade gift.
Crochet Mini Christmas Tree Pattern That Adds Charm
This project not only enhances holiday décor but also helps improve core crochet skills such as working in the round, maintaining consistent tension, and shaping forms with precision. It’s a compact, time-efficient, and versatile project that brings both creativity and festive spirit into your home.
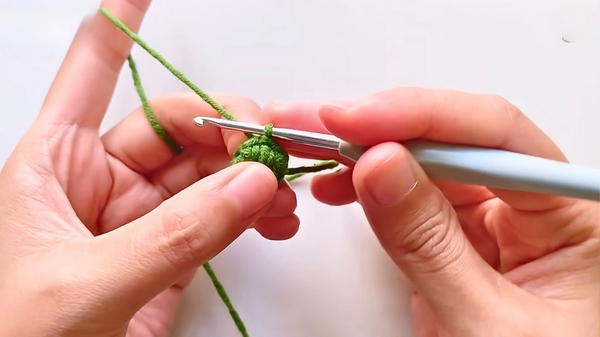
The process begins with a magic ring that forms the base, followed by rounds of single crochet stitches. Gradual increases shape the lower section of the cone, while controlled decreases taper the top for a balanced structure.
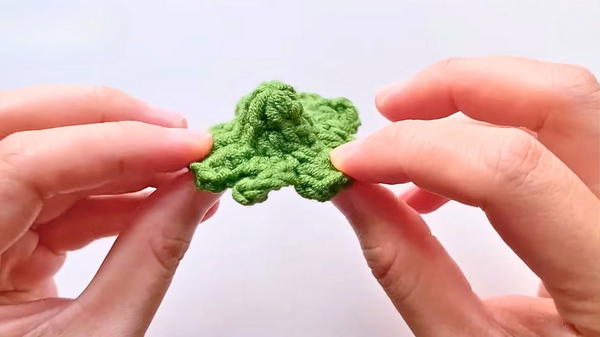
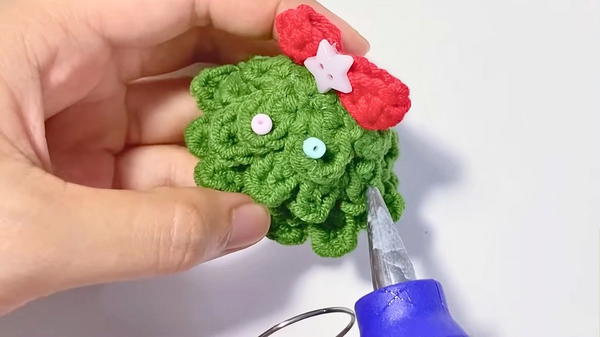
Some versions include picot stitches along the edges to create the illusion of tiny branch tips. For added appeal, you can decorate the tree with small beads, a star topper, or a felt base to mimic a trunk.


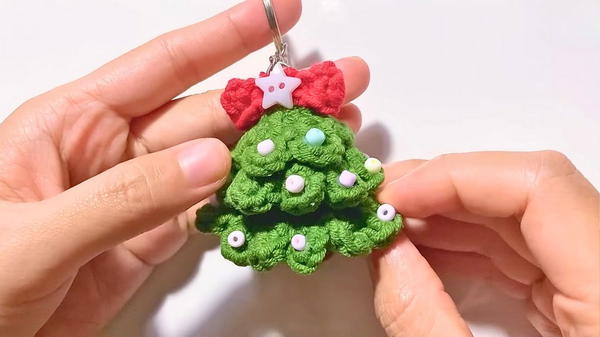
The finished tree stands a few inches tall, featuring textured stitches that resemble pine branches, giving it a realistic and charming look. Made with minimal yarn and basic materials, it’s cost-effective and quick to complete.
Special Features
The most distinctive feature of this Santa Claus is the ruffle effect used for the white beard and the brim of the hat. This texture, created using the Half-Double Crochet (HDC) shell stitch, gives the white trim a fluffy, textured look that perfectly mimics Santa's classic fur trim.
Difficulty
The level of difficulty for this project is generally Beginner to Intermediate. While the main pieces rely on the basic Single Crochet (SC) stitch, the pattern requires skill in the Magic Ring (MR), neat color changes, and executing the specialized ruffle/shell stitch. Visual guidance is helpful for this project.
Uses
The primary use for this small figure is as a holiday keychain or a festive bag charm. It also makes an excellent small gift or stocking stuffer.
Materials Needed
Yarn: You'll need yarn in three colors: Red (for the hat/body), Skin/Nude color (for the face), and White (for the beard, hat trim, and pom-pom).
Tools: A crochet hook (size appropriate for your yarn), a yarn needle for weaving in ends, scissors, and a stitch marker.
Assembly & Embellishment: Two small 6mm safety eyes or beads, a keychain ring, a hot glue gun or strong fabric glue, and a little bit of pink blush or makeup to add rosy cheeks.
Tutor's Suggestions
The tutor provides two key finishing tips:
When closing the top of the red hat piece, make sure to sew the yarn ends tightly before cutting them and attaching the keychain. This ensures the top is secure and won't unravel.
When starting a new color (like the white for the hat brim), it's recommended to crochet over the loose yarn tails. This hides the ends as you go, saving time on weaving them in later for a cleaner finish.
Step-by-Step Crochet Instructions
This project is a detailed tutorial for crocheting a small, adorable Santa Claus amigurumi designed to be used as a festive keychain. It involves making distinct components the hat, face, beard, nose, and pom-pom and then assembling them using glue. The finished piece is a wonderful, dimensional accessory perfect for the Christmas season.
Conclusion
By carefully following the instructions for shaping and the specialized ruffle stitch, you will have successfully crocheted and assembled a festive, detailed, and adorable Santa Claus Keychain.
Final Tip
To maximize the fluffy texture of the ruffled pieces (beard and hat trim), once the glue is dry, use the tip of your yarn needle or a toothpick to gently pull and separate the individual fibers in the HDC stitches. This adds volume and softness to the white sections.


