Create stylish hair accessories with a Crochet Rubber Hair Tie Pattern that stays secure, looks cute, and adds a playful touch to everyday hairstyles and outings.
Tired of plain hair ties that break or hurt your hair? This hair tie is made with colorful crochet patterns that make it special and pretty. It holds your hair tight without pulling or breaking, so you stay comfortable all day long. You can wear it in the morning, at school, or when you play outside.
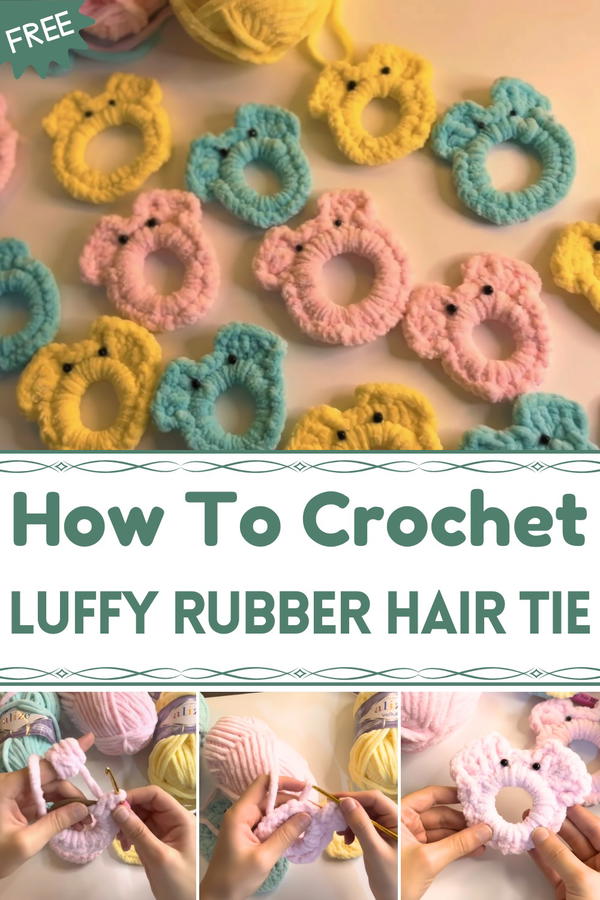
Handmade Crochet Rubber Hair Tie Pattern That Holds Tight
The bright colors and fun designs make your hair look happy and lively. It’s small, easy to carry, and strong enough to keep your hair neat and tidy. Making it yourself means you can pick your favorite colors and create something just for you or your friends. Wearing this hair tie will make you smile every time you look in the mirror. It’s a simple, lovely way to add fun and beauty to your hair.

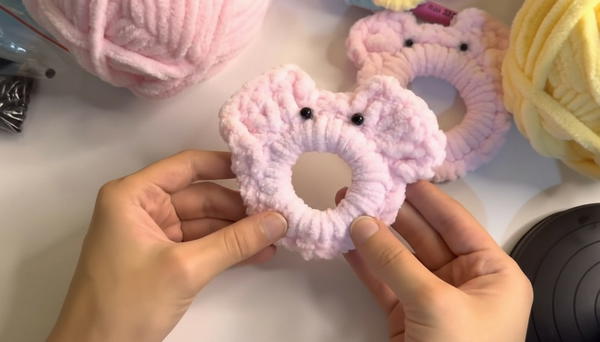
Fluffy Crochet Hair Clip Pattern
Difficulty Level
Beginner
Uses simple single crochet (SC) and double crochet (DC) stitches. The pattern is straightforward and takes about 5 minutes per clip.
Special Features
- Uses soft textured yarn for a fluffy look
- Fully covers a metal/alligator hair clip base
- Cute 3D ears made with double crochet and chain stitches
- Embellished with glued beads for eyes
- Fast and customizable project for all ages
Materials Needed
- Soft Alize yarn or similar fluffy yarn
- 4mm crochet hook
- Basic metal/alligator hair clip (plastic or metal buckle style)
- Small beads for eyes
- Hot glue gun
- Scissors
Pattern Steps
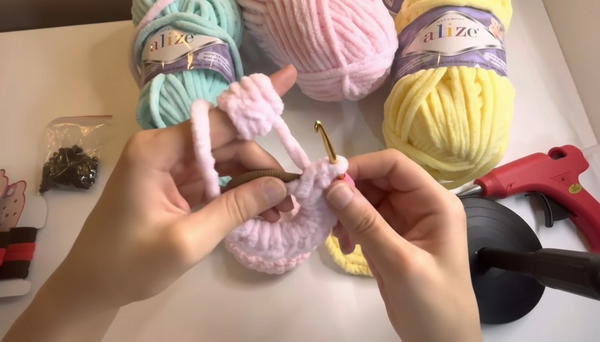
1. Preparing the Hair Clip Base
- Take your hair clip, wrap the yarn a few times around it to cover the surface and secure the yarn to the clip by tying a knot.
- Leave a yarn tail for crocheting around the clip.
2. Covering the Clip — Single Crochet Row
- Insert your hook into the yarn loops around the clip, and work single crochet (SC) stitches completely around the clip base.
- Keep the SC stitches snug but not too tight to allow the clip to function properly without visibility of the metal underneath.
- Continue SC stitches until the entire clip is fully covered, hiding all metal.
3. Finishing the Clip Cover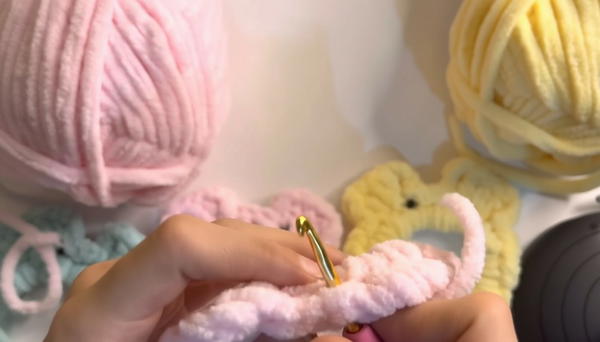
- Join with a slip stitch to the first SC and secure your work by hiding the yarn tail inside the stitches.
4. Making the “Ears” — Part 1
- Chain 10 stitches to start the first ear.
- Work double crochet (DC) stitches into the chain:
- Yarn over (yo), insert hook into chain, yo pull through two loops twice to complete DC.
- Make multiple DC stitches across the chain, filling each chain space except where you chain 3 stitches in between for spacing.
- Finish the first ear by slip stitching into the next single crochet on the clip cover.
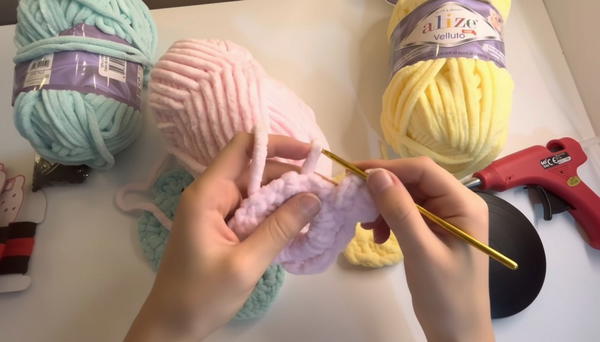
5. Making the “Ears” — Part 2
- Work a second ear in the same way: chain 10, DC stitches filling the chain with similar spacing (chain 3 spaces), slip stitch into the next SC of the clip.
- Cut yarn leaving a tail for weaving.
6. Securing and Wrapping Yarn Around the Clip
- Use the leftover yarn tail and wrap it again around the entire clip once more to secure the ears firmly and add extra fluff and volume.
- Crochet around again if desired to keep the wrap tight and neat.
7. Adding Beads for Eyes
- Heat up a hot glue gun.
- Place a small dot of glue underneath the base of each ear on the clip.
- Quickly attach one bead per ear to create “eye” details.
- Press and hold briefly to secure the beads in place.
Tutor’s Suggestions
- Avoid pulling SC stitches too tight around the metal clip to prevent deformation and ensure clip opens/closes smoothly.
- Use stitch markers if needed to space ears consistently.
- Experiment with colors and beads for personalized styles.
- Be careful with hot glue and supervise children when making this project.
Uses
- Perfect small gift for kids and adults
- Cute accessory to keep or sell
- Fun beginner-friendly crochet project that needs minimal materials
- Adds a handmade touch to hairstyles
Tip
To make your clip even fluffier, choose yarn with a soft halo or eyelash finish. Wrap an extra layer of yarn around the clip before crocheting your SC stitches for added volume.
Conclusion
This fluffy crochet hair clip is a quick and charming project perfect for beginners looking to make unique hair accessories. With simple stitches and easy assembly, you can create a cozy, cute clip in minutes.