Mint Design Blog


Experience the joy of textured crochet with this free zigzag bag pattern offering a unique look perfect for personal use or gifting to friends.
Searching for a stylish yet functional bag that stands out from the crowd? The Örgü ütopyası channel offers an incredible tutorial for creating a zigzag texture bag that is as practical as it is stunning. With detailed step-by-step guidance, this pattern allows anyone, regardless of experience, to make a unique and durable bag perfect for everyday use. Whether you want to carry groceries, essentials, or even make a bold fashion statement, this bag is designed to cater to all needs.
Free Crochet Zigzag Texture Bag Pattern for Any Outfit
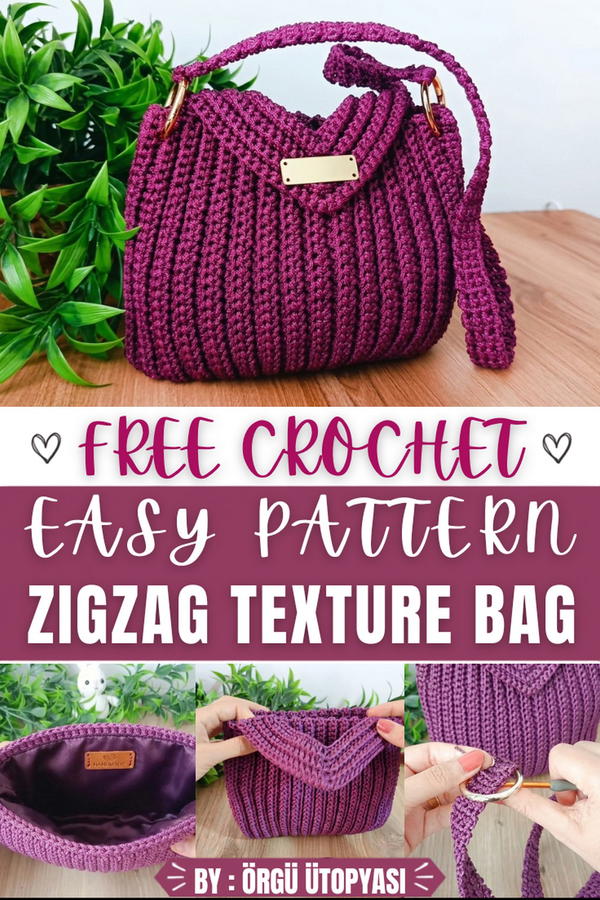
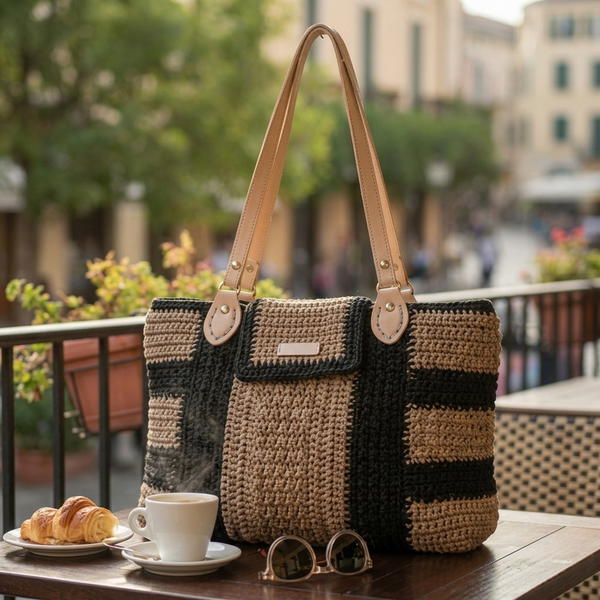
What sets this bag apart is its striking zigzag texture. Using simple yet effective techniques, such as single crochet and back-loop stitches, the design forms a mesmerizing wave-like effect that gives the bag a modern, artistic flair. The textured pattern combines elegance and style, making the bag suitable for casual outings or special occasions. Its sturdy structure ensures it holds shape while remaining lightweight and comfortable to use.
The bag’s most attractive features include its stable base, which provides extra durability, and its comfortable handles that are perfect for long use. The inclusion of a chic flap with button closures gives it added security and a refined appearance, while the adjustable size and handles allow you to customize it to your preferences.
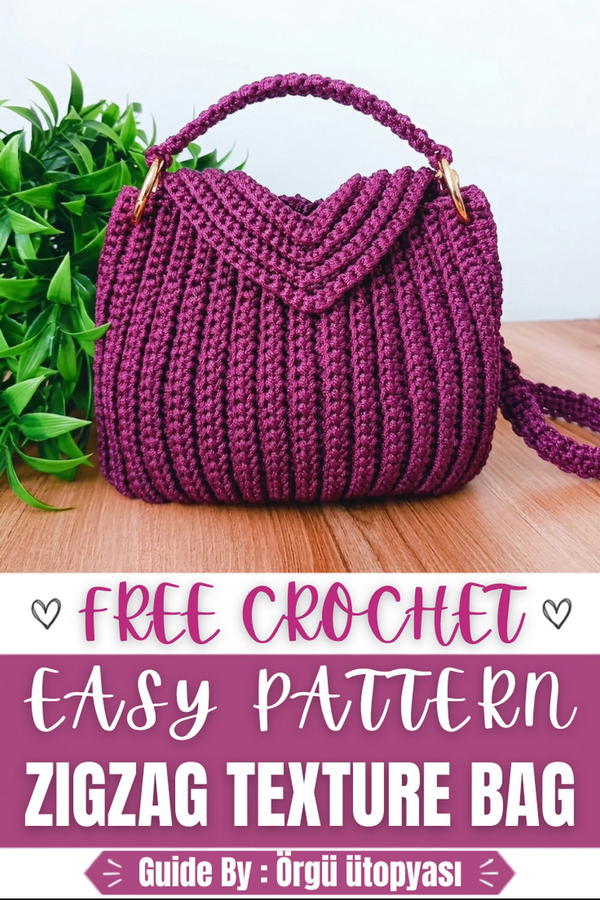
Crochet Textured Bag with Handle and Flap
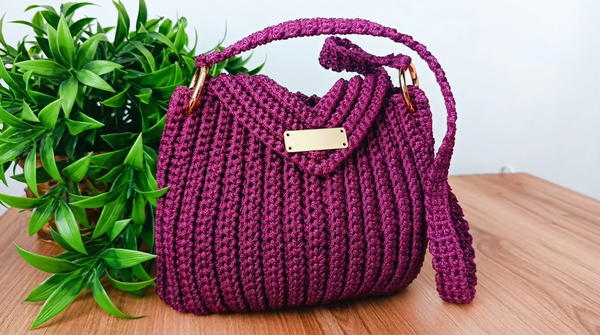
This textured crochet bag combines functionality with timeless design, showcasing alternating single crochet stitches and structural half double crochet stitches worked from the back loop for added texture. Complete with a tailored handle and dynamic flap detail, this project elevates a simple crochet bag into an elegant accessory suitable for everyday or special occasions.
Skill Level
Intermediate
This pattern is recommended for intermediate-level crocheters who are comfortable with single crochet stitches, back-loop techniques, simple increases and decreases, and basic assembly techniques. Confident beginners who are familiar with key stitches and careful counting can also attempt this project.
Materials
- Yarn: Approximately 400–500 grams of durable macramé or cotton yarn.
- Hook: 3.5 mm crochet hook.
- Notions:
- Stitch marker (optional)
- Magnetic button for closure
- Metal rings or large loops for attaching handles
- Scissors
- Yarn needle (for assembly and weaving ends)
- Lighter or flame-safe tool for sealing yarn ends (optional)
Special Stitches
- Single Crochet (sc)
A dense stitch used throughout the body, edge, and assembly for stability and structure. - Half Double Crochet (hdc)
A slightly taller stitch that adds texture in alternating sections. - Single Crochet in Back Loop Only (sc BLO)
Creates a ribbed texture and clean lines, ideal for decorative detailing. This technique is crucial for sewing and shaping.
Stitch Abbreviations
- ch – chain
- sc – single crochet
- hdc – half double crochet
- sc BLO – single crochet worked in back loop only
Useful Tips
- Mark Rows and Sections: Use stitch markers to track sections of single crochet versus half double crochet stitches throughout.
- Crochet Tension: Maintain even tension, especially when working textured stitches like sc BLO to keep edges balanced.
- Avoid Skipping Hidden Stitches: Pull apart hidden loops or bumps at row ends to avoid shrinking the row count.
- Customize Dimensions: The width, length, and height of the bag can be adjusted by adding or subtracting chains, rows, or even flap and handle elements.
- Finish and Seal Ends: Use flame-safe techniques (e.g., lighter) to carefully seal yarn ends for a clean, polished finish.
Detailed Pattern
Bag Body
The textured body combines sections of alternating single and half double crochet stitches.
Foundation Chain
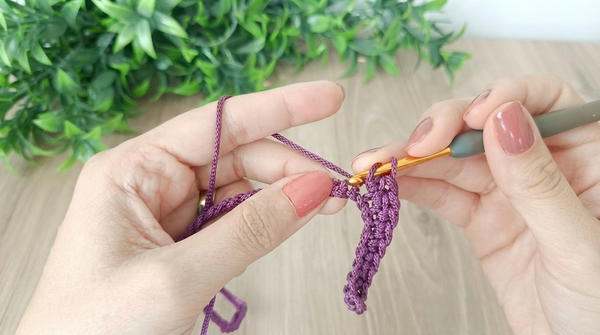
- Start: Chain 71, adding an extra chain for turning (72 chains total).
Row 1
- From the second chain from the hook, start working in standard stitches:
- Work 7 sc: Insert the hook into the stitch, pull up a loop, yarn over, and pull through both loops. Repeat 7 times to form the mouth section (top edge of the bag).
- Work 24 hdc: Yarn over, insert the hook into the stitch, pull up a loop (3 loops on the hook), yarn over and pull through all three loops. Repeat for the next 24 stitches.
- Work 8 sc: This forms the base section.
- Work 24 hdc and finally 7 sc to complete the row’s edge.
- Ch 1, turn.
Row 2
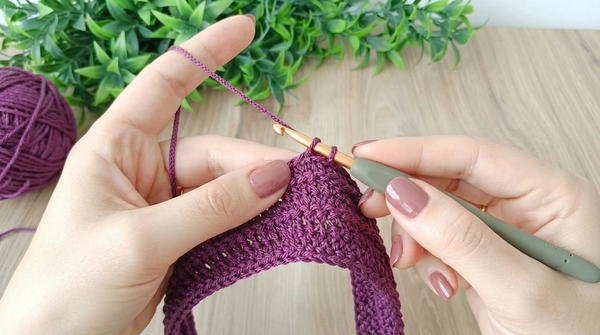
- Work the second row entirely in sc BLO, working into the back loop of each stitch for texture.
- Maintain the same stitch placement:
- 7 sc BLO
- 24 hdc BLO
- 8 sc BLO at the base
- 24 hdc BLO
- 7 sc BLO for the edge
- Ch 1, turn.
- Maintain the same stitch placement:
Subsequent Rows
- Continue alternating sc BLO for single crochet sections and hdc BLO for half double crochet sections.
- Each row repeats the stitch placement: 7 sc, 24 hdc, 8 sc, 24 hdc, 7 sc.
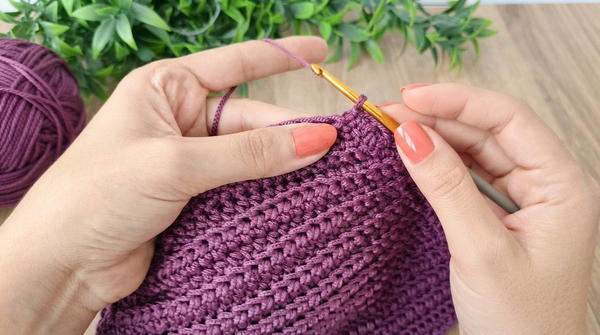
- Repeat this pattern until the body reaches 15 rows in total, measured by counting bumps formed at the edges of rows. This forms a rectangular fabric of approximately 20 cm height by 40 cm width.
Edging
Once the body texture is complete, edge the bag for assembly.
- Work sc BLO around all four edges of the rectangle, including the raw base and sides.
- Place 2 sc BLO at each corner for smooth turning.
- When finished, join the round with sl st, securing the edge neatly.
Assembly
The body is folded and stitched into a tubular bag shape.
Sewing the Sides
- Fold the fabric so the wrong sides face outward.
- Align the edges and stitch using sc BLO, sewing the corresponding back loops from both sides together. This creates a subtle, neat seam.
- Continue stitching both sides together up to the top edge of the bag.
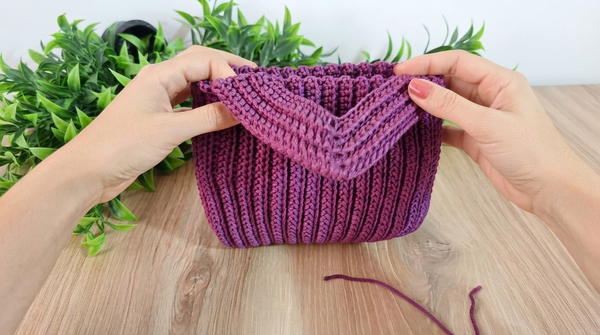
Flap
The flap adds functionality to the bag’s design by creating a secure closure.
Foundation Chain
- Chain 26 for the flap.
Row 1
- Work from the second chain from the hook, crochet 26 sc evenly across.
- Ch 1, turn.
Row 2
- Work 2 sc into the first stitch for an increase.
- Crochet 24 sc BLO across to the second-to-last stitch.
- Work 2 sc into the last stitch (second increase).
- Ch 1, turn.
Row 3
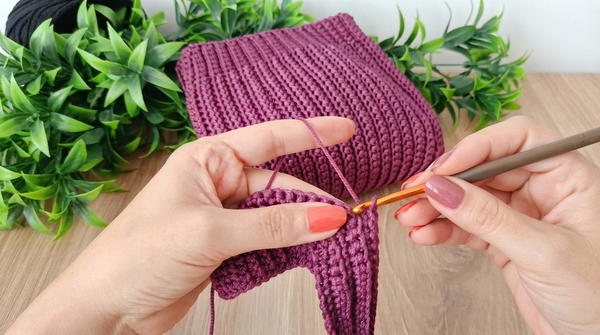
- Work the entire row in sc BLO, no increases.
- Ch 1, turn.
Row 4 and Beyond
- Repeat Rows 2–3 for alternating rows of increases and regular stitches.
- Continue creating the flap until the size totals 41 sc, with increases added evenly at both ends in increments of 3 rows.
Flap Assembly
- Attach the flap to the back panel of the bag body using sl st or sew it directly using sc BLO through aligned loops at the base edge.
Handle
The handle is purposefully simple to balance the detail of the bag’s texture and flap.
Rings
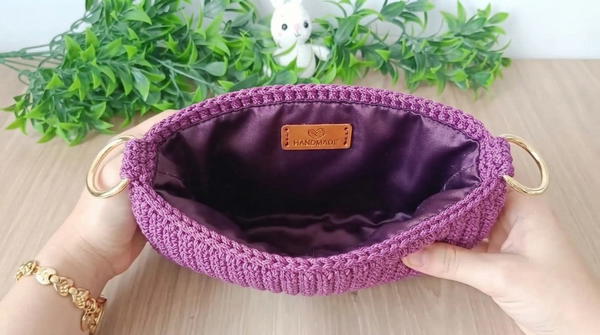
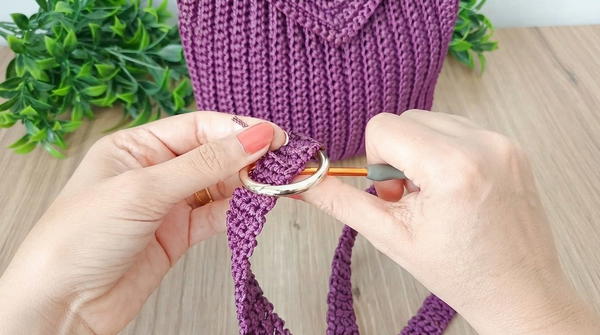
- Attach metal rings to either side of the bag. Position them slightly below the top edge for a secure grip.
Handle Construction
- If using a crocheted handle:
- Chain 10, then work rows of sc BLO, securing at both rings.
- Repeat stitching until reaching desired length (approx. 37–38 cm for shoulder height).
Optional Magnetic Button
- Sew a magnetic button to secure the flap to the body of the bag. Align the button placement for proper closure and accessibility.
Assembly and Sizing
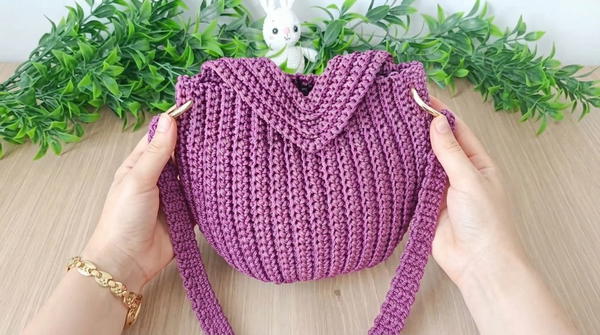
- Finished Dimensions: Approximately 20 cm height, 40 cm width, and adjustable strap length.
- Sections: Balanced sections of sc and hdc stitches, creating a sturdy yet textured fabric.
Conclusion
This textured crochet bag is an elegant project designed for durability, practicality, and style. The combination of contrasting stitches creates visual interest, while the strategically placed flap and sleek handle add functionality. Perfectly adaptable for personal preferences, this design allows room for creative modifications, such as color variations, lining additions, or hardware choices. Its versatility makes it a perfect accessory for both casual outings and formal occasions.