Turn yarn into a fashionable statement piece through the Free Crochet Bag Pattern that guides you in making a bag blending style and everyday use.
Making something both practical and stylish is now easier than ever with the step-by-step pattern shared by Örgü ütopyası on their YouTube channel. This bag design is ideal for carrying personal essentials, groceries, or even for a casual outing, ensuring functionality while adding a graceful touch to your look. The tutorial is simple to follow, making it perfect for anyone, whether you're new to this or already experienced.
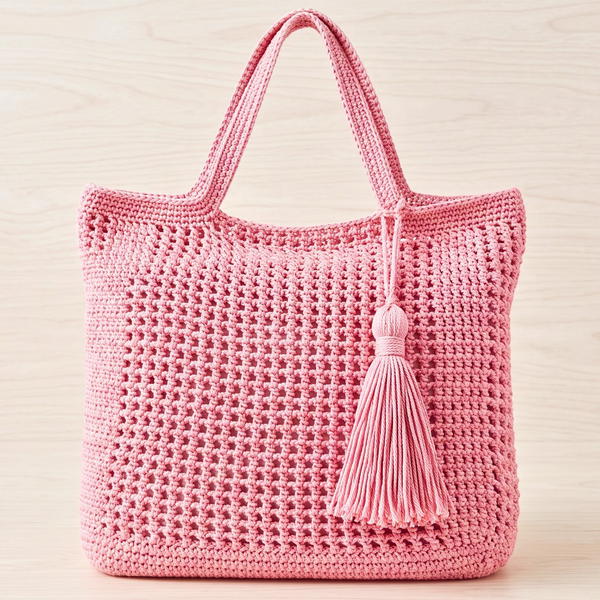
Free Crochet Tote Bag Pattern – Perfect for Shopping
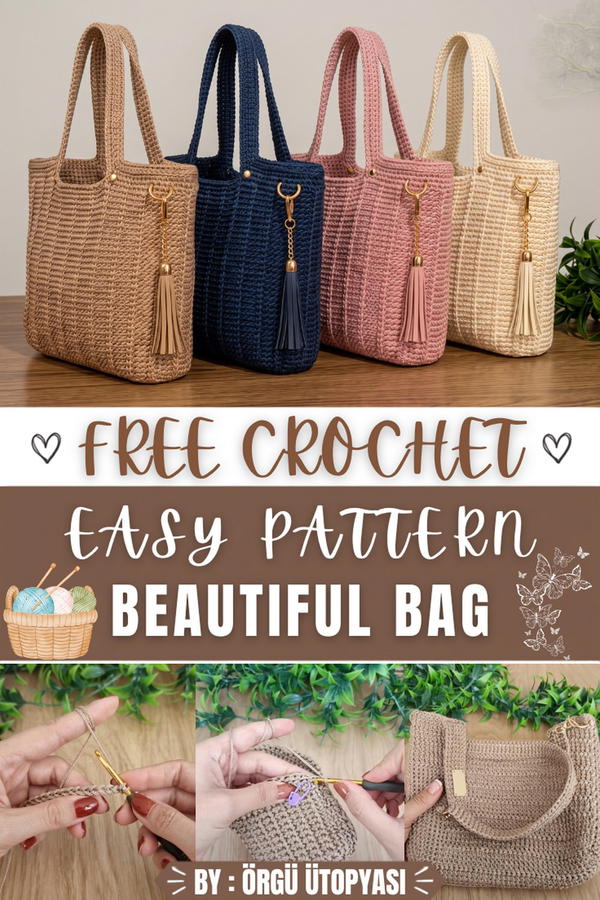
The standout feature of this bag is its clever yet elegant shape. It combines a sturdy base with a soft, detailed texture that feels pleasing to use and eye-catching to look at. The roomy interior offers ample storage space while keeping the overall structure lightweight to carry. Long, comfortable straps make it easy to use and give it a practical design. Additionally, it can be made in various sizes and colors, depending on your need and style, offering endless possibilities for customization.
What makes this bag truly impressive is its versatility, it's perfect for daily use but can also serve as a thoughtful gift for your loved ones. The design does not compromise durability, ensuring that you have something reliable and lasting that remains stylish over time.
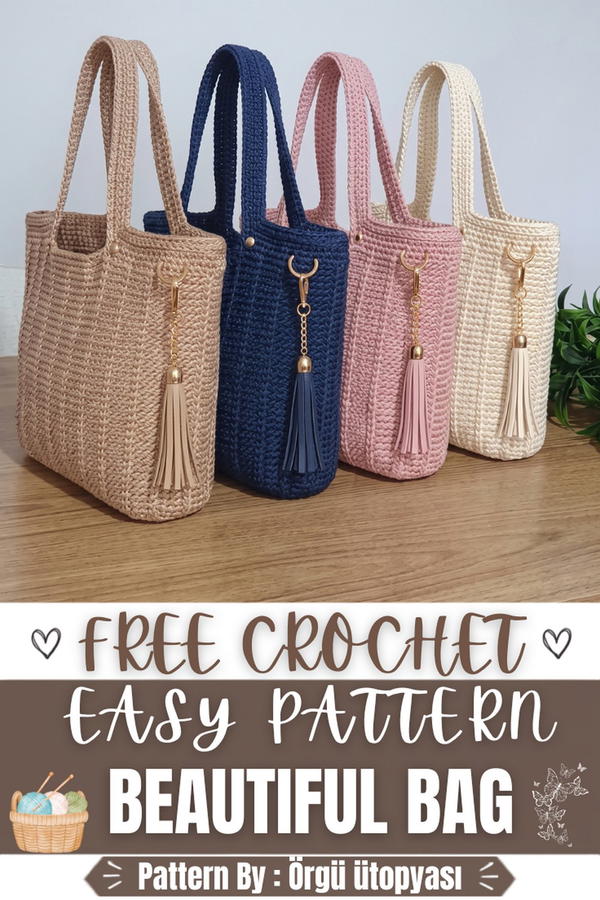
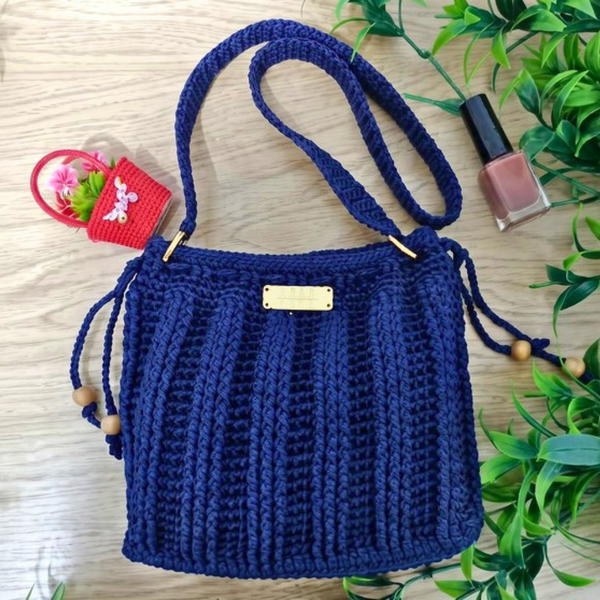
Crochet Braided Textured Bag Pattern
This crochet bag features a braided texture that lends it elegance and durability. The design incorporates a sturdy base, a decorative spiral body, and functional handles, making it ideal for a variety of uses. Constructed using simple techniques and polyester macrame cord, the bag is both stylish and long-lasting.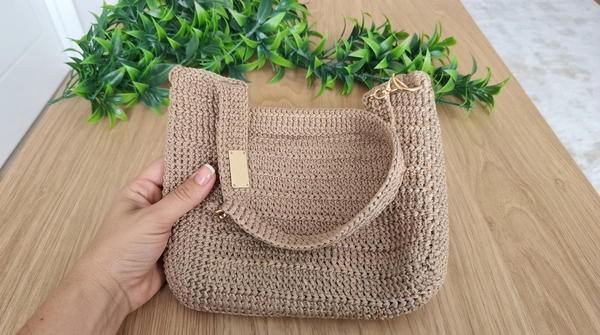
Skill Level
Intermediate: This pattern involves working in spirals, handling textured stitches, and assembling structured elements, so prior experience with crochet basics is recommended.
Materials
To complete this project, you will need the following:
- Yarn: 4mm polyester macrame cord for a durable and structured bag.
- Crochet Hook: 3.5mm crochet hook for precise stitching.
- Additional Tools:
- Stitch markers (to distinguish handle placement).
- Scissors (to cut yarn neatly).
Special Stitches
- Back Loop Only (BLO): Instead of inserting your hook under both loops at the top of a stitch, insert it only under the back loop.
- Decorative Braided Stitch: A textured stitch achieved by alternating rows of SC in the BLO and SC into the center "V" (two-loop stitch) of the previous row.
Stitch Abbreviations
- ch: Chain
- SC: Single Crochet
- SS: Slip Stitch
- BLO: Back Loop Only
Useful Tips
- Mark Your Handles: Use stitch markers to divide stitches evenly for handle placement. This ensures symmetry.
- Work Evenly in Spirals: Avoid joining rounds when beginning the spiral body. Instead, work continuously and use a marker to track rounds if needed.
- Tension Awareness: Keep consistent tension to achieve a neat texture, especially with the braided stitch.
- Secure Cord Ends: Melt the ends of the macrame cord carefully with a lighter to prevent fraying.
Detailed Pattern
Foundation & Base
Step 1:
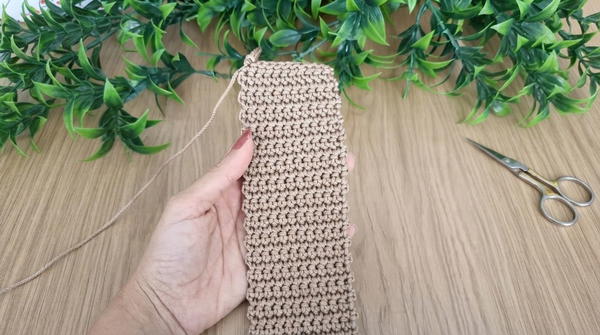
- Begin by chaining 12 stitches.
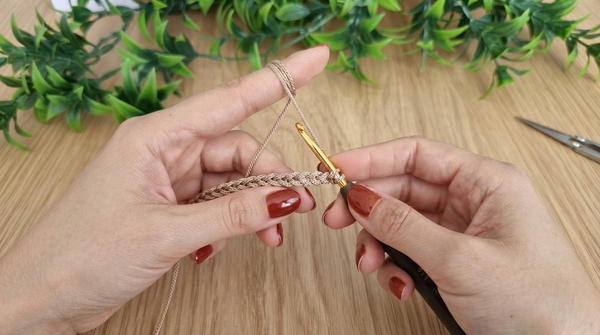
Step 2:
- Starting in the second chain from the hook, work 11 SCs across the foundation chain.
Step 3:
- Continue working in rows: turn your work, chain 1, and work 11 SC in each row.
- Repeat for a total of 36 rows to form the rectangular base.
Base Border
Step 1:
- Once the base is complete, work 1 round of SC around the perimeter of the base.
Step 2:
- At the corners, add 2-3 extra SC stitches to keep the work flat and prevent curling.
Step 3:
- Ensure that the stitch count is even across all sides to maintain symmetry for the bag body.
Body (Spiral)
Step 1:
- Begin working in a continuous spiral (do not join rounds).
Step 2:
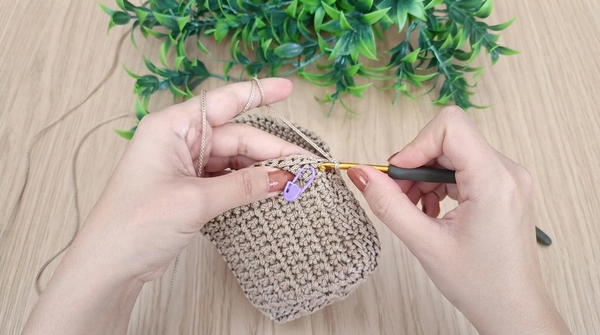
- For the first row of the body, work 1 SC into the BLO of each stitch.
- This creates a sharp transition from the base to the body.
- Alternate: Work 3 stitches in the BLO, then work 1 stitch through both loops (center of the stitch "V").
Step 3:
- For subsequent spiral rows, maintain the decorative braided texture:
- Work 3 SCs in the BLO.
- Work 1 SC directly into the center of the “V” from the previous row’s two-loop stitch.
- Repeat this pattern continuously around the bag body.
Step 4:
- Continue working in this spiral pattern until the bag body reaches the desired height (approximately 30 cm).
Handles & Finishing
Handle Placement:
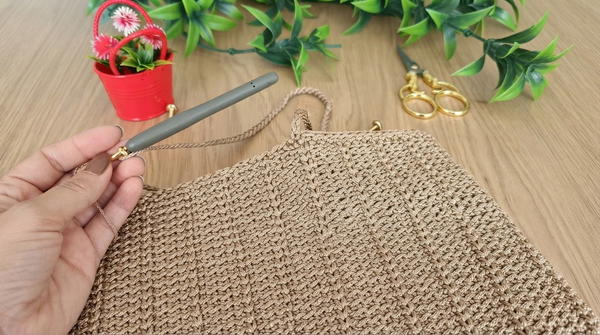
- Divide the top opening of the bag into equal segments.
- For example: With a stitch count of 96, mark the handle placement by segmenting into 4 sections, ensuring symmetry.
Creating the Handles:
- At each marked section, replace SC stitches with chains to create the handle loops:
- Chain 75, then reconnect it to the bag body with an SC.
- Repeat for the opposite side to create two handles.
Strengthening the Handles:
- After forming the handles, work several rows of SC around the entire top opening of the bag, including the chain handle loops.
- Be sure to work SC stitches around the chain handles to make them sturdy.
Avoid Bulging:
- At the handle-to-bag connection points, skip 1 stitch on each round of SC stitching to prevent bulging at these intersections.
Finishing Touches
Slip Stitch Edge:
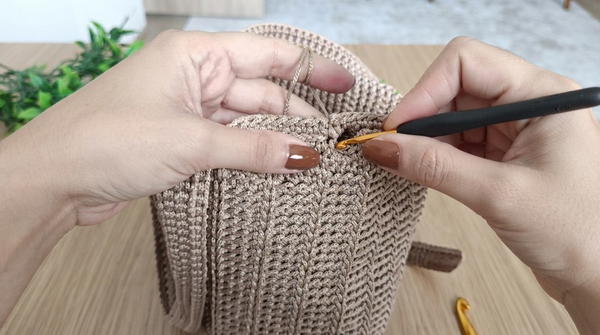
- Work 1 final row of SS, inserting your hook into the back loops only (BLO).
- This creates a clean, polished edge along the bag’s top and its handle loops for a professional finish.
- This creates a clean, polished edge along the bag’s top and its handle loops for a professional finish.
Weaving & Securing Ends:
- Weave in any loose cord ends securely along the stitch lines.
- To finish the project, melt the polyester cord ends carefully using a lighter and press gently to secure them.
Assembly and Sizing
When assembled, the braided-textured bag has a height of approximately 30 cm with a durable base measuring 12 x 36 rows. The sturdy handles, constructed with 75 chains on each side, offer a comfortable over-the-shoulder carry. The bag is perfect for carrying lightweight items while maintaining its elegant aesthetic.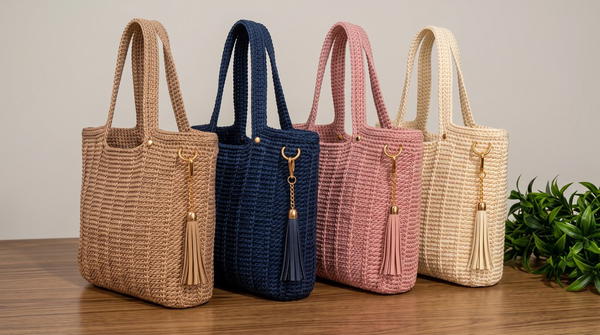
Conclusion
This pattern guides you through creating a professionally finished braided-texture bag that's both sturdy and stylish. The decorative spiral stitching and incorporated handles make it a versatile accessory for various uses. The key is in maintaining consistent tension and following the structured steps to achieve a clean and polished result.