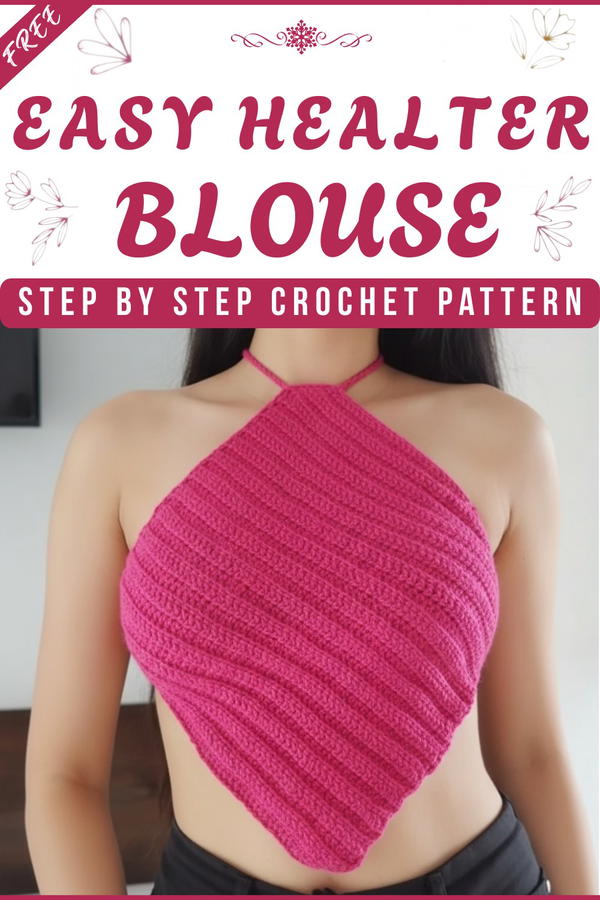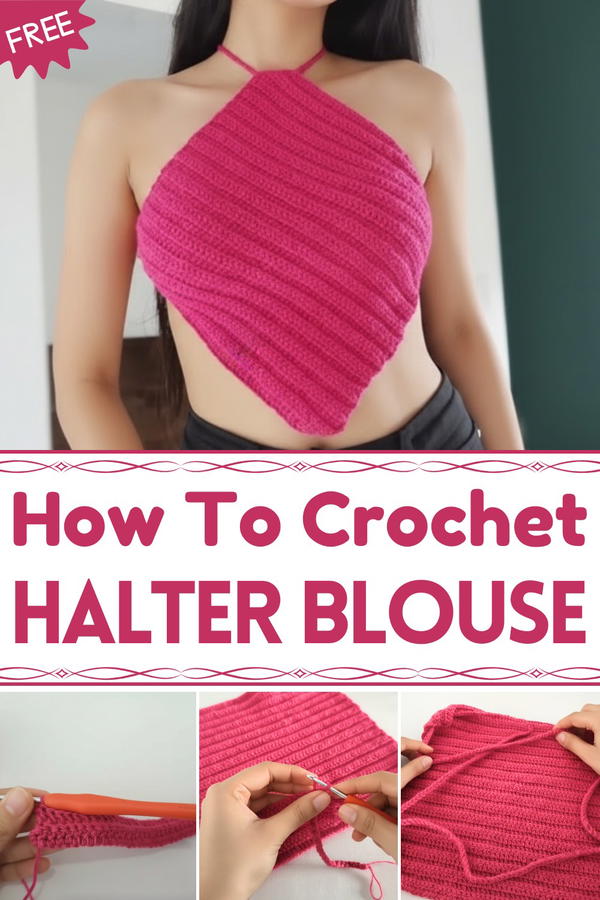
Cheerful Crochet Blouse Pattern to Light Up Any Outfit
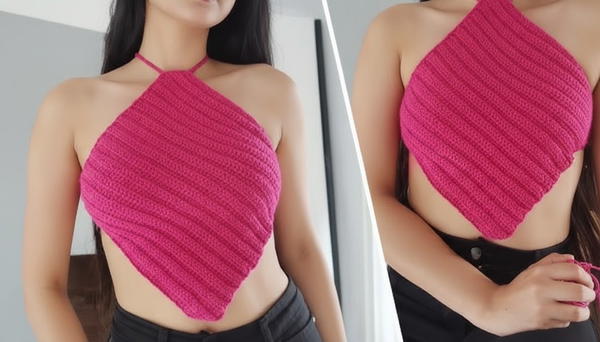
Light and airy, it keeps you cool and comfortable. The benefits of this blouse include being reusable, easy to wash, and suitable for all seasons. Making it is also fun and relaxing, giving you the joy of creating something yourself. This pattern allows you to make unique and stylish blouses that are practical, beautiful, and perfect for showing personal style while staying comfortable.
Skill Level
Intermediate – Advanced
(Basic knowledge of crochet stitches and garment construction recommended.)
Materials List
- Yarn: Crochet thread, approximately 1 mm thick (or any preferred yarn suitable for blouses)
- Note: For a more opaque look, use double strand.
- Crochet Hook: 3 mm (or size needed to obtain gauge)
- Tapestry Needle: For weaving in ends and sewing corners
- Scissors
- Measuring Tape
- Optional: Stitch markers
Key Abbreviations (US Terminology)
| Abbreviation | Meaning |
|---|---|
| ch | chain |
| st(s) | stitch(es) |
| dc | double crochet |
| sl st | slip stitch |
| beg | beginning |
| rep | repeat |
Special Notes
- Gauge and Sizing: Measurements are critical for the proper fit; variations in yarn or hook size will affect dimensions. Adjust your starting chain and number of rows according to your desired measurement.
- Fabric Stretch: Crochet fabric may stretch after washing and/or wearing, so make your square slightly smaller (subtract 3-4 cm from both width and height) than the final measurement required.
- Sizes: Sample is for size Small (28 cm x 28 cm square). Adjust as needed by measuring and fitting to your preference.
- Blouse Structure: The blouse is constructed from a simple square, laced together with a crocheted cord.
Step-by-Step Pattern
1. Begin with the Main Square
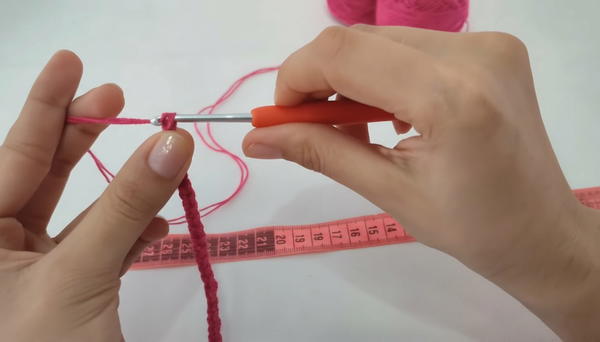
(a) Foundation Chain
- Determine your desired width and height (e.g., for S: 28 cm x 28 cm).
- Subtract 3–4 cm to accommodate stretch.
- Example: For Small, 28 cm – 3 cm = 25 cm.
- Example: For Small, 28 cm – 3 cm = 25 cm.
- Make a foundation ch long enough to measure the adjusted width, checking your gauge.
- For reference, in the video, 60 ch ≈ 28 cm (may vary!).
- Tip: Lay chain flat and measure after a few rows.
(b) Row 1: Double Crochet Foundation
- Ch 3 (counts as first dc).
- Dc in the 5th ch from hook.
- Continue: Dc in each ch to end of row.
- Turn.
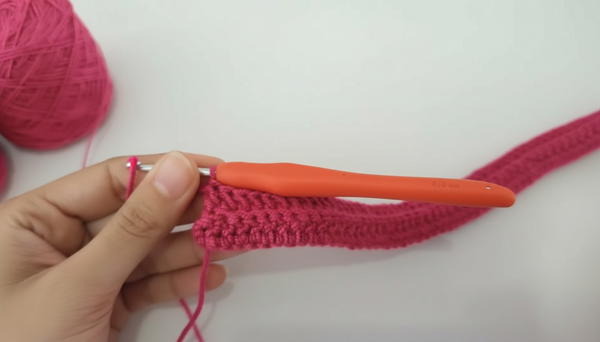
(c) Row 2 onwards: Back Loop Double Crochet
- Ch 3 (counts as first dc), turn.
- Dc in the back loop only of each st across to end of row. Turn.
- Repeat this row until your square reaches the adjusted length.
- For S (28 x 28 cm), the video creator worked 32 rows.
- Adjust the number of rows to achieve a true square (width = height, both after subtracting 3-4 cm for stretch).
(d) Finish Square
- Fasten off, leaving a tail to weave in.
2. Secure and Weave in Ends
- Use a tapestry needle to securely weave in all loose ends, especially at the corners and foundation.
- Make sure the ends are tight and won’t unravel.
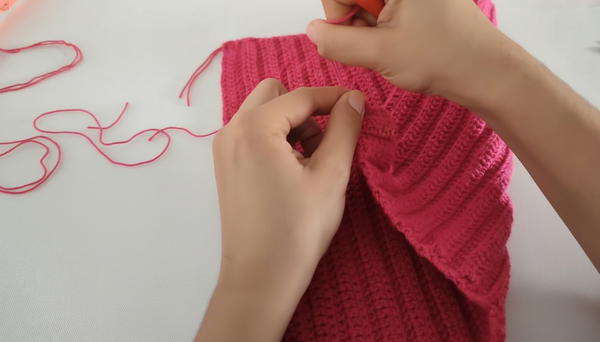
3. Identify Front and Back; Prepare for Lacing
- Choose which side you prefer as the blouse’s front.
- Use a tapestry needle and matching yarn to sew a few small stitches in one top corner (this will define the neckline and provide stability for lacing).
- Sew delicately so stitches are invisible from the right side.
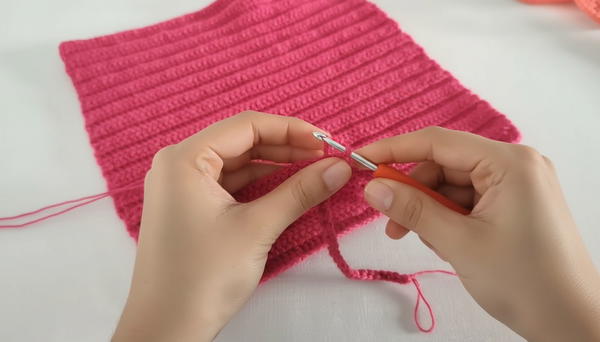
4. Create the Drawstring Cord
(a) Cord Construction
- For a thicker, sturdy cord, use three strands of your thread yarn held together.
- Cut three long strands, each over 2 meters.
- Make a slip knot and ch the cord to the desired length (1.5 to 2 meters recommended for adjustability).
- Tip: It’s better for the cord to be too long than too short. You can always unravel to adjust.
- Tip: It’s better for the cord to be too long than too short. You can always unravel to adjust.
(b) If More Length is Needed
- When you reach the end, use the ring created by the cord to pull through more yarn and continue chaining with three strands.
- Repeat this process as needed.
(c) Finish the Cord
- Once the cord is long enough, fasten off.
- Weave in the ends to prevent unravelling.
5. Lacing and Final Assembly
- Using the cord, lace up the two ends of the square by weaving the cord through stitches at the top edge (neckline area).
- Cross the cord at the back to secure the blouse and form a neckline opening.
- Adjust to achieve your preferred fit.

Conclusion
You have now created a stylish and customizable net-crochet blouse using basic crochet stitches and simple garment construction. The cord’s length gives plenty of adjustability in the fit and neckline style. Enjoy your handmade garment!
Pattern Corrections & Tips
- Pattern Correction: The designer notes that everyone’s chain and row counts may vary due to different yarn, hook size, and tension. Always check your measurements and adjust accordingly.
- Tip: As you work, continue to measure your square frequently—both width and length—to ensure a true square before finishing.
- Tip: Securely fasten off all yarn tails and weave in ends thoroughly, especially near laced or high-tension areas.