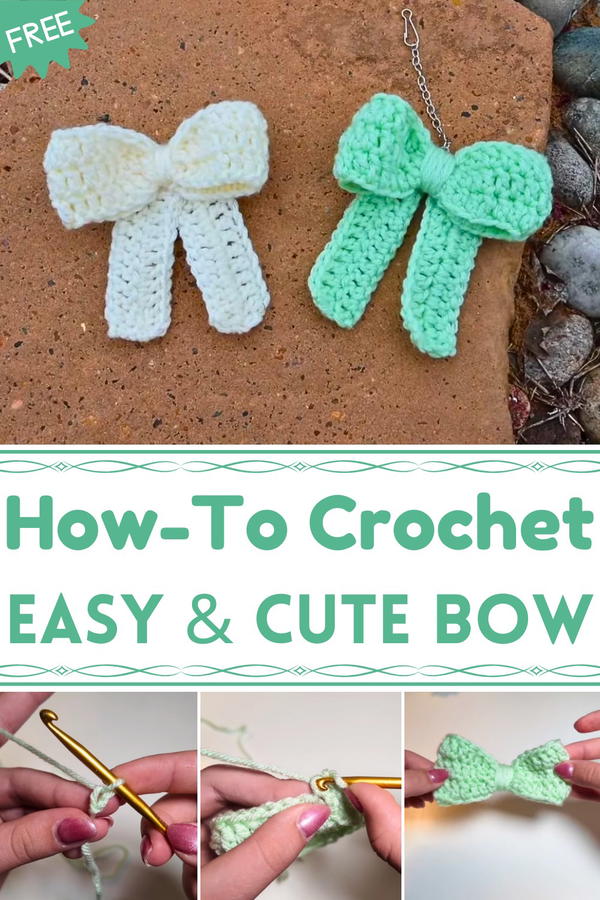
Bring playful elegance to your creations with this Free Crochet Bow Pattern, perfect for adding cute, handmade accents to gifts and accessories.
A simple spool of ribbon once inspired a tiny twist that became a timeless accessory. The Free Crochet Bow pattern transforms ordinary yarn into elegant, versatile bows that add charm to almost anything. Each carefully worked stitch produces a structured yet flexible shape, making these bows ideal for embellishing clothing, hair accessories, gift wrapping, or home décor accents. Beyond their visual appeal, crocheting these bows provides a satisfying way to refine hand-eye coordination, patience, and attention to detail, turning a few minutes of stitching into a rewarding creative ritual.
Free Crochet Bow Pattern With Creative Uses for Every Project
Their compact size allows for endless experimentation with colors, textures, and layering, giving each bow a distinctive personality. These crochet bows also offer practical benefits: they are lightweight, durable, and easy to attach, making them functional adornments for both everyday wear and special occasions. Multiple bows can be combined to create cohesive decorative themes or personalized gifts, showcasing thoughtful effort in a small form.
The repetitive yet engaging stitching fosters mindfulness, offering a relaxing activity with tangible results. The Free Crochet Bow pattern transforms simple yarn into elegant accents that harmonize utility and charm, providing endless opportunities to enhance accessories, home items, and handmade gifts with a touch of playful sophistication.
Materials Required
Yarn:
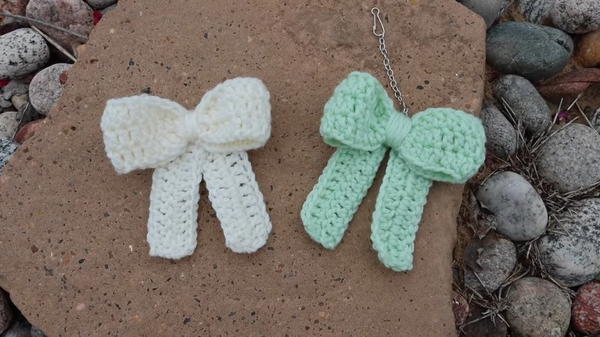
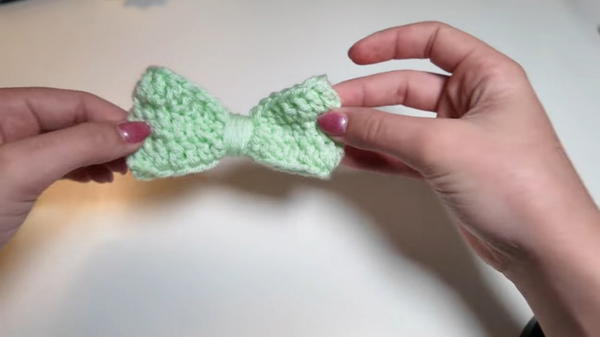
- Medium-weight acrylic yarn is recommended. Cotton yarn of the same weight could also work. The tutorial features a mint-green acrylic yarn for a soft and fresh look.
Crochet Hook:
- A 5mm crochet hook is used for this project.
Scissors:
- To cut the yarn when needed.
Yarn Needle:
- For sewing in and hiding the yarn tails.
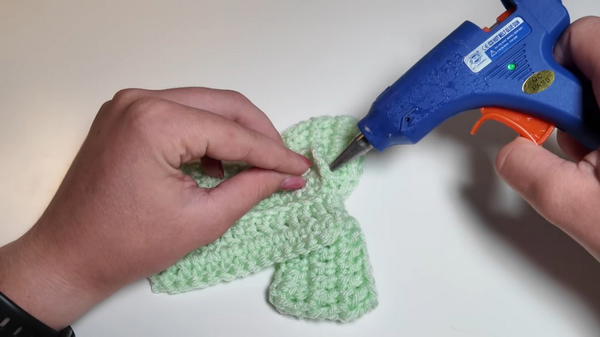
Hot Glue (Optional):
- If preferred, the tails of the bow can be glued instead of sewn.
Step-by-Step Instructions
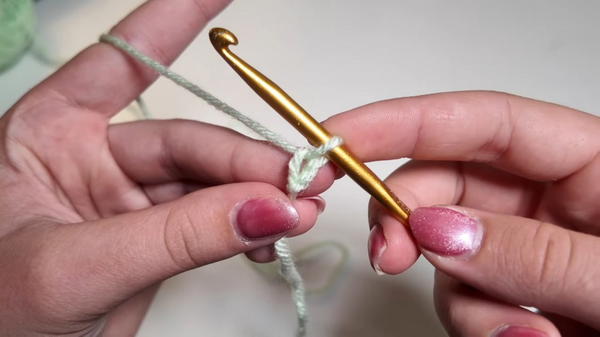
1: Making the Slip Knot and Chain
Slip Knot:
- Create a slip knot by holding the tail end of the yarn in your left hand, making a loop, and pulling the back strand through the loop. Tighten it and place it on your hook.
- Create a slip knot by holding the tail end of the yarn in your left hand, making a loop, and pulling the back strand through the loop. Tighten it and place it on your hook.
Chains:
- Chain 32 stitches by yarning over and pulling through the loop on the hook. This creates the base of the bow.
2: Forming a Ring
Joining the Chains:
- Ensure the chain isn’t twisted, then insert the hook into the first chain.
Slip Stitch:
- Yarn over and pull the yarn through both loops on the hook to make a slip stitch, creating a ring of chains.
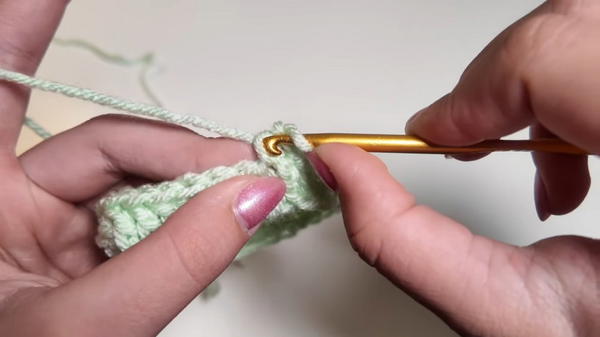
3: The First Round of Double Crochet
Chaining to Begin:
- Chain 2 to start the first row of double crochets.
Double Crochet:
- In each chain around the ring:
- Yarn over, insert the hook into the chain, yarn over and pull up a loop (3 loops on the hook),
- Yarn over, pull through 2 loops, yarn over again, and pull through the last 2 loops.
- Repeat this process until you’ve made one double crochet in each chain.
- In each chain around the ring:
Joining the Round:
- After completing the round, slip stitch into the top of the initial chain.
4: Additional Rounds (Row 2 and Row 3)
Stacked Double Crochet Start:
- Begin Row 2 with a stacked double crochet:
- Insert the hook into the first double crochet, yarn over and pull up a loop (2 loops on the hook),
- Yarn over and pull through both loops.
- Insert the hook into the second loop, yarn over and pull up a new loop, then yarn over and pull through both loops.
- Begin Row 2 with a stacked double crochet:
Double Crochet:
- Make one double crochet into each stitch for the entire round.
Join the Round:
- Slip stitch into the top of the stacked double crochet to finish the round.
Repeat for Row 3:
- Follow the same steps as Row 2, completing the third row of double crochets.
5: Fastening Off and Forming the Bow
Cut the Yarn:
- Leave a long tail for wrapping around the center of the bow.
Wrap the Center:
- Using the long tail, wrap it tightly around the center of the completed piece until it forms the bow shape.
Secure the Tail:
- Tie the tail with the original starting yarn and weave in the ends using a yarn needle.
- Tie the tail with the original starting yarn and weave in the ends using a yarn needle.
Making the Bow Tails
1: Slip Knot and Chains
Slip Knot:
- Create a slip knot and place it on the hook.
Chains:
- Chain 15 stitches to form the length of the tail.
2: Creating Length with Double Crochet
Stacked Double Crochet:
- Start with a stacked double crochet in the second chain from the hook.
Double Crochet Row:
- Work one double crochet in each chain across the row.
3: The Second Row
Turn the Work:
- After reaching the end, turn your work and chain one to begin the next row.
Double Crochets:
- Start with a stacked double crochet followed by one double crochet in each stitch for the row.
Fasten Off:
- Leave a small tail, cut the yarn, and weave in the ends.
4: Repeat for the Second Tail
- Make another tail following the same steps, ensuring both are identical.
Assembling the Bow
Position the Tails:
- Place the two tails together at the back of the bow.
Secure the Tails:
- Either:
- Sew the tails to the bow using a yarn needle, or
- Use hot glue to attach them quickly and securely.
- Either:
Final Touch-Up:
- Add additional glue or reinforce stitching to secure the placement. Trim any remaining yarn for a clean finish.
Special Features
- Versatility: These bows can be used as hair accessories, keychains, or decorations for various items like purses or bags.
- Beginner-Friendly: Uses basic crochet techniques — chains, slip stitches, and double crochets.
- Customizable: Can be made in various colors and sizes based on your preferences.
Level of Difficulty
Beginner
- This project is simple and accessible to new crocheters, with repetitive techniques and minimal shaping involved.
Tutor’s Suggestions
- Avoid Twists: When forming the ring of chains, ensure the chain remains untwisted for a neat finish.
- Consistency: Maintain even tension while crocheting to create a uniform and polished look.
- Practice the Stacked Double Crochet: This technique replaces chaining at the start of each row and ensures a neat finish.
Uses
- Hair Accessories: Attach the bow to a hair clip or elastic to use as a hair decoration.
- Keychains: Turn the bow into a charming accessory for your keys.
- Bag Accents: Add the bow to a purse or tote for a stylish and personal touch.
- Gifts: Create these bows as handmade gifts for loved ones.
Final Tip
When wrapping the yarn around the center of the bow, keep the tension tight but balanced to ensure the bow holds its shape without puckering.
Conclusion
This crochet bow tutorial is ideal for beginners and produces an undeniably cute accessory. Whether for yourself, your friends, or as a gift, this project combines simplicity and creativity. With just a little time and a few basic materials, you’ll have a customizable and delightful bow to use and share.