Wear this comfy high neck top that keeps you warm and stylish with a simple, breezy fit perfect for any casual or cool weather look.
This top feels soft and cozy, making it great for cooler days. Its high neck helps keep you warm, while the shorter length gives it a fresh, modern style. The pretty stitches make it look nice without being too fancy, so you can wear it wherever you like—whether that’s out with friends or just at home.
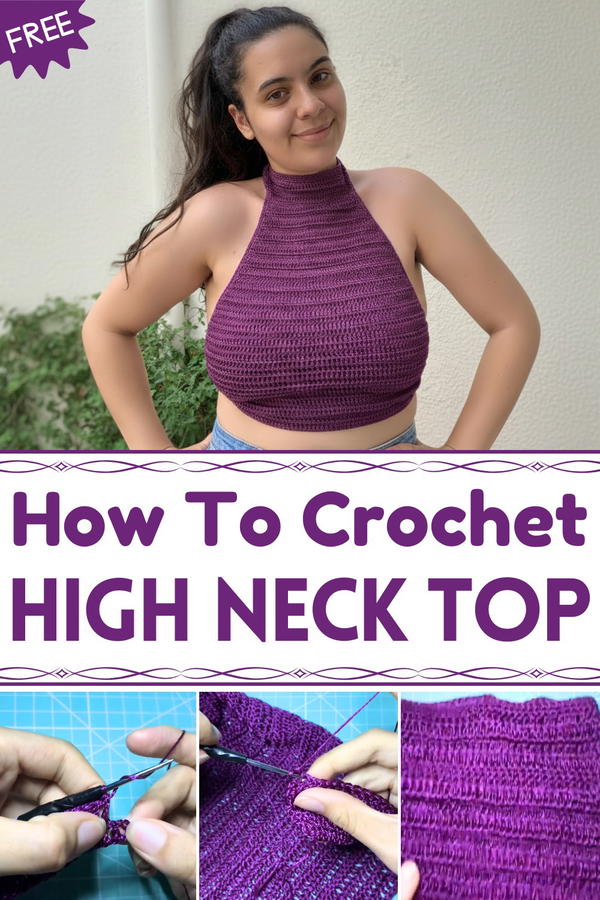
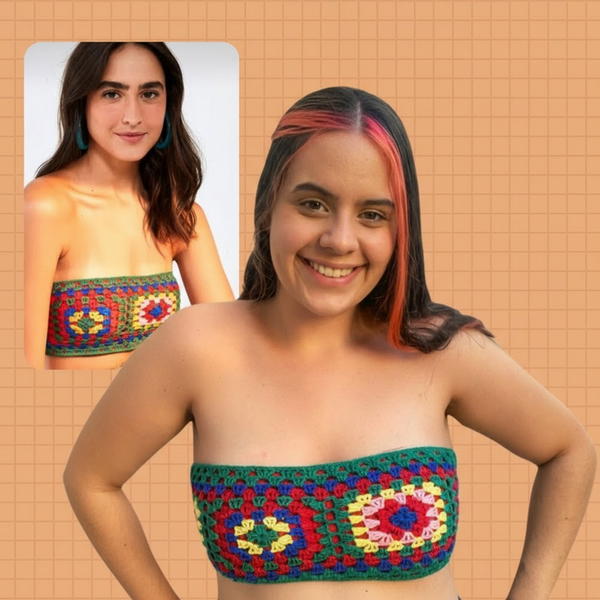
Must-Try Crochet High Neck Top Pattern for Cool Weather
It’s light and breathable, so it’s comfortable to wear all day long. The simple shape fits well and looks good on many different body types. You can easily pair it with jeans, skirts, or shorts for a fun, casual look. This top brings a little extra style to your everyday clothes without making things complicated. It’s a great choice if you want something that’s both comfy and cool to wear anytime.
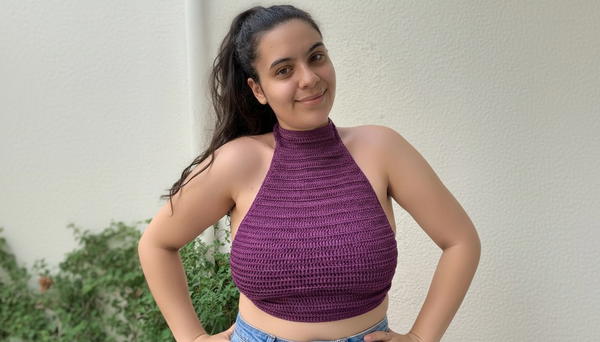
Cropped Top with High Neckline Crochet Pattern
Special Features:
- Simple high neckline design
- One-piece construction
- Adjustable sizing with chain count
- Economical yarn choice with a shiny finish
- Button closure for easy wearing
- Beginner to intermediate-friendly pattern
Difficulty Level:
Beginner to Intermediate — Contains basic stitches with simple increases and decreases; requires basic shaping knowledge.
Materials Needed:
- Raissa polypropylene yarn or substitute (Anne recommended)
- Crochet hook size 2 mm
- Buttons (small size for neckline closure)
- Needle for sewing buttons and weaving ends
- Scissors
Abbreviations:
- ch = chain
- sc = single crochet
- dc = double crochet (high point)
- sl st = slip stitch
- inc = increase (2 dc in same stitch)
- dec = decrease (see description)
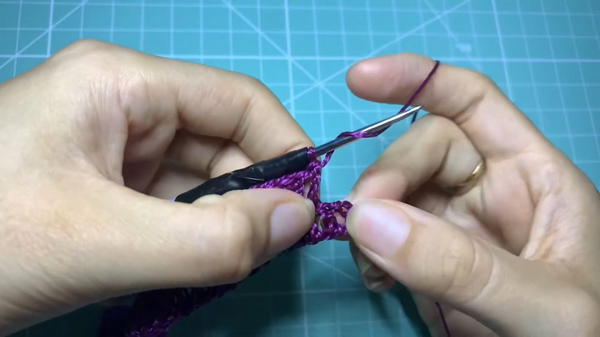
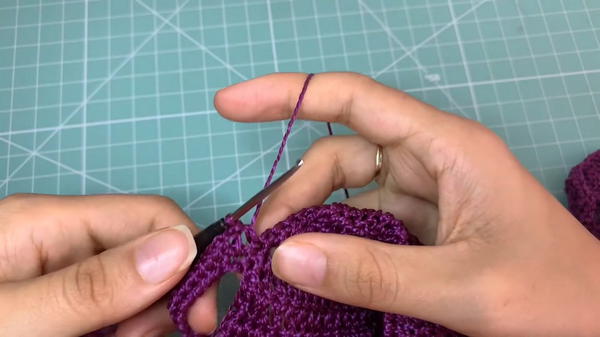
Step-by-Step Pattern
Step 1: Foundation Chain and First Row
- Chain 37 for size L (adjust chain count for smaller or larger sizes).
- Turn and make 1 dc in the 5th chain from the hook (chain 3 counts as first dc).
- Make 1 dc in each chain across, total 37 dc.
- Chain 3 (counts as first dc), turn.
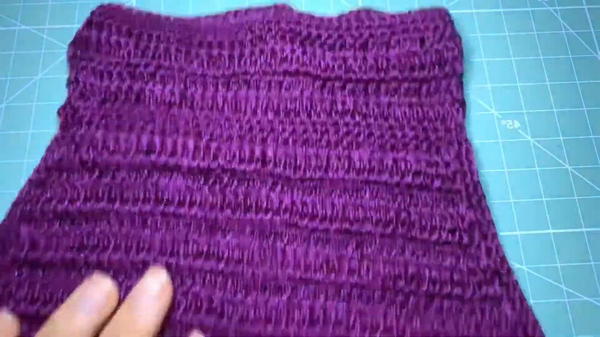
Step 2: Work Rows with Increases
- Work rows in dc (double crochet) across.
- At the beginning and second-to-last stitch of each row, work increases by making 2 dc in the same stitch. This forms the diagonal growth to shape the top.
- Continue this until the piece reaches the desired diagonal width—about 37 rows for size L.
Step 3: Neckline Preparation
- After completing the main piece (front), chain 24 for the neckline size.
- Join at the side edge with a slip stitch, then work a round of single crochets (sc) along the neckline chain and edges to form a neat collar edge.
- Make 3 rows of treble crochet (tr) around the neckline—no increases here, just plain rows for sturdiness.
- Finish off and weave in ends.
Step 4: Shape the Back and Side Ties
- For the back closure, work single crochets and chains to create short straps or ties. For example:
- Chain 4, join with slip stitch.
- Make 3 dc into the next stitch, chain 4, turn.
- Repeat as needed for length.
- Ensure the ties are strong and securely attached.
Step 5: Assemble and Sew Buttons
- Attach buttons on one side of the neckline strap.
- Align the loops on the other side for fastening.
- Sew buttons securely with needle and thread, fastening with double knots for durability.
- Optionally add lining inside for comfort.
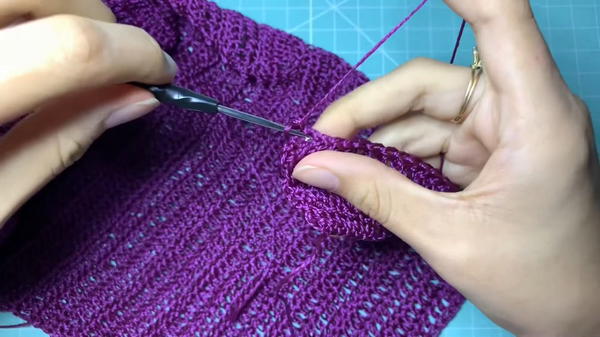
Step 6: Finishing
- Crochet a neat single crochet border around edges if desired for polished finish.
- Weave in any loose ends.
- Block the top if needed for shaping.
Special Notes:
- For smaller sizes (S, M), reduce initial chain count accordingly.
- Adjust neckline chain length to fit accordingly.
- Doubling increases at ends create attractive diagonal shaping.
- The pattern allows different yarns with similar thickness for substitutions.
Tutor’s Suggestions:
- Use polypropylene for economical and shimmery fabric, or cotton blends for softness.
- Try to maintain consistent tension to ensure even shaping.
- When decreasing for neckline shaping, work carefully to keep edge smooth.
- Seam and button placement is essential for comfortable fit and durability.
Uses:
- Perfect summer high-neck cropped top
- Stylish beachwear or casual outfit
- Layered with jackets or cardigans for transitional seasons
- Great handmade gift for crochet lovers
Helpful Tip:
Use stitch markers at increases and decreases to track shaping points clearly. This helps maintain the intended shaping without losing track of rows.
Conclusion
Congratulations on completing this chic, high-neck crop top! Its simple construction with thoughtful increases and neat finishing creates a standout garment that’s both affordable and fashionable. With options to customize size and yarn, this project invites you to experiment with crochet fashion.