Brighten your accessory collection with this free crochet rose flower bag pattern, perfect for adding a touch of elegance to your everyday look.
Creating accessories that combine charm and functionality is a joy, especially with designs like the Free crochet Rose Flower Bag Pattern. This elegant project, brought to you by the talented U R Unik team, shows how to make a beautifully textured bag that captures the delicate essence of blooming roses. Perfect as a thoughtful gift or a statement piece for your own collection, this bag blends decorative appeal with practical use.
Step by Step Free Crochet Crochet Rose Flower Bag Pattern
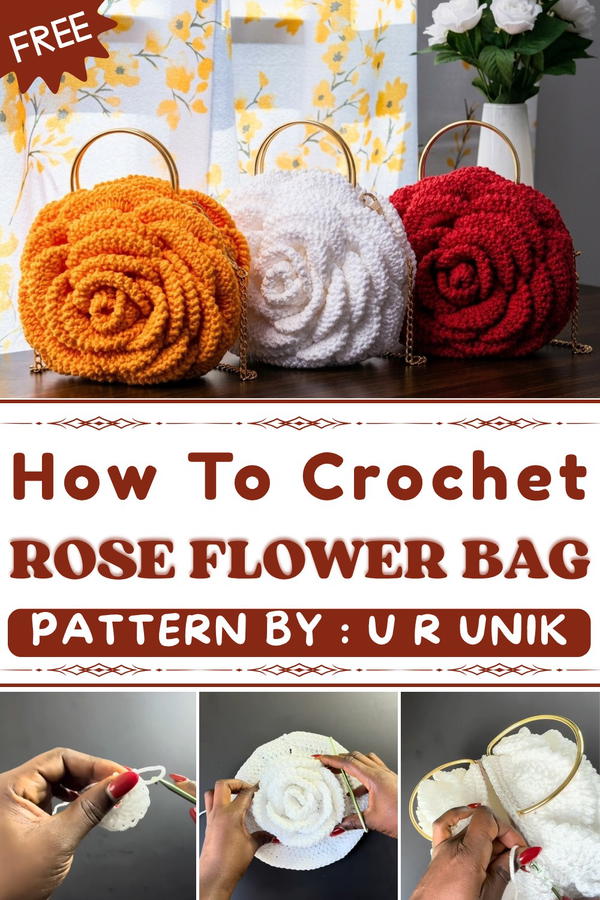
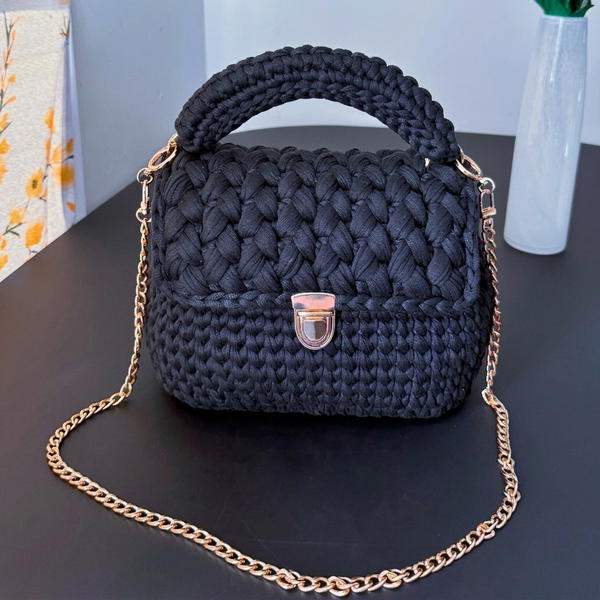
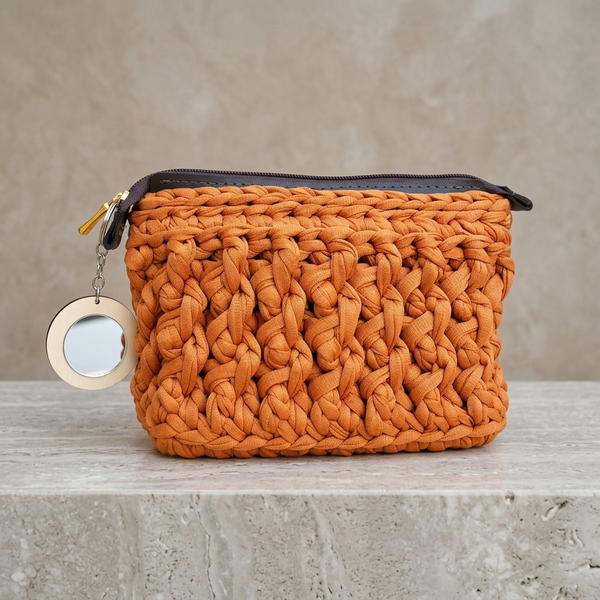
The bag features a round shape with layers of intricately crocheted petals resembling a blooming rose. Its soft texture comes from double crochet stitches arranged in petal-like patterns, giving it a rich, tactile feel. The petals expand outward in rounds, adding dimension and a standout floral design. Made with durable 3 mm yarn, the piece feels sturdy yet lightweight. A secure zipper closure and a chain handle with a crocheted grip section provide both style and comfort for carrying essentials.
This rose-inspired bag is more than just a pretty accessory; it adds a touch of handmade elegance to any outfit. Its refined, natural floral look makes it a charming addition for casual outings or special occasions. The detailed video tutorial link is below offers helpful tips on assembling the lining, adding metal rings, and final touches that make the project welcoming even for intermediate crocheters.
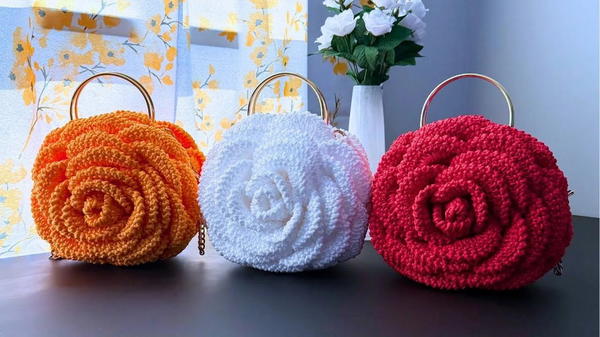
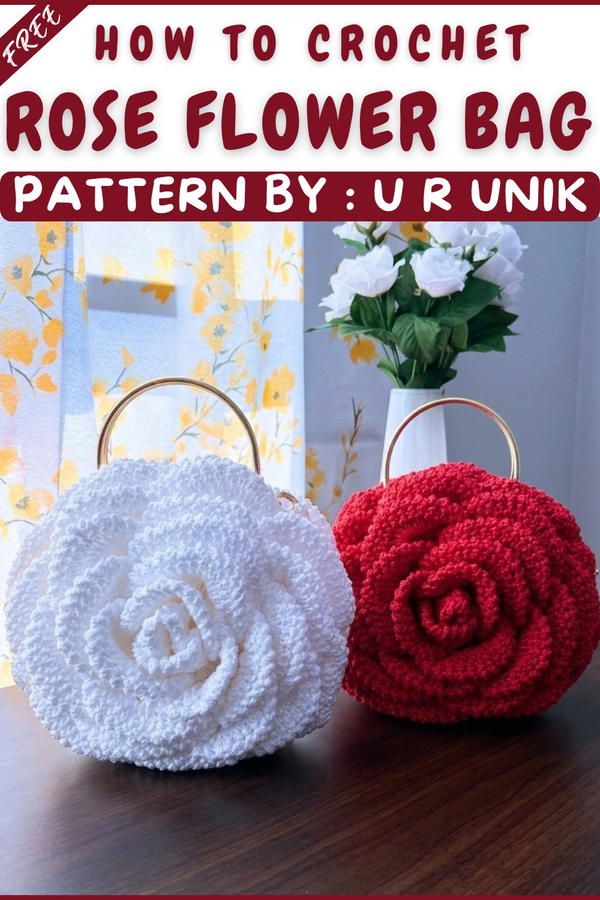
Rose Crochet Bag Pattern
The DIY Rose Crochet Bag is inspired by the blooming shape of a rose, using layered petals to create a textural, visual statement. Designed in sturdy 3mm yarn and assembled with a zipper and chain handle, this bag is a practical yet whimsical accessory. The pattern’s magic ring base is worked in spiraling rounds, with petals added using creative front-loop techniques. Finished with a professional lining and hardware, this project results in a functional bag with botanical flair.
Pattern Important Tips
- Use stitch markers liberally, especially when aligning petals or joining bag halves, to ensure symmetry and clean seams.
- Work into back loops for a sturdy, rounded base and into front loops to form petals—double-check loop orientation as you stitch.
- Skip the correct number of loops between petals to maintain spacing and avoid crowding or overlapping effects.
- Maintain even tension throughout, particularly when working petal rounds to avoid warping.
- When joining yarn or ending threads, use a lighter carefully to prevent fraying or unraveling.
- If lining the bag, cut the fabric slightly larger than the crochet base to account for seam allowance and fullness.
Special Notes
- The rose bag is made in two identical halves; petals are layered outward and joined at the edge.
- Each petal round increases complexity and visual interest, giving the project an intermediate-level challenge.
- Installation of a zipper and chain handles enhances functionality—secure hardware firmly for durability.
- Lining not only adds structure but protects your crochet work and prevents items from poking through stitches.
Skill Level
Intermediate
This pattern requires proficiency in working in the round, managing increases, and switching between back-loop and front-loop work. Skills in precise assembly, including zipper and lining installation, are recommended.
Materials
- Yarn: Approximately 600m total (3 spools x 200m), 3mm thickness
- Hook: 4.5mm or 4mm (designer’s preference for comfort and density)
- Chain: 60cm (for shoulder or crossbody wear)
- Rings: 4 open rings for handle attachment
- Zipper: One, size appropriate for bag diameter (approx. 20–25cm recommended)
- Other: Lighter for joining/finishing yarn, tapestry needle, stitch markers, scissors, measuring tape
- Lining: Fabric, needle, thread (optional but highly recommended)
- Logo tag: For finishing touch
Measurements / Sizing
- Bag Diameter: Approx. 22–25cm (after 7 base rounds and petal rounds)
- Bag Depth: Variable; maximum depth is determined by petal height and assembly, typically 7–8cm
- Handle Length: Chain is 60cm (adjustable by preference)
- Zipper Length: Matches bag diameter (approx. 20–25cm)
- Petals: The number per round varies; instructions specify for each
Gauge and Stitch Pattern
- Gauge: 4.5mm hook with 3mm yarn; 10 dc × 4 rows ≈ 5cm (measure base for accuracy).
- Stitch Pattern: Base in double crochet (dc), petals in front loop only, increases as instructed.
Stitch Abbreviations
- ch: chain
- dc: double crochet
- inc: increase (2 dc in same st)
- sl st: slip stitch
- sc: single crochet
- BL: back loop only
- FL: front loop only
- MR: magic ring
- st(s): stitch(es)
Special Stitches
- Magic Ring (MR): Make adjustable loop, secure, work indicated number of stitches into ring.
- Working into Back Loop (BL): Insert hook only through back loop of stitch for dense fabric.
- Working into Front Loop (FL): Insert hook only through front loop for petal formation.
- Petal Stitch: 2 dc per FL, skip specified number of FLs between each petal.
Pattern Instructions
1. The Base
- Start with a magic ring (MR):
- Ch 3 (counts as first dc), then work 12 dc into MR. Tighten and join with sl st (12 sts).
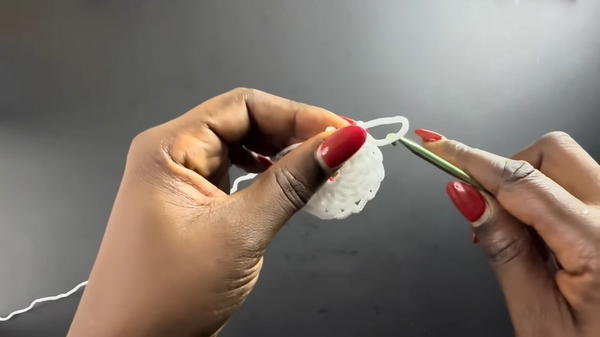
- Ch 3 (counts as first dc), then work 12 dc into MR. Tighten and join with sl st (12 sts).
- Round 2:
- Ch 3, dc in BL of each stitch around for a solid foundation (24 dc). Join.
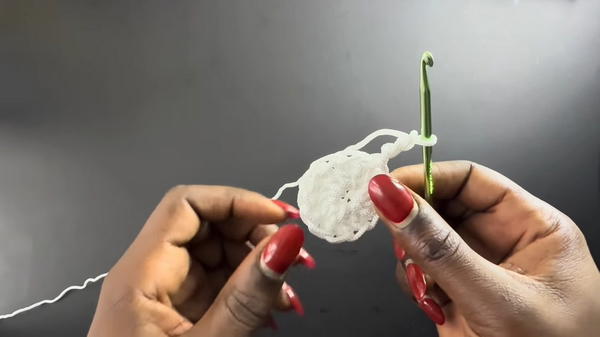
- Ch 3, dc in BL of each stitch around for a solid foundation (24 dc). Join.
- Round 3:
- Ch 3, dc in next st, inc in next st (2 dc in same st). Repeat sequence around for increases. Join.
- Round 4:
- Ch 3, 2 dc in sequence, inc in next. Repeat. Join.
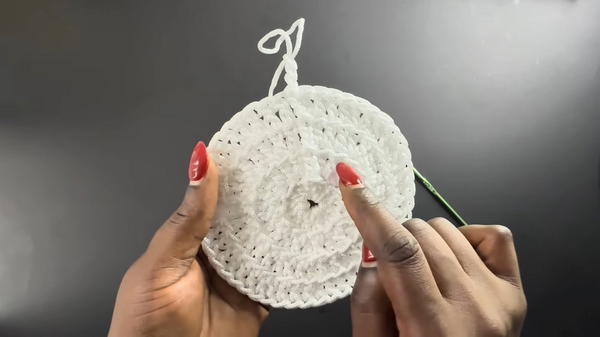
- Ch 3, 2 dc in sequence, inc in next. Repeat. Join.
- Round 5:
- Ch 3, 3 dc in sequence, inc in next st. Repeat. Join.
- Round 6:
- Ch 3, 4 dc in sequence, inc in next st. Repeat. Join.
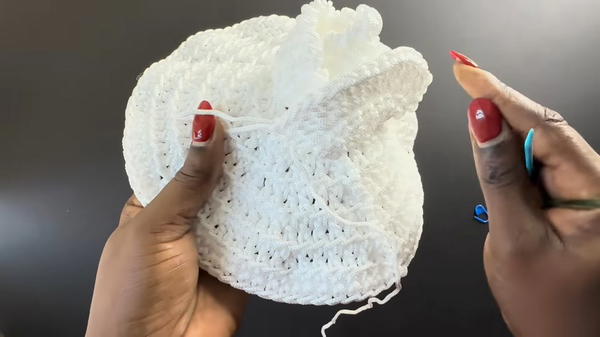
- Ch 3, 4 dc in sequence, inc in next st. Repeat. Join.
- Round 7:
- Ch 3, 5 dc in sequence, inc in next st. Repeat. Join.
- Make two bases, one for each side of the bag.
2. The Petals
Petal Rounds (for each bag side)
- Round 1:
- Work into FL only: 2 dc in each FL, skip 3 FLs between petals. Repeat for full base circumference.
- Round 2:
- Work 2 dc in each selected FL (from Round 1’s skipped FLs), skip 5 FLs between petals. Repeat.
- Round 3:
- Work 2 dc in each FL, skip 6 FLs between petals. Repeat.
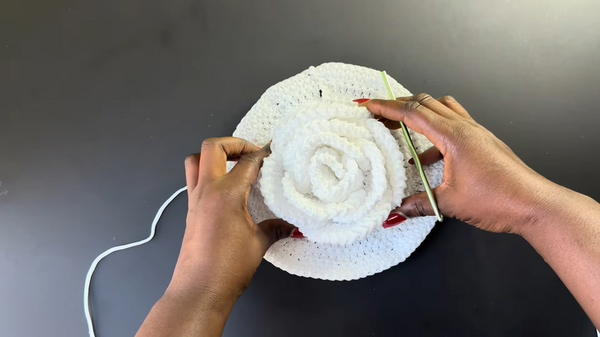
- Work 2 dc in each FL, skip 6 FLs between petals. Repeat.
- Round 4:
- Work 2 dc in each FL, skip 5 FLs; total 6 petals around. Repeat.
- Round 5:
- Alternate skipping 5 and 6 FLs, making 7 petals total.
- Place 2 dc per FL, skip as needed to balance petal distribution.
- Alternate skipping 5 and 6 FLs, making 7 petals total.
- Round 6:
- Work 2 dc in each FL, skip 6 FLs between petals; total 8 petals.
- Continue as before, keeping petal spacing even and balanced.
- Ensure all petals are worked only into the FLs, preserving back loops for joining.
Assembly
1. Lining
- Trace bag base onto lining fabric; cut fabric pieces slightly larger (around 1cm wider).
- Fold and sew lining pieces along edges, creating a soft pocket.
- Place lining inside finished bag halves before joining (optional).
2. Joining Bag Halves
- Align two petal bases front-to-front, using stitch markers to match up petals and side edges.
- Join halves using slip stitches (into FLs only) around circumference for a secure seam.
- Remove stitch markers as joining progresses.
3. Zipper Installation
- After joining sides, place zipper between joined edges at bag opening.
- Sew zipper to the crochet edge with strong, even stitches using needle and thread, ensuring smooth operation.
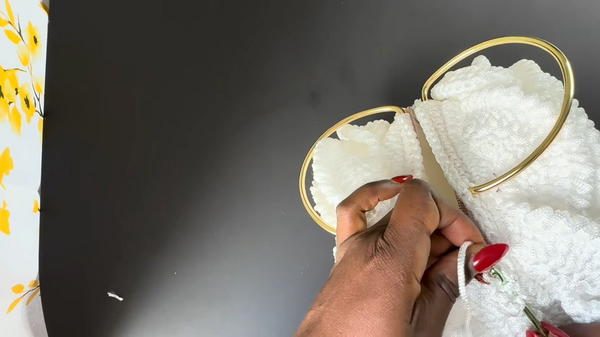
4. Handles
- Use slip stitches and single crochet to attach four open rings to the top loops at bag sides.
- Attach chain handles to rings; secure with slip stitches or wire as needed.
5. Final Touches
- Neaten all yarn ends, fuse with lighter for security.
- Sew in logo tag for branding or personalization.
- Double-check lining and zipper for neat fit and easy use.
Conclusion
The Rose Crochet Bag combines structured increases and innovative petal rounds, creating a striking, tactile surface influenced by nature. Careful loop work, precise joining, and the addition of practical lining and hardware yield a high-quality, usable handbag. Variations in color, lining fabric, or handle length allow for creativity and personalization. The final product pairs form and function, making it a statement accessory for any occasion.