Crochet your own Princess Leia amigurumi with this free and easy-to-follow guide, delivering a fun project and a delightful gift for any Star Wars fan.
Making a tiny soft doll of a famous Star Wars princess is a fun and creative project. The free Princess Leia amigurumi pattern lets you crochet a charming little figure with her iconic hairstyle and outfit. This sweet doll is perfect for Star Wars fans and anyone who loves cute handmade toys.
Free Crochet Princess Leia Amigurumi Pattern with Detailed Instructions
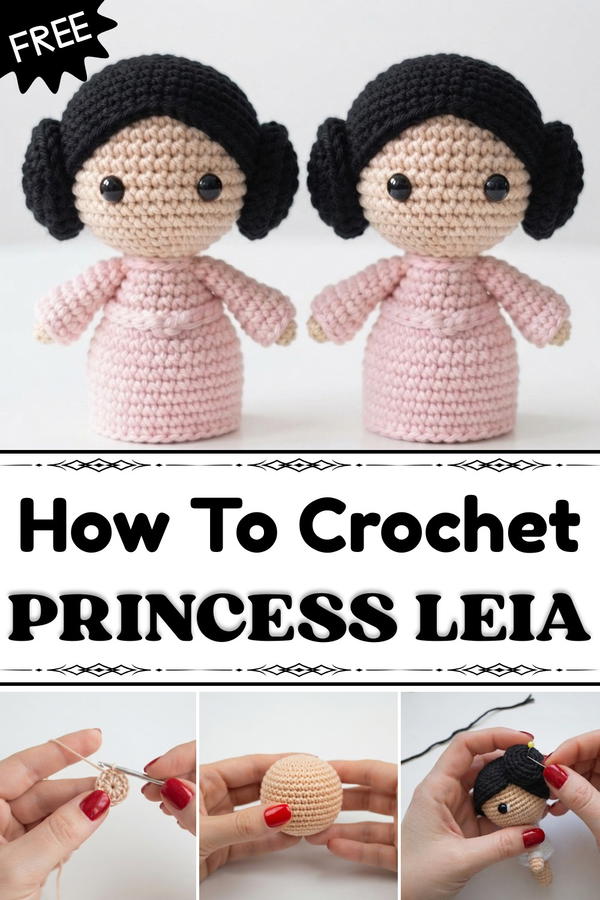
This doll can be used in lots of ways. It works great as a plaything for children, a cute decoration on your shelf, or a special gift for friends and family. You can choose the colors you like best, but usually, white and brown yarn are used to match her classic dress and hair buns. You can also make your doll bigger or smaller by changing the yarn and hook size, so it fits anywhere you want.
The pattern focuses on important stitches like the single crochet and the magic ring, which help shape the head, body, and detailed hair. These easy stitches make it a good project for beginners and experienced crocheters alike.
Creating this little princess doll is a wonderful way to learn crochet while making something adorable. Whether you want a tiny friend to take on adventures, a decoration for your room, or a handmade gift, this pattern is a great choice. It brings a piece of your favorite galaxy right into your hands and lets you enjoy the fun of crafting a classic character in a soft, huggable form.
Amigurumi Doll Crochet Pattern
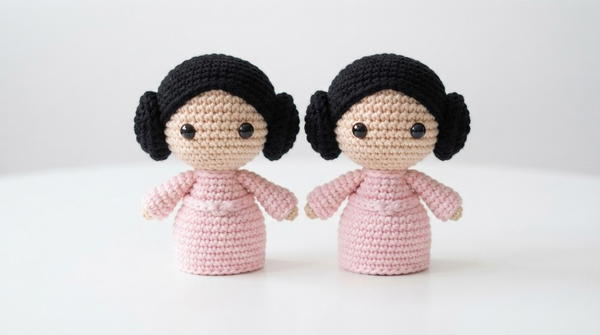
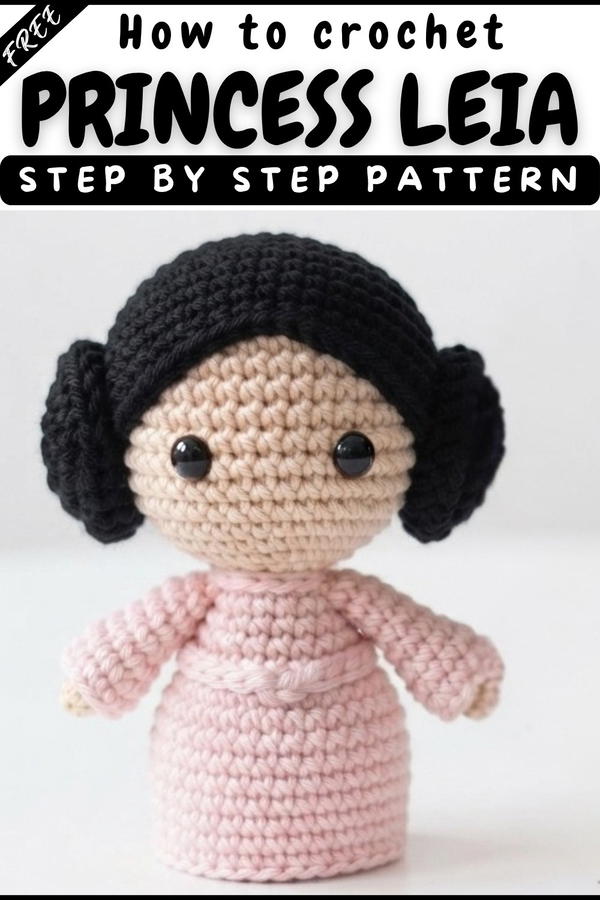
This amigurumi doll pattern is designed for crocheters who wish to create a beautifully shaped, multi-colored doll complete with head, body, skirt, arms, belt, and neck. The doll is worked in continuous rounds as a seamless amigurumi, featuring color changes, strategic increases, and decreases. This beginner-friendly yet engaging pattern is ideal for those seeking to expand their crochet repertoire by working with shaping techniques and detailed assembly. The result is a charming doll with distinct outfit details and an appealing handmade personality.
Pattern Basic Points
Pattern Structure
- Worked in Spiral Rounds: Head and body, arms, and skirt are all made in the round.
- Strategic Increases and Decreases: For natural shaping and smooth transitions between body parts.
- Color Work: Several color changes for realistic skin, clothes, and accessories.
- Multiple Components: Individual pieces (arms, skirt, belt, neck) add realism and detail.
- Front and Back Loop Work: Creates the skirt base and enhances texture.
Special Notes
- For best results, use a stitch marker to mark the beginning of each round.
- Stuff the head and body firmly as you go. Do not overstuff to avoid stretching stitches.
- When changing colors, crochet the last yarn-over of the previous stitch in the new yarn.
- Attach arms and skirt securely with sewing/yarn for durability.
- The doll can be customized with color choices to match your style.
Skill Level
Confident Beginner to Intermediate
Familiarity with magic ring, single crochet, increase, decrease, working in continuous rounds, color changes, crocheting in front and back loops, and basic finishing is required.
Materials
- Yarn:
- Skin color
- Black (hair/shoes)
- Pink (shirt/arms)
- Other colors as desired (for skirt, belt)
- Hook:
- Size appropriate for chosen yarn (typically 2.25mm-3.5mm for amigurumi)
- Stuffing:
- Polyester fiberfill
- Scissors
- Tapestry/Yarn Needle
- Stitch Marker
Measurements / Sizing
- Finished size: Approx. 15–22 cm tall (varies with yarn/hook choice, stuffing, and tension)
- Head/body diameter: About 5–7 cm at widest point
Gauge
- Gauge is not critical but stitches should be tight enough to prevent stuffing from showing through.
Stitch Abbreviations
- MR – Magic ring
- sc – single crochet
- inc – increase (2 sc in same stitch)
- dec – decrease (sc two stitches together)
- sl st – slip stitch
- ch – chain
- FO – Fasten off
Special Stitches
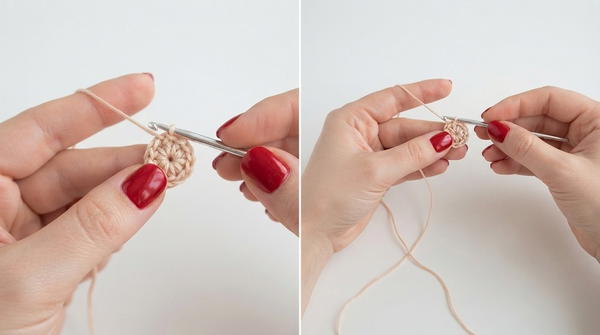
- Magic Ring: Form a tight ring to start amigurumi.
- Increase (inc): Work 2 sc in same stitch.
- Decrease (dec): Work sc two stitches together.
- Back loop only: Work stitches in the back loop only for texture.
- Front loop only: Work stitches in the front loop only for skirt foundation.
Back Loop Only & Front Loop Only
In crochet, working in the back loop only means inserting your hook into the back part of each stitch, creating a ribbed texture that is stretchy and flexible. Crocheting in the front loop only uses the front part of the stitch and produces a more raised, textured look. Both techniques add different styles and shapes to your projects.
The Pattern
Head & Body
- MR, 6 sc (6)
- 6 inc (12)
- 1 sc, 1 inc; repeat around (18)
- 2 sc, 1 inc; repeat around (24)
- 3 sc, 1 inc; repeat around (30)
- 4 sc, 1 inc; repeat around (36)
7-13. 36 sc per round (36) - 4 sc, 1 dec; repeat around (30)
- 3 sc, 1 dec; repeat around (24)
- 2 sc, 1 dec; repeat around (18)
- 1 sc, 1 dec; repeat around (12)
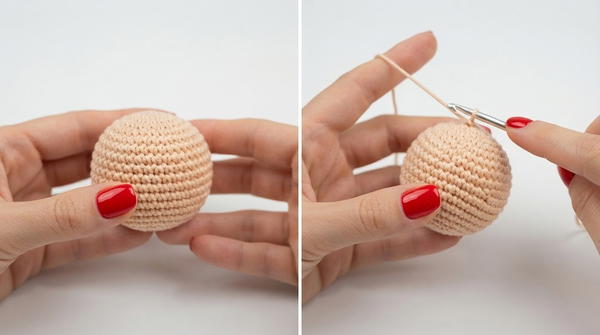
- 2 sc, 1 dec x3 (9)
Change color (to clothes) - 2 sc, 1 inc; repeat around (12)
- 1 sc, 1 inc; repeat around (18)
21–22. 18 sc per round (18) - 1 inc, 8 sc x2 (20)
- 20 sc (back loops only) (20)
25–26. 20 sc (20)
Change color (to skirt/other color) - 20 sc (20)
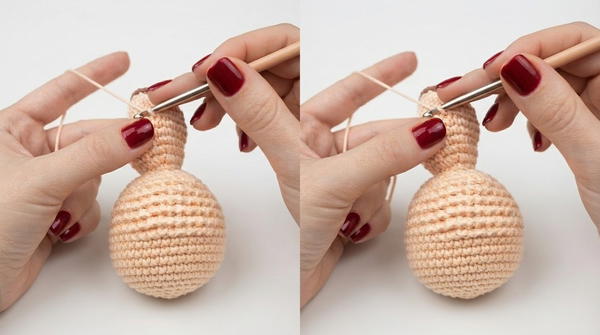
Change to skin color - 3 sc, 1 dec; repeat around (16)
- 16 sc (16)
- 2 sc, 1 dec; repeat around (12)
Change color (to brown/shoes) - 12 sc (12)
- 6 dec (6)
FO; sew shut
Skirt (worked in front loops of round 24)
- (2 sc, 1 inc) x6, 2 sc (26)
- (3 sc, 1 inc) x6, 2 sc (32)
3–8. 32 sc (32)
FO
Arms (make 2)
- MR, 6 sc (skin color)
- 6 sc
Change to white (shirt) - 6 sc
- 6 sc
- 6 sc (back loops only)
6–8. 6 sc
FO
Return to Front Loops Round 4 (hand detailing)
- 1 sc, 1 inc; repeat around (9)
2–3. 9 sc
FO
Belt
- 26 ch
- 12 sl st, 1 inc, 12 sl st
FO
Neck
- 16 ch
FO
Assembly & Finished Size
- Sew the head and body securely closed after stuffing.
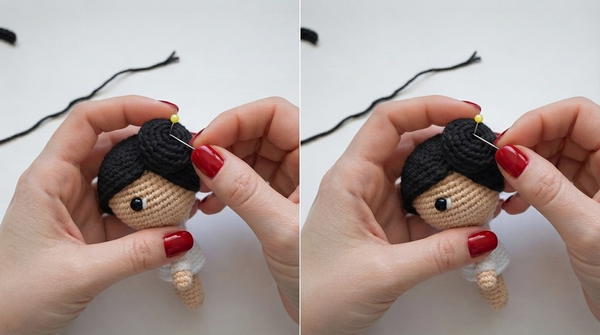
- Attach arms to sides of the body.
- Form and attach the skirt around the base of the body using the front loops.
- Attach belt and neck using slip stitch seam or sewing.
- Embroider or sew facial features and details as desired.
- Finish by weaving in all ends and shaping doll.
Conclusion
This amigurumi doll pattern offers a delightful blend of creative crochet techniques and charming design. Worked in seamless rounds with strategic increases, decreases, and color changes, the doll is perfect for both beginners expanding their skills and experienced crocheters seeking a classic project. The additional skirt, belt, and neck details give your finished doll personality and flair.