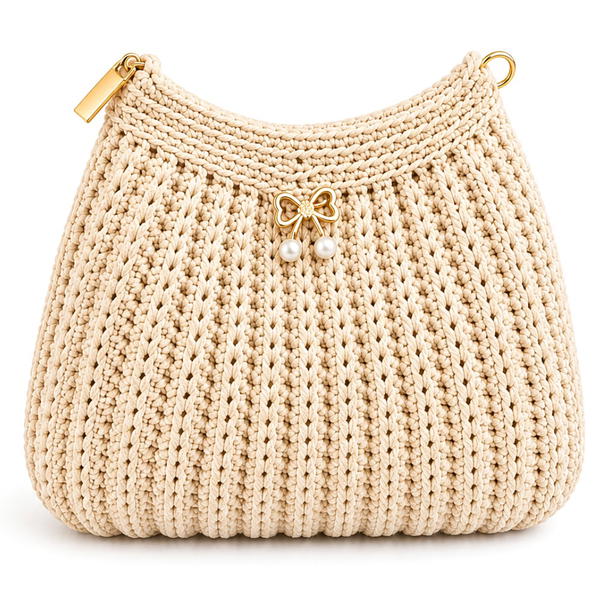
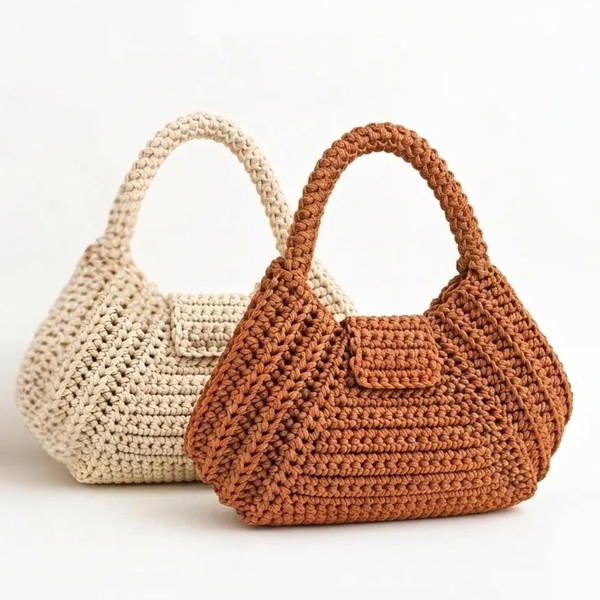
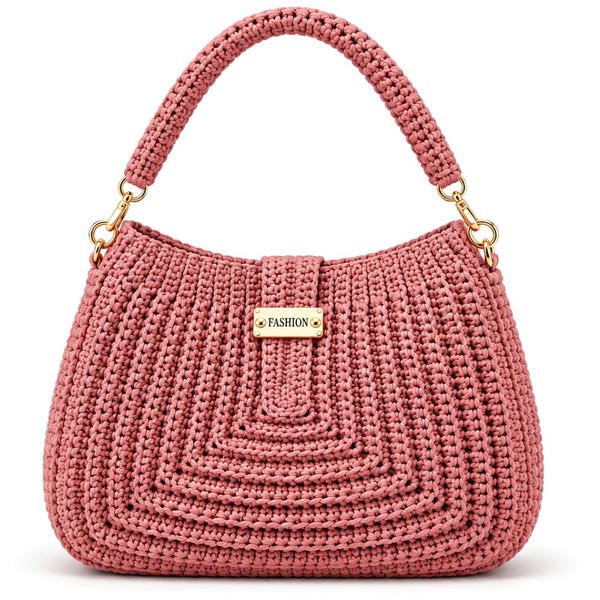
Carry your daily essentials in a lined tote bag with this Free Crochet Pattern featuring two leather handles and a wide top for easy access on busy days.
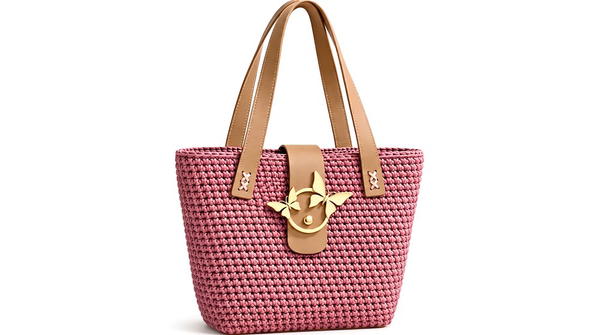
Errands are easier when the things you carry are easy to reach. This Free Crochet Pattern for a Tote Bag pairs a wide top with two leather handles, so you can separate the handles and see what’s inside. The top measures about 28 cm across, compared with a base of roughly 21 by 11 cm. That difference gives the sides an outward slope when you see the tote from the front.
Everyday Free Crochet Pattern for a Lined Tote Bag
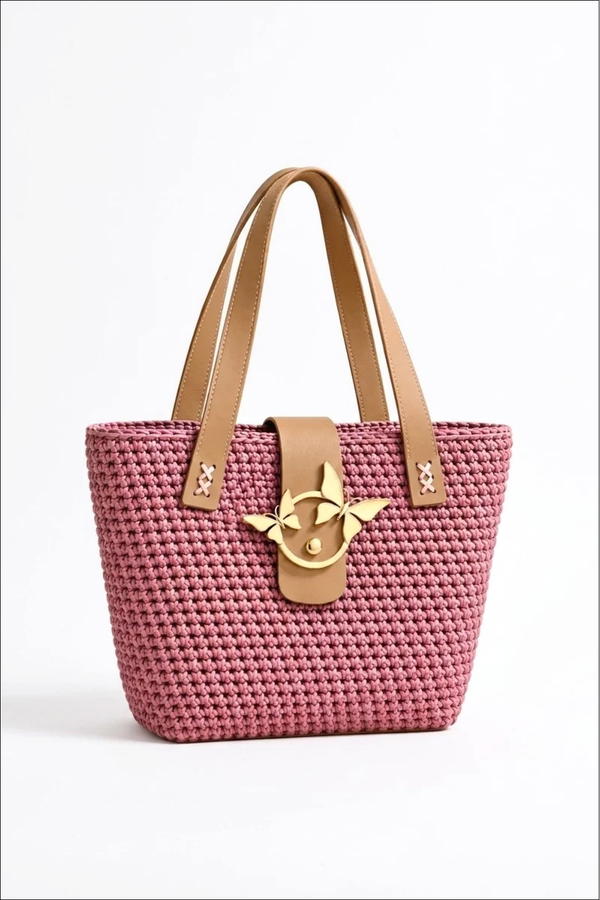
About 22 cm of height gives you room to stand a few items upright. Inside, the fabric lining offers a smoother surface for small belongings, and a piece of canvas reinforces the bottom. The sample pairs a leather clasp with the handles, which is handy when you want to close the tote between stops. The 4 mm cord gives the outside visible stitch texture alongside those smooth pieces.

Think about a day when you’re carrying a paperback, a pouch and a small water bottle. Put the book along one side, stand the bottle upright beside it and keep your pouch close to the wide opening. That leaves the things you reach for often easy to spot. The tote can also serve as a library bag for a few smaller books or as a reusable gift bag with a scarf folded inside.
Tote Styles on the Channel
For readers comparing tote shapes, Promlatex. Шнур для вязания. has a version with two handles and another with a single leather handle. The projects list the base measurements. Those dimensions help when you need to work out whether you can carry something flat or stand it up inside the bag.
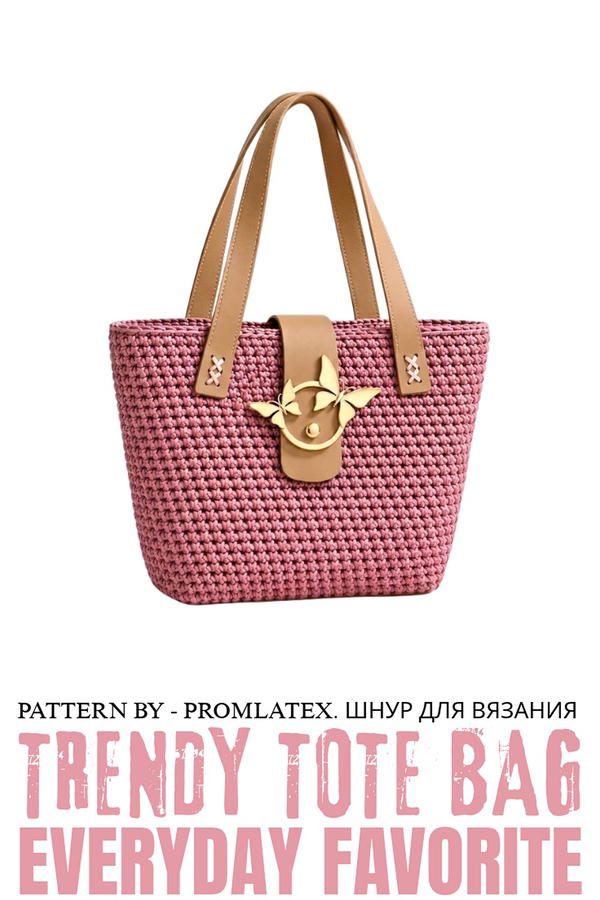
Diagonal Pattern Summer Shopper Crochet Pattern
This medium-sized summer shopper bag is both lightweight and practical. Featuring a structured oval base, diagonally textured walls, genuine leather fittings, and a snap closure, it is both functional and stylish. The pattern also includes detailed instructions for sewing lining and attaching hardware, making it an ideal project for day-to-day use or gifting.
Skill Level
Beginner – This pattern is straightforward and accessible for crocheters who are familiar with basic stitches such as single crochet (SC) and slip stitch (sl st), along with simple sewing techniques for adding a lining and attaching hardware.
Materials
Crochet Supplies:
- Polyester cord: 4 mm flat polyester cord. Approximately 200 m skein (recommended: Promlatex cord). The cord is soft, coreless, slightly stretchy, and returns to shape.
- Hook: 4 mm crochet hook.
Bag Components:
- Mesh Canvas: 3 mm thick canvas for reinforcing the bottom.
- Leather fittings:
- Two short leather handles (~ideal length for shoulder carry).
- Narrow leather flap with a pre-attached magnetic snap closure.
Lining Supplies:
- Lining fabric: Cut to match the bag’s dimensions.
- Interfacing: For reinforcing pockets and snap attachment sections.
- Sewing threads and needle: Thread to match cord color for stitching where visible.
Additional Tools:
- Marker: For marking stitch increases.
- Scissors.
- Lighter: For sealing cord ends neatly.
- Steam iron: To shape and smooth the bottom.
Stitch Abbreviations
- ch = chain
- sc = single crochet
- sl st = slip stitch
Useful Tips
- Cord Selection: Flat polyester cord is ideal for this design as it provides texture while being soft on hands, making it comfortable to crochet.
- Markers: Use them to mark increases and turning points (corners) for the oval bottom to ensure symmetry.
- Bottom Shaping: Reinforce the base using mesh canvas to maintain the bag's structure and durability.
- Increase Distribution: Distribute increases evenly across turning points of the oval base to avoid distortions and achieve a seamless bottom-to-wall transition.
- Custom Hardware Choice: Leather fittings can either complement or contrast the cord color for varied aesthetic effects.
Step-by-Step Pattern Instructions
1. Creating the Oval Bottom
Foundation Row: Start the Chain
- Leave a 1.5-meter tail for future row connections.
- Create a foundation of 15 chain stitches, using a double-loop method:
- Hold the cord’s tail while pulling the working thread through. Repeat until you form a double braid chain.
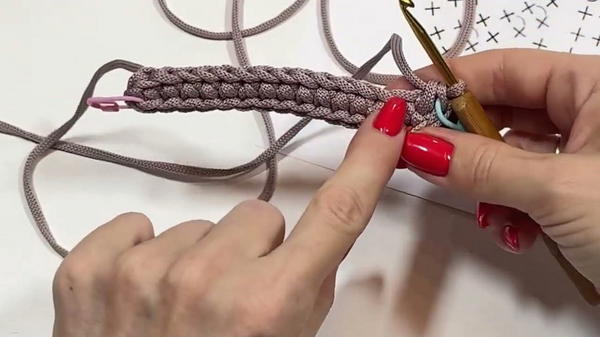
- Hold the cord’s tail while pulling the working thread through. Repeat until you form a double braid chain.
Round 1: Adding Single Crochet Stitches
- Work 3 sc stitches into the last chain stitch (forming the first turn). Place markers on the first and last stitches of this turn.
- Work 13 sc stitches along the chain, ensuring even tension.
- At the opposite end of the chain, work another set of 3 sc stitches in the chain to form the second turn. Place markers here as well.
Closing the Round:
- With the cord tail, pull through the last loop and use it to connect the first and last stitches of the round by inserting the hook under the first braid.
- Return the tail under the edge stitches to the back side, ensuring a seamless join.
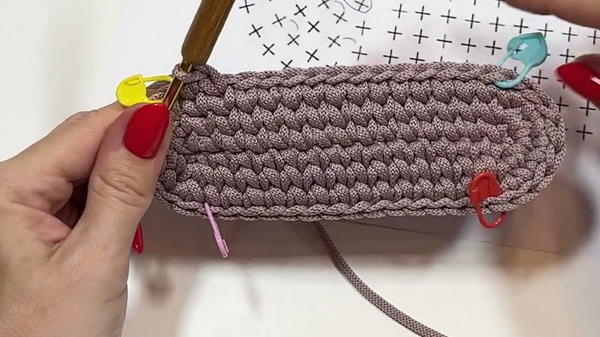
2. Building the Oval Bottom with Increases
Round 2: Introducing Increases at the Turns
- Start from the marker at the first turn. Work the following sequence:
- An increase in every turn stitch (total: 3 increases).
- Crochet 13 sc stitches between turns.
- Repeat the increase placement for the second turn, ensuring symmetry.
Round 3 Onwards: Increasing Stitches
- Begin each subsequent round by shifting one stitch forward (due to joining with the tail). Distribute increases at the turning points as follows:
- Round 3: Alternate increases with 1 single stitch (e.g., increase, sc, increase, sc).
- Round 4: Alternate increases with 2 single stitches.
- Round 5: Alternate increases with 3 single stitches.
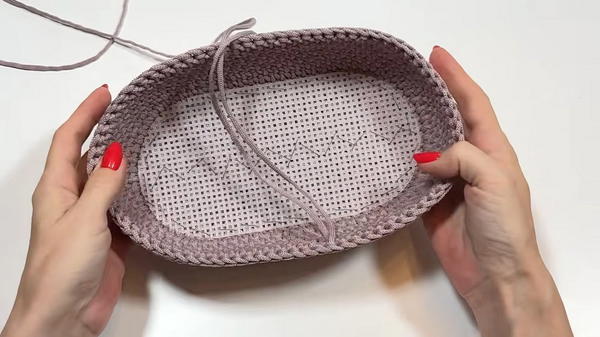
Pattern for Larger Bottoms:
- Continue adding one more single crochet between each increase in each new round until the desired bottom width is achieved. Example:
- Round 6: Alternate increases with 4 single stitches.
- Round 7: Alternate increases with 5 single stitches.
3. Reinforcing the Base with Mesh Canvas
- Cut Canvas: Measure the base diameter (after steaming and shaping the bottom) and cut the canvas slightly smaller than the crocheted bottom.
- Steam the Bottom: Use an iron and thin fabric to smooth and shape the bottom evenly.
- Sew the Canvas: Secure the canvas to the bottom using evenly spaced stitches along its edge. Use thread that matches the cord color.
4. Transition to Side Walls
Intermediate Row:
- Before raising the walls, crochet an intermediate row with 4 evenly distributed increases.
- Place markers for each increase before starting the row.
- This round smooths the transition from bottom to walls and creates a rounded effect.
5. Diagonal Pattern for the Walls
Diagonal Pattern Rows:
- Begin the first wall row by working sc stitches diagonally:
- Insert the hook under one leg of the checkmark and the braid, then pull through the cord and complete the sc stitch.
- Move diagonally into the next checkmark and braid.
- Subsequent Rows: Maintain the diagonal pattern while working evenly (no increases).
Finishing the Walls:
- Continue crocheting diagonally until the bag reaches the desired height (~22 cm). Ensure the cord is properly tensioned to create a uniform texture.
6. Binding the Top Edge
Binding Row:
- Work sl st into each braid of the previous row, forming a neat edge and completing the bag shape.
- Cut the cord, pull through the last loop completely, and hide the cord end under the nearest loops using a hook or needle.
7. Attaching Hardware
Handles and Flap:
- Fold the bag evenly to identify the central points along the sidewalls. Use markers to align handles and flap attachment points.
- Sew handles and flap securely using cross-stitches or heavy-duty thread. Ensure symmetry between the front and back sides.
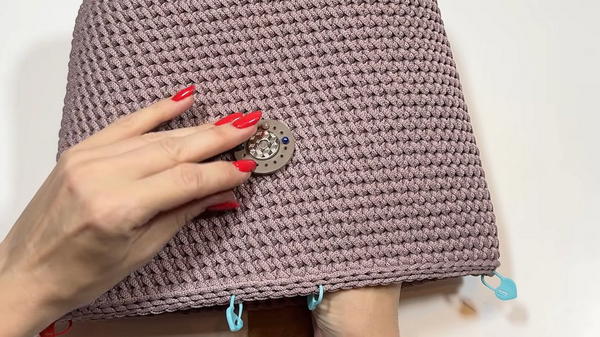
Snap Button Installation:
- Mark the placement of the snap button on the inside and align the parts carefully.
- Secure the button using a sewing needle and thread, working precise circular stitches for durability.
8. Sewing the Lining
Preparing the Lining:
- Measure and cut a rectangle based on the interior dimensions:
- Width = Bag circumference divided by 2 + seam allowances (~31.5 cm).
- Length = Bag height (~52 cm).
- Create two patch pockets using reinforced interlining (~17 x 24 cm rectangles) and sew them onto the lining fabric.
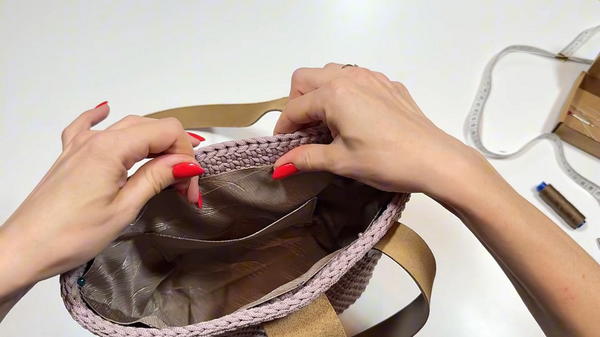
Installing the Lining:
- Fold the top edge of the lining to meet the bag’s inner top edge (~2–3 cm lower). Align pockets evenly on opposite sides.
- Pin the lining and sew it into the bag using hidden stitches under the cord bridges.
Conclusion
This summer shopper’s simple yet elegant design pairs versatility with functionality. The diagonal pattern creates a visually appealing texture, while the leather fittings provide a polished look, whether matched or contrasted with the cord’s color. Adding a lining transforms this medium-sized shopper bag into a durable, stylish accessory that holds its shape beautifully.