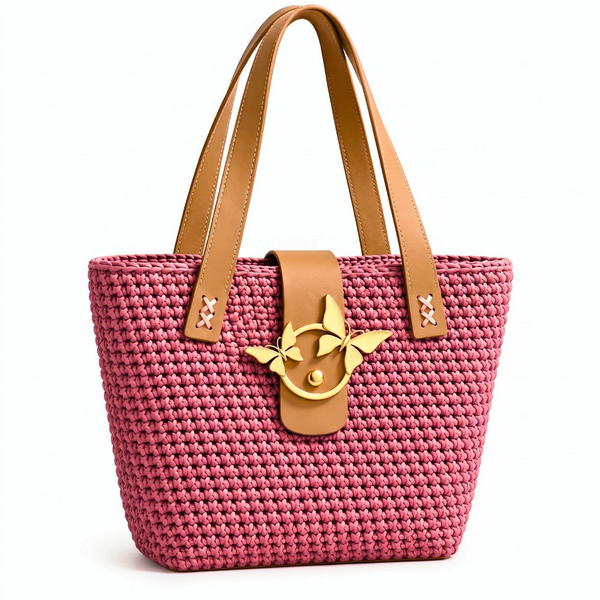
Pair soft gray stitches with smooth leather details using this Free Crochet Pattern for a handbag with leather accents that suits jeans and tailored outfits.
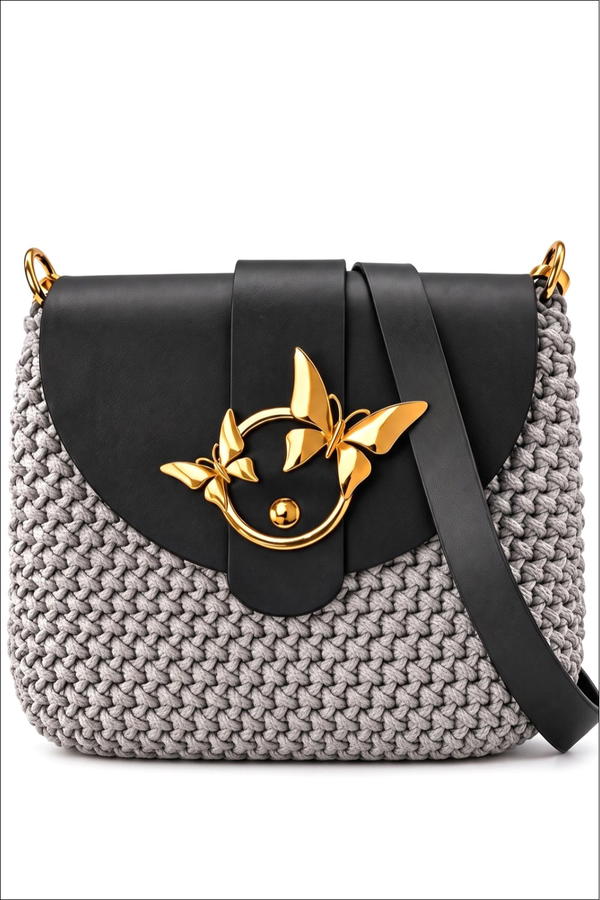
Plain outfits leave room for an accessory with a bit of texture. Use this Free Crochet Pattern for a Handbag with Leather Accents when you want the neat shape of a small purse alongside the visible loops of crochet. The light gray sample has a leather base, flap and strap, so the smooth parts frame the stitched body in three places.
Modern Handbag with Leather Accents for Everyday Wear | Free Crochet Pattern
About the Handbag Designer
Leather fittings appear in several handbag projects from Promlatex. Шнур для вязания. This example shows where a premade base, flap and strap sit on a crocheted body. The listing also names the lining and fasteners, so you can see which parts you’ll need to have on hand before you start.
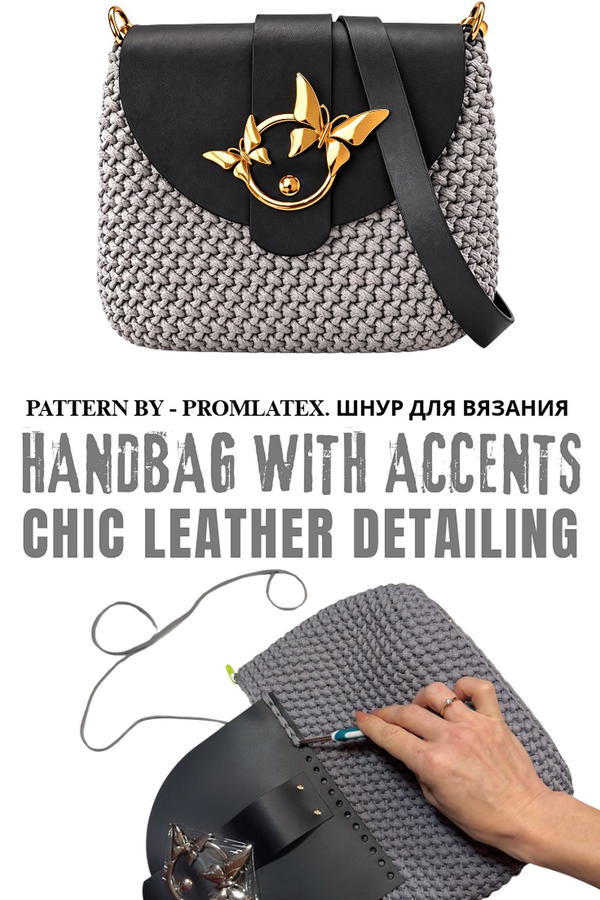
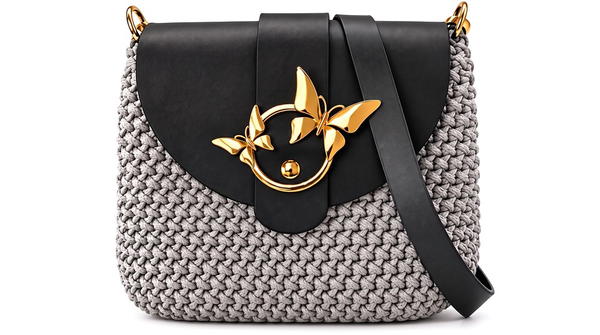
At roughly 24 by 12 by 20 cm, the finished purse suits a short outing when you’re carrying a phone, a small wallet and a few personal items. A fabric lining covers the inside of the crochet, and the flap gives the front a distinct shape. The strap clips on with rings, a detail worth noticing when you’re planning how to put the separate pieces together. The matching leather components give the bottom, top and strap a consistent finish.
There’s room to style this piece quite simply. Wear it with straight jeans and a tucked shirt for a casual outfit, or carry it with tailored pants when you want a softer detail alongside the clean lines. Light gray pairs well with charcoal and navy and still feels at home with cream. For a gift, think about the coat or jacket the person wears most often, since that’s likely what the bag will sit against.
Elegant Textured Handbag Pattern
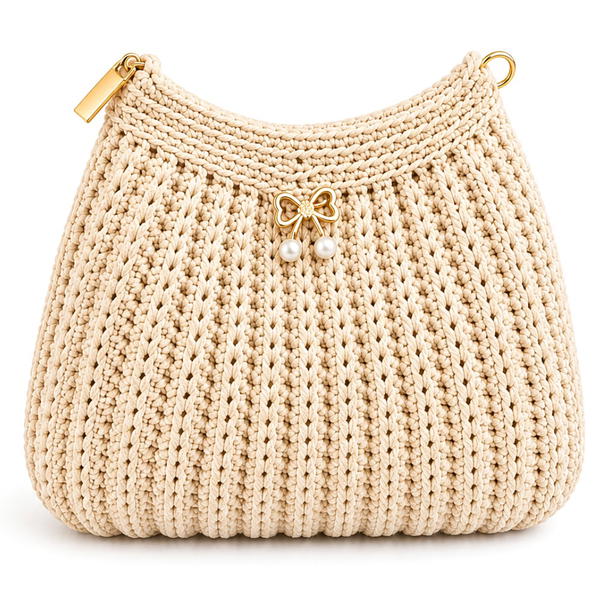
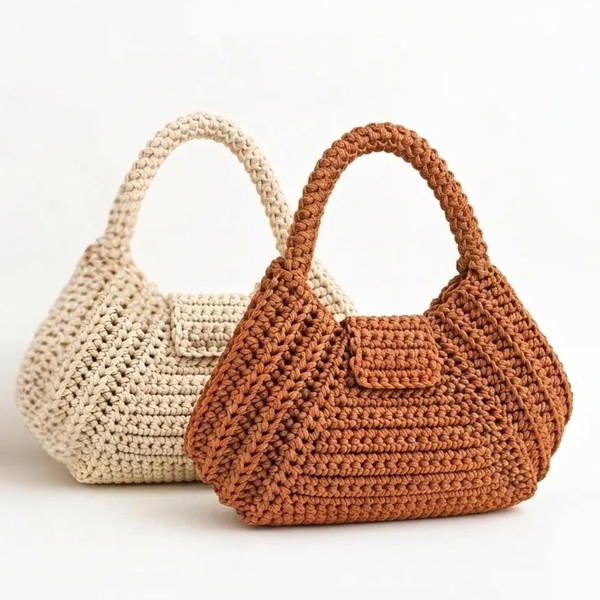
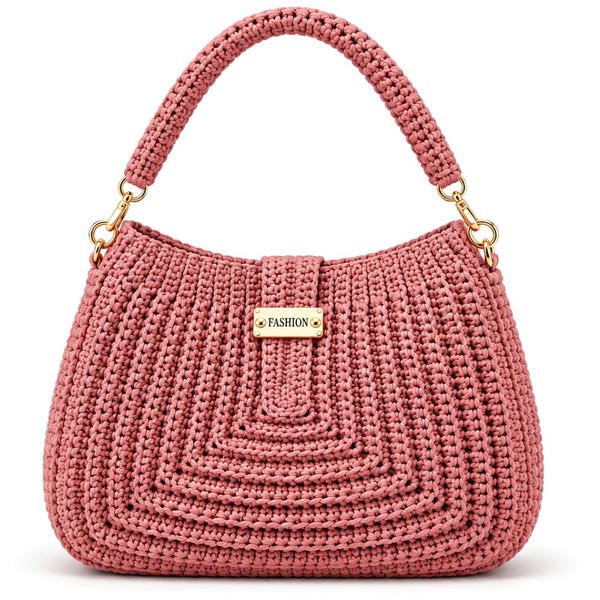
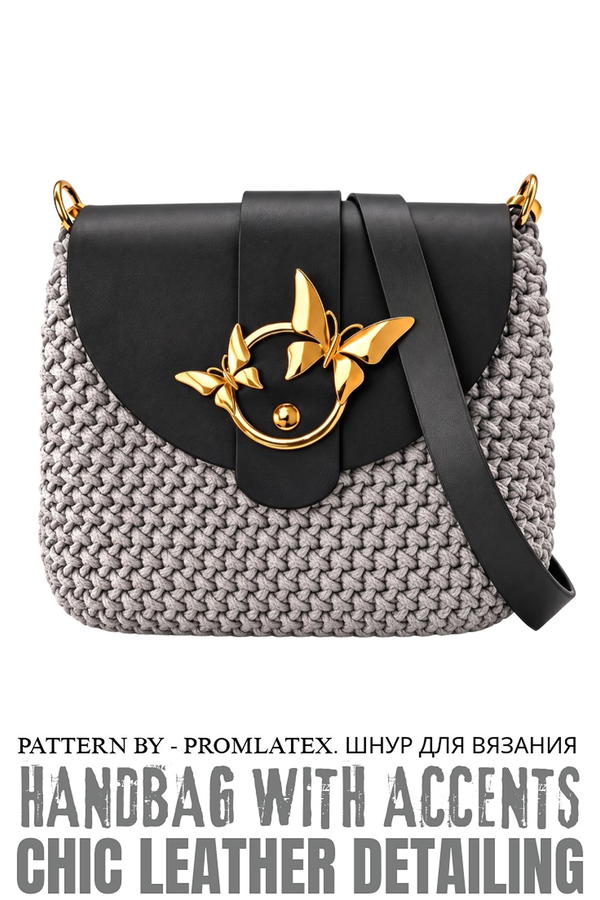
This beautifully handcrafted handbag, made using polyester cord and genuine leather fittings, features a sturdy oval base, textured cross-patterned sides, and an internal lining complete with a zippered pocket. The durable material and timeless design make it both functional and stylish—a perfect accessory for any occasion. Available in various cord and leather color combinations, this bag offers opportunities for customization.
Skill Level
Intermediate – This pattern is designed for crocheters who are comfortable with foundational stitches (single crochet, slip stitch), understand how to create texture, and are confident in following detailed instructions. Sewing liners and zippers is also part of this project.
Materials
Crochet Materials:
- Polyester cord: 4 mm flat, coreless. Approximately 4 mm cord totalling:
- 200 m skein (made by Promlax). Example: Cappuccino or grey cord.
- Option to choose color combinations based on available leather fittings.
- Crochet hooks:
- 3 mm hook – for working with tight spaces, such as the base.
- 4 mm regular hook – for the body of the bag.
- 4 mm Tunisian double-ended crochet hook (optional) – to simplify the textured cross-stitch pattern.
Leather Fitting Set:
(Specific dimensions may vary based on your chosen bag size.)
- Genuine leather flat base: 20 cm x 10 cm, reinforced and durable. The base has pre-punched holes for easy attachment.
- Flap with magnetic button: 20 cm x 18 cm.
- Adjustable leather strap (length ~120 cm): Comes with carabiners for easy attachment.
- 2 carabiner rings for securing the handle.
Lining Supplies (Optional):
- Lining fabric: Cut to match the bag dimensions. Example measurement for this bag is 31 cm x 49 cm.
- Interlining/stabilizer: For reinforcing the zippered pocket.
- Invisible zipper (coil type): Approximately 20 cm, adjustable to the pocket size.
- Sewing threads and needle.
Accessories:
- Scissors
- Lighter – Used for sealing cord ends.
- Pins or sewing clips for fabric alignment.
- Measuring tape or ruler
Stitch Abbreviations
- ch = chain
- sl st = slip stitch
- sc = single crochet
- dc = double crochet
Useful Tips
- Cord Management: Ensure the cord unravels counterclockwise for the working thread (or clockwise if flipped from below) to avoid tangles or twisting.
- Hook Selection: Use a Tunisian double-ended crochet hook for better efficiency and ease when creating the bag’s textured cross-stitch pattern.
- Consistent Sizing: Maintain uniform tension throughout the project to avoid uneven stitches or distorted shaping.
- Avoid Stretching the Base: When tying the foundation chain or stitching the bottom, ensure the cord isn't overly tight to prevent warping.
- Custom Design: Feel free to mix and match your chosen leather and cord colors for unique contrasting effects.
Step-by-Step Pattern Instructions
1. Creating the Base
Foundation Round:
- Using a 4 mm hook and the leather base:
- Begin by inserting the hook into the second hole at the center of the base, leaving a tail (~60–80 cm) for later connections.
- Pull a loop through and make a sl st to secure the cord.
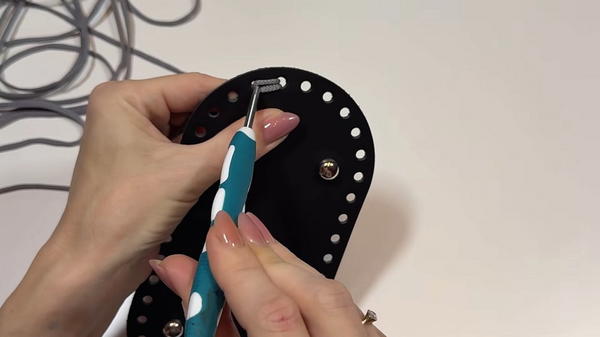
- Proceed to make sl sts around the base, inserting the hook into each pre-punched hole.
- Upon each stitch, pull the cord into a slight loop, ensuring enough length for the next entry.
- Avoid pulling the cord too tightly to prevent puckering or warping the base.
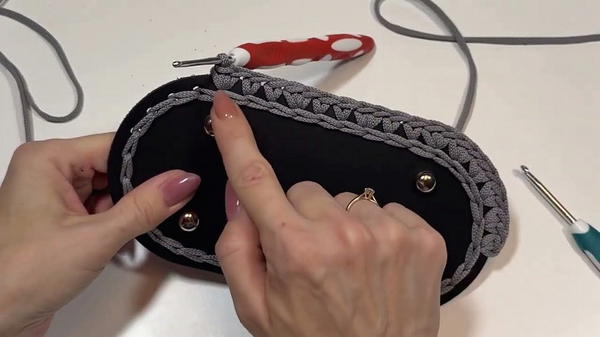
Closing the Base Round:
- When you reach the last hole, pull the tail through the loop, connect it to the first stitch by inserting the hook under its braid, and pull through the tail to secure the base edge neatly.
2. Building the Side Walls (Textured Cross-Pattern)
Round 1: Preparation for Side Walls
- Switch to a 3 mm hook for the first round.
- Begin by inserting your hook into any hole along the base's braid and pulling up a working loop:
- Example: Insert the hook through the braid and pull up the cord to bring the loop above the bottom edge.
- Work around the base with sc stitches, ensuring you maintain an even tension.
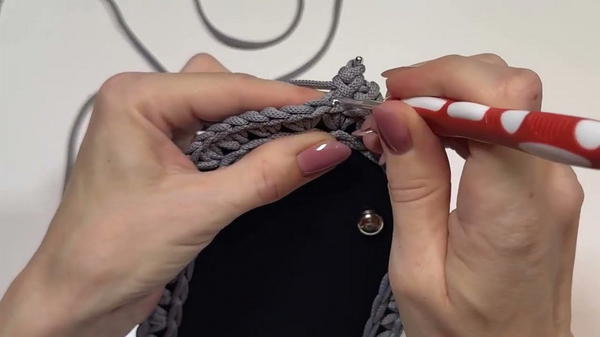
Round 2 Onwards: Cross-Pattern Stitch
- Switch to a 4 mm hook. Follow these steps:
- Step 1: Insert the hook under the top braid and pull up a loop.
- Step 2: Insert the hook under the next braid, creating another loop, and pull through the second and third loops on the hook.
- Step 3: Remove the hook, then reinsert it in reverse order into the first and second loops, pulling through both.
- Step 4: Insert the hook into the newly formed jumper (the cross-link) and pull it through both remaining loops.
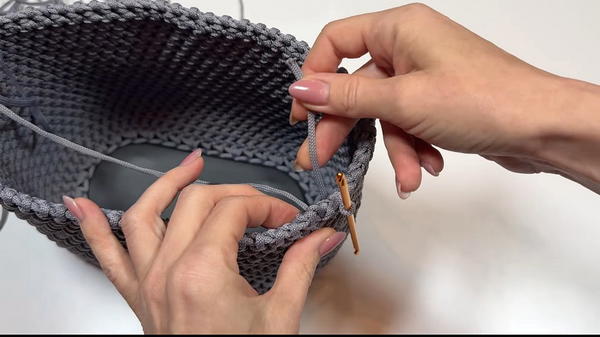
- Repeat these steps around the row. Every 2–3 rows, regularly check for proper tension and adjust your loops, as this pattern creates a textured design and requires uniform loop length.
Shaping the Side Walls:
- Work 20 rows total or until the desired height (~19–20 cm) is reached. Note: The first few rows will remain flat; the walls will lift as you progress.
Final Round of Side Walls (Binding):
- Work a final binding row around the top edge with slip stitches:
- Insert the hook into each braid, leaving the cross-jumper to the right, and pull through both the working and existing loops on the hook.
Securing the Edge:
- Cut the cord, pull the loop out completely, and close the row by hiding the tail. Insert the hook under the first braid, pull through the tail, insert it under the last braid, and bring the tail to the back of the work.
3. Adding the Flap
Sewing the Flap to the Bag:
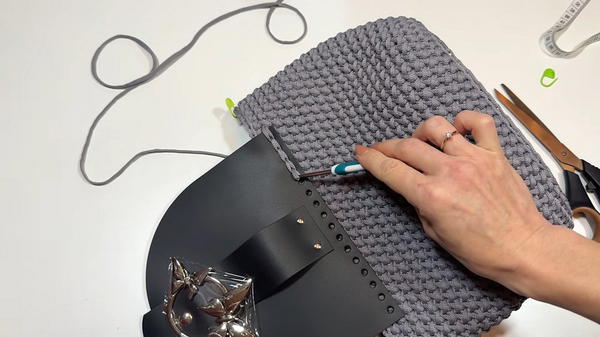
- Position the flap in the center of the back wall, ensuring it sits 2–3 cm below the top edge.
- Using the working cord, attach the flap with sl sts through the pre-punched holes in the leather flap and top edge of the bag.
4. Making and Attaching the Lining
Lining Preparation:
- Measure and cut a 31 cm x 49 cm rectangle for the lining. Increase seam allowance by 1.5 cm for side seams.
Creating the Zippered Pocket:
- Cut a 18 cm x 28 cm rectangle for the pocket and reinforce the top edge with a 5 cm strip of interlining.
- Mark a 1 cm wide rectangular frame at the desired pocket placement inside the bag.
- Sew along the marked lines, cut the inner rectangle, and fold the pocket fabric to the back to create a clean frame.
- Position and sew the zipper into place behind the frame.
- Close the pocket by sewing its edges together on the back side.
Attaching the Lining to the Bag:
- Create a rounded bottom for the lining: pinch the corners, measure, and sew a smooth curve. Trim excess fabric.
- Insert the lining into the crochet bag. Align the seams and pin in place just below the upper edge of the bag.
- Sew the lining to the inside of the bag by hand using slip stitches, catching the cord bridges for a secure hold.
5. Final Assembly
- Attach the carabiner rings to the bag’s top edges, either through the leather components or using the crochet straps.
- Fix the adjustable strap to the carabiners.
Conclusion
This intermediate-level textured handbag stands out with its cross-stitch design and genuine leather components. Its combination of crochet techniques and sewing creates a durable, stylish, and professional-looking accessory. With the option to add a custom lining and tailored details, this handbag can be uniquely designed to suit your needs while maintaining its structure and visual appeal. Grab your materials and create your own stunning piece to add to your collection or give as a meaningful gift!