You might be wondering how a light Box can be a good source of light for photography. It is quite simple. A lightbox is a translucent material that has the capability to diffuse light. With this property, it makes the light it emits softer and evener. But the cost of buying a lightbox is very high, If you do not have the money to buy one, these tutorials teach you how to make one yourself using very cheap materials that are readily available at home or in your neighborhood store. With just $10 and basic tools such as a hammer, nails, screwdrivers, glue gun, and box cutters, you can make yourself a DIY lightbox.
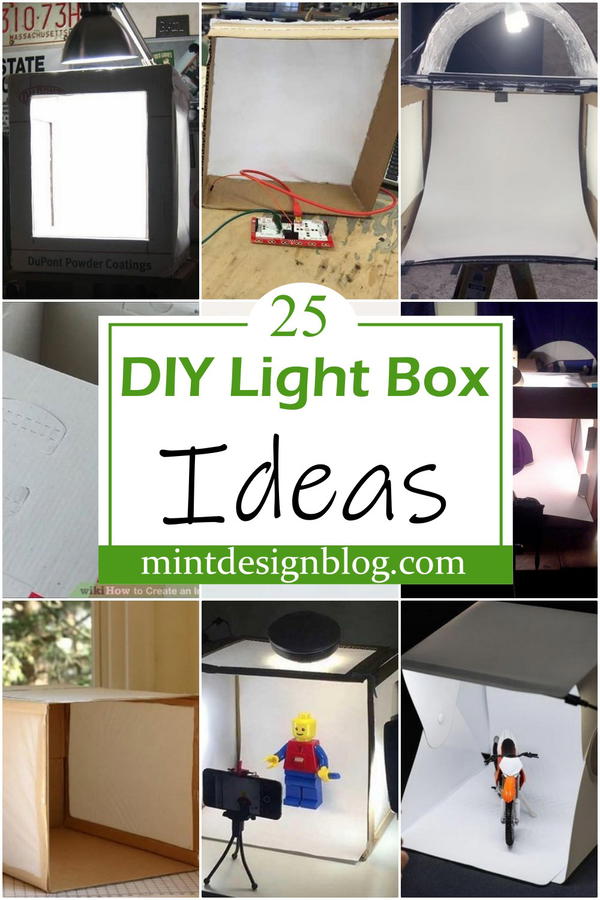
DIY Lightbox Ideas
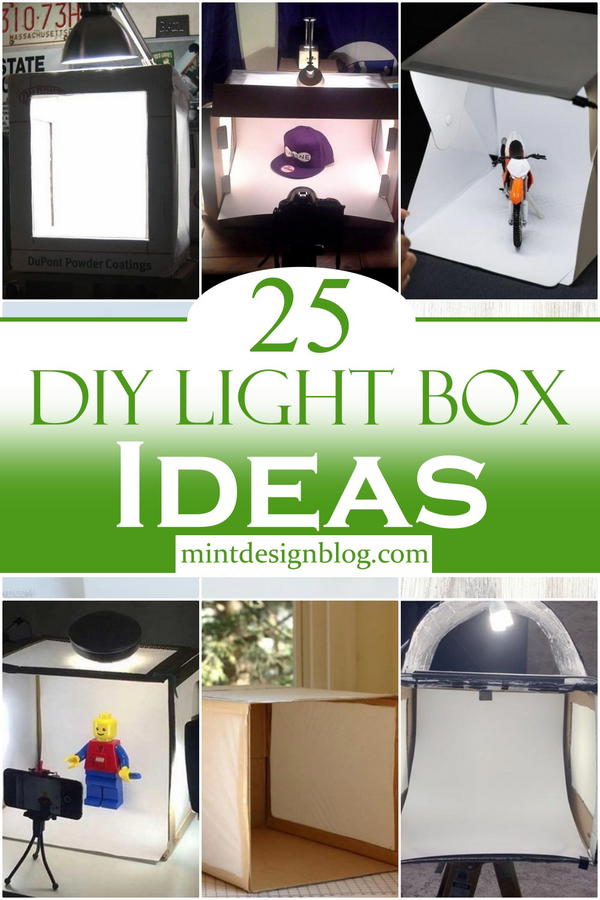
Lightboxes are used for various reasons and come in different sizes and shapes. However, there are some light boxes that can be put together by you at home. These usually cost you less to make and also do not occupy much space. Below are 25 different unique ideas on how to make a DIY lightbox by yourself with ease and at an affordable cost of production, the ideas here are amazing and you will love them. All you need is a cardboard box, a utility knife, double-sided tape, a few sheets of white paper ...etc.
Here are 25 DIY Light Box Ideas that can help you build your solution for a home where you can take some professional photos or display some special craft items.
1. DIY Light Box
This DIY lightbox is very easy and cheap to make. The cost for this project is less than $20. This alternative lightbox design is great for photography, coin-sorting, and even just playing in the dark. The materials used are cheap and can be found in a hardware store. It only takes an hour to do it. Enjoy! It's easy to set up, and won't break your bank. This video tutorial shows the steps of making this, if you feel interested to make your own lightbox, this is worth trying.
How To Build A Photo Light Box
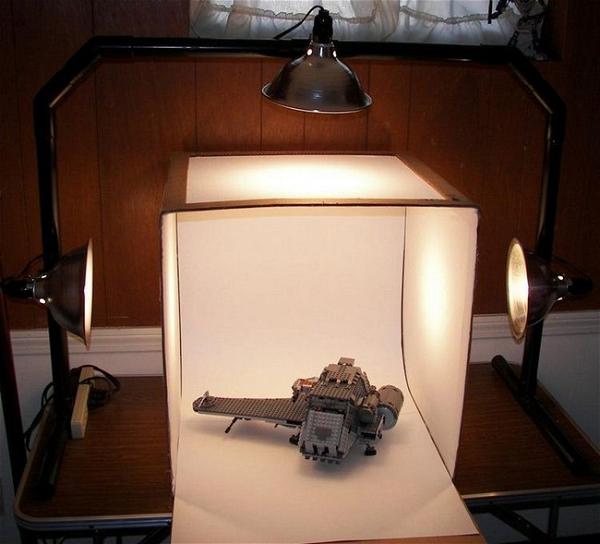
Lighting is a very important part of a photographer's work and without good light, the best images could not be captured. There are many different ways to light for the best results, all of those don't require expensive equipment. The good part about this method is that it doesn't require any electric parts and helps you to use the minimum space possible. In this video, you will see how you can easily build a lightbox that you can use to take great portrait photographs.
3. How To Make A Light Box
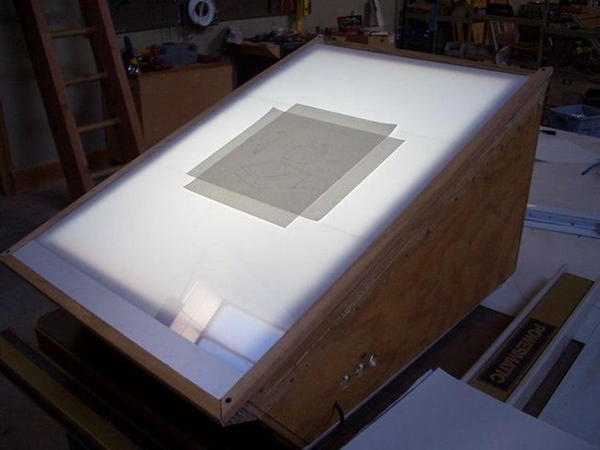
Making a lightbox is very easy and affordable, these are a great tool for the artist. They can be used in many ways to draw and paint by softening the light that shines down on the art medium. Using supplies from the hardware store, you can make your own lightbox to take professional-looking product shots for photography. Here is a step-by-step tutorial on how to make an amazing lightbox to take also that glamour shot you've always wanted. This is a really simple project and extremely inexpensive.
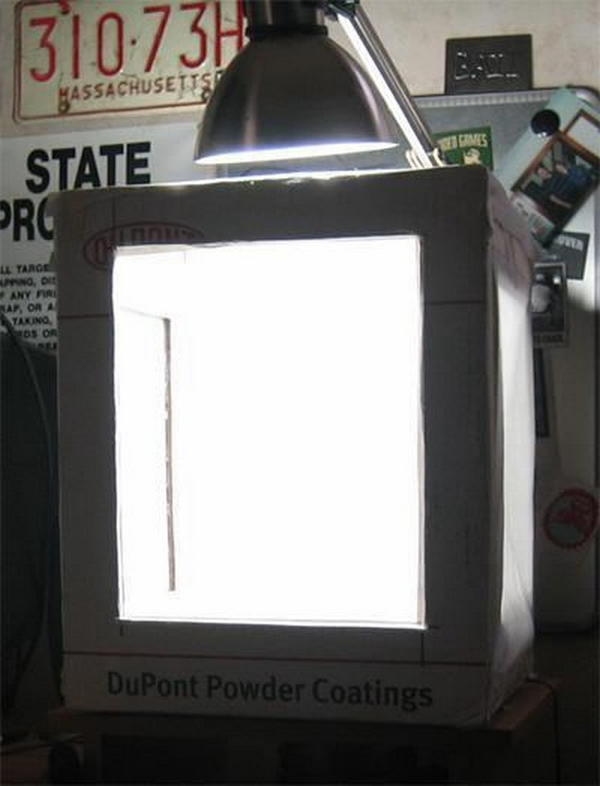
4. DIY Photography Lighting Softbox.
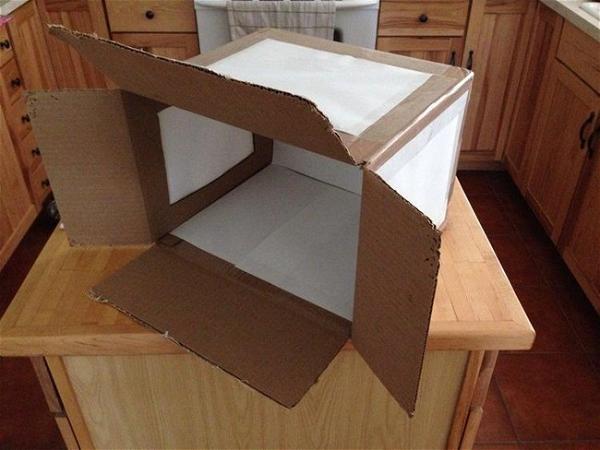
DIY Photography Light's Softboxes are made from old cardboard boxes. You just need to know how to cut and glue for a few minutes. This is a very easy project that anyone can do even if you have no DIY experience with lighting. Making your own lightbox for taking photos of products is quick, easy, and inexpensive. In this video tutorial, you learn how to make your own DIY lighting softbox from cardboard, a glue gun, and some aluminum foil needed.
DIY Light Box
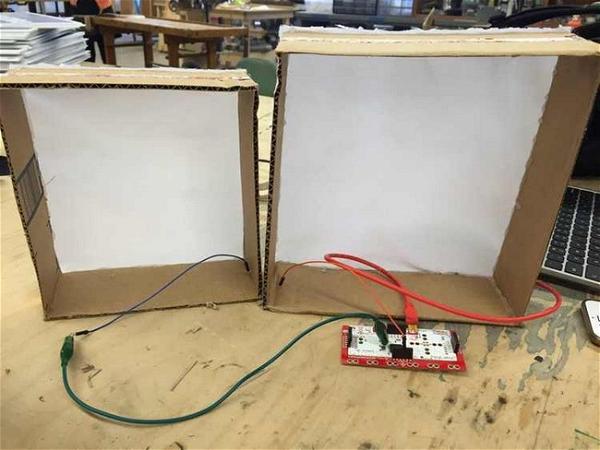
The DIY Light Box uses the Makey Makey and a DIY circuit that converts different objects into different sounds. This project is relatively easy and inexpensive to put into action, it can prove to be a very helpful resource when paired with artists in video production or dance, and also in music composition. It can be used to make light drawings on the walls from the waveforms of music or other audio sources. Follow the complete step-by-step guide, to make it easy even in your home.
How To Make A DIY Light Box
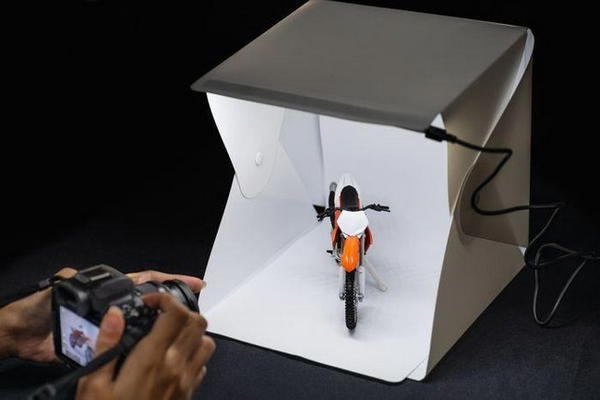
Make a DIY lightbox for your photo studio that provides evenly diffused lighting, this is an ideal tool for a photographer to take pictures that are clear and have professional-looking results. With only a card box and some basic materials, you can create your own DIY lightbox in around thirty minutes. Follow this step-by-step DIY guide to learn how to make a homemade lightbox. Perfect for taking professional quality photographs, the lightbox is easy to build and complete with cheap materials only.
DIY Photo Light Box
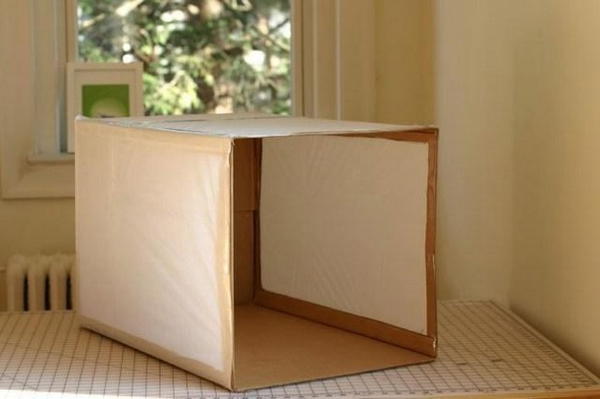
DIY Photo LightBox is an easy project that you can make in minutes. This is a nifty little DIY project, made from free and readily-available materials. With a cardboard box, some craft knives/scissors, tissue paper, and packing tape you can make your own lightbox. This will add more warmth to your pictures, which means richer color and less "cold" white glare, and better, more even lighting on your subject. This is a super easy, very affordable tutorial to make your own DIY photo lightbox!
How To Create Cheap Photo Light Box
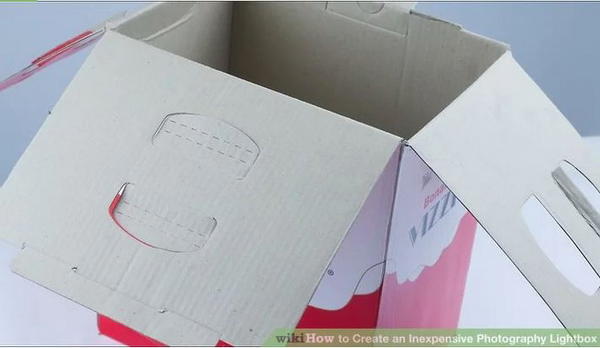
A lightbox is a simple and easy-to-make photography tool that allows you to take better and professional-level photographs, especially if you are planning on opening up your own online store. What does a lightbox have to do with taking professional-looking photos? A lightbox is the best photography lighting studio that any photographer could need because it eliminates shadows in your pictures and provides you with a wide variety of backgrounds, just by changing your background material. Follow this complete guide, to learn more!
How To Make A Photo Light Box
This simple DIY lightbox is perfect for shooting product photographs, artwork, or even food photography. It is a low-cost alternative to an expensive, purpose-built photographic lighting device. They are most commonly used to eliminate shadows in macro photography, but can also be used as a makeshift "green screen" for small video productions. Make your own lightbox for taking great product photos. This video will show you how to make this from a cardboard box and aluminum foil.
How To Make A Light Box
Making a lightbox is the process of mixing light, shadow, and detail. Lightboxes are typically used for product photography. They help you create drama, and mood and add to the overall quality of a photograph or image. Making your own is simple and easy. The best way to make this is to use a foam board. You can find it at any hobby store or Michael's shop and also buy it online. You will DIY your own lightbox, you'll just need to watch the video tutorials to make it easy!
11. DIY Light Box For Photography
This DIY Light Box is designed for photographers and artists to have a big space to make portraits and other photos. It is so easy to make! This can be made by using materials from your local dollar store. You would not need any glue at all! All you will need are - Bulbs - Posterboard - and Foam board. This video tutorial will walk you through all the steps needed to make your own professional quality lightbox using a super inexpensive light diffuser available in any dollar store.
How To Make A Light Box For Photos
A lightbox is used as a photographic tool. It serves as photography equipment. It acts as a combination of softbox and magnifier. There are many ways to build a lightbox but here is the simplest idea with a minimal design look. Foam board is a quick, affordable and easy solution for displaying your photos at exhibitions, on walls, or even just for decorating your home. With this video tutorial, you'll learn how to make a lightbox using foam board and other materials.
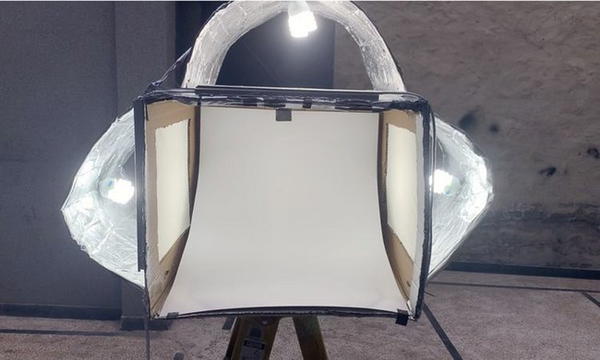
DIY Inexpensive Light Tent
DIY Inexpensive Light Tent is way easier to build and can be done with just a few easily available items. The light tent allows you to photograph models or other items that need a background without showing any details on the things behind them. The cost of making this light tent is really low and it only needs very less materials that can be purchased from almost any hardware shop. This tutorial will walk you through the entire process of making a DIY inexpensive light tent.
DIY Photography Light Box
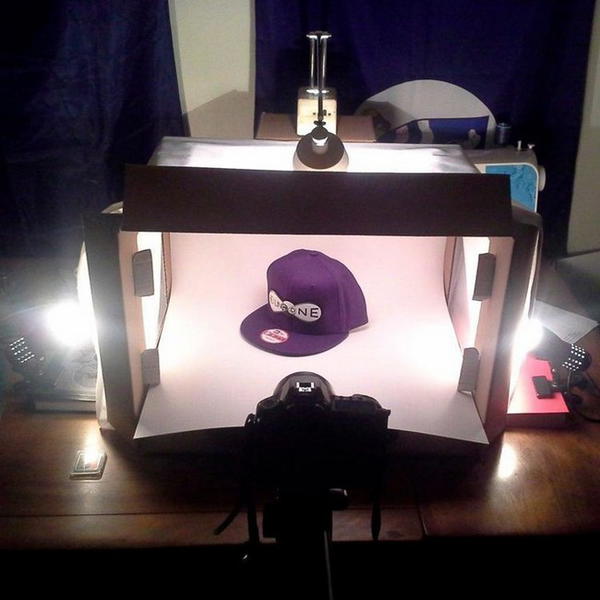
As a photographer, sometimes you'll want to take high-quality photos without having all the items that you need. This could be especially useful for people who like to travel. So with this DIY light box kit, you can create a portable photo studio, customized to your needs. The materials required for this DIY lightbox are Clip lights for the sides, flexible light for the top, hardback books, a tripod, a big box, and a little box. This guide provides detailed information on how to build your own light box.
DIY Light Box
This DIY lightbox is a simple, brilliant way to illuminate amateur photographs, product shots, or video screen captures. For example, if you are taking nighttime shots of a dancer en pointe in a dark studio, or photographing jewelry and want to show it off on your blog or store window. You can use LED lights or any other light source that would fit your needs. Just follow the simple tutorial guide to learn how to build this lightbox and solve your problem with poor lighting.
How To Make A Light Box At Home
Lightbox photography is a very popular method for designing models, for both amateur and professional photographers. It is commonly used to photograph paper-based products like invitations, greeting cards, brochures, and books. It is also used to shoot products for advertising, catalogs, and websites. The aim here is not just to talk about how to make a lightbox at home but to make it as simple as possible. You can go through this guide to learn more.
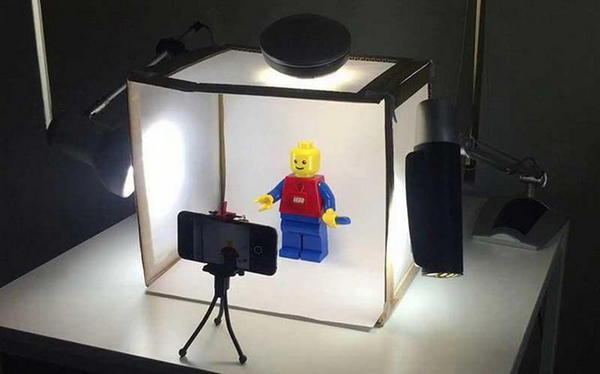
DIY Light Box For Photography
This DIY lightbox for photography allows you to take pictures without direct sunlight. This is very easy and fun to make. Yet this box is a must-have for every photographer and artist's tool collection. You can find many different lightboxes to buy online, but you can make inexpensive ones on your own using photo boxes and tissue paper, and they can be found at your home easily. The video guide takes you through each step in the process.
DIY LightBox
DIY lightbox is perfect for anyone who loves arts and crafts. It's so fun to create a light switch decoration as a holiday gift. It has no power cord and no harmful materials, so it's safe for kids. This is made from a cardboard box, aluminum foil, and glue. The lights are hand-cut, hot-melt glued to the black foam board, and positioned in the back. The video tutorials will walk you through simple steps to make this easy at home.
DIY Light Box Under $10
A DIY lightbox is a huge money saver if you are just starting out with product photography. The total cost for this lightbox is about $10 with minimum tools in less than an hour, it can be made at home and it is very simple. This video shows you every step in detail so even beginners can make a perfect lightbox with little difficulty and very cheap materials, which is great for taking product photos for your online shop. You'll need a few tools, some common supplies, and about an hour of your time.
20. How To Make A Cheap LightBox
Lightboxes are used for photography and art, however, they can be elaborate affairs that can run into the thousands of dollars. This design is simple and relatively cheap, using mostly household materials. In this video tutorial, you'll learn how to make a cheap lightbox for pictures e.g., 3D pictures, arts and crafts for kids or babies. You can easily make a lightbox in just 30-40 minutes with the help of this video. The best part is that it is quite affordable and requires very basic materials.
DIY Light Box
This DIY Light Box is good for beginners and fun to make, it can create an amazing lighting source that takes your photos to the next level. This is a very simple project and it is not limited to people who are photographers. It is great for scrap booking and any other kind of hobby where good lighting is important or even if you just want a nice accent light for your room!. It's great art and craft creation idea for family and friends.
Photography Light Box DIY
A lightbox is an essential tool that all photographers and graphic designers should have in their homes. DIY your own this for editing photos or tracing hand-drawn vector images, this essential tool will make your work a lot easier. This project is for beginner photographers. All you need is some materials, such as a cardboard box, white cloth, a magazine, pencil, and scissors. It’s a great alternative for professional photographers if you don’t have the budget for buying a professional lightbox. This lightbox will help eliminate shadows that you get when taking pictures with natural lights, which will help improve your photography skills.
DIY Portable Light Box
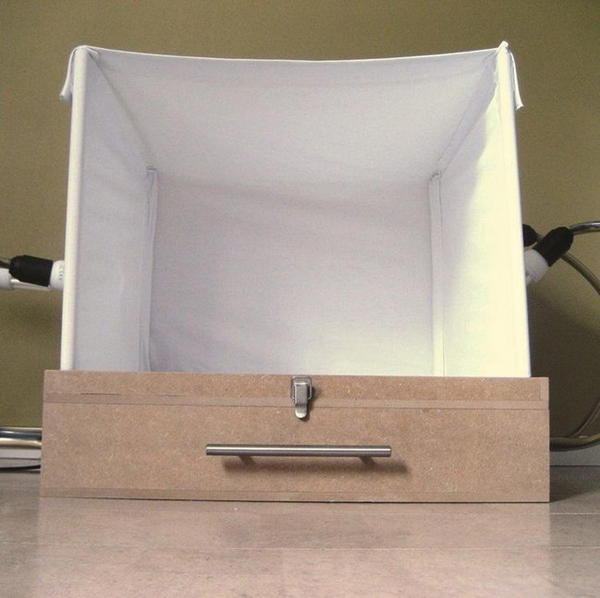
This portable lightbox is made from MDF sheets, drawer gliders, and electric cable. it can be made easily and even kids can help you to build this cool lightbox. There are plenty of options for creating this that fits in your drying room or bedroom. This is a great easy project to carry out at home - it won't take you more than one hour and will help you enjoy creating beautiful photos at home. This guide will give you step by step instructions to make it easy
How To Make A Light box At Home
A lightbox is a great way to take high-quality product photos at home. Making your own DIY lightbox will save you money, and is pretty straightforward. Everyone loves to take photos of their food, but sometimes your picture might turn out blurry or with a shadow on it. This is where the lightbox comes in handy. This is a place where you can place your dish for taking pictures without worrying about these problems. With this guide, you will be able to make a lightbox at home using just some basic materials and tools that are probably lying around your house.
Dollar Tree DIY Light Box
The Dollar Tree DIY LightBox is a great project for children and adults to work on together. It's also a fun project that your child can take with them. Before you rush out and spend money on a ready-made lightbox, consider the dollar store—they sell inexpensive acrylic sheets for about a buck each. This will allow you to build a lightbox for much less than the cost of a pre-made model. Learn how to make your own photo lightbox for product photography with this DIY tutorial!