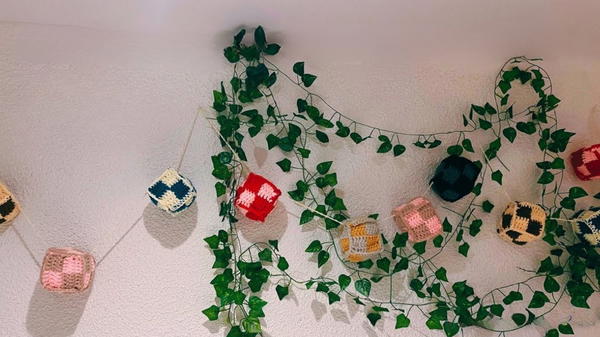
Celebrate joyful spaces with this Free Crochet Checkered Garland Pattern, featuring charming squares and a playful accent for home décor or parties.
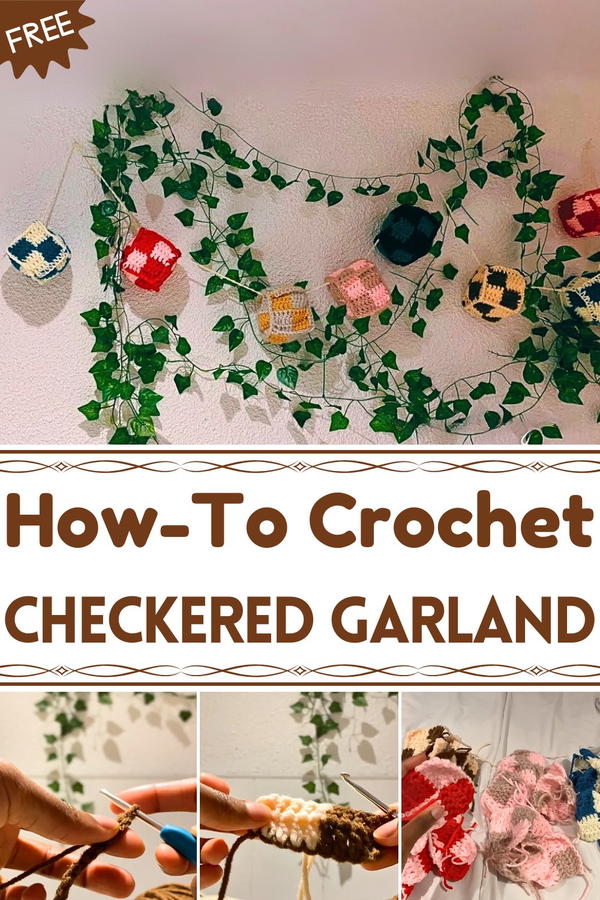
Lightweight and easy to drape, this garland adds personality and charm without overwhelming the space. The pattern allows makers to use small yarn scraps creatively, transforming them into a cheerful, reusable decoration. Suitable for beginners and experienced crafters alike, each square connects seamlessly to form a cohesive strand that feels polished and festive.
The Free Crochet Checkered Garland Pattern is versatile in color and length, letting you tailor it to suit seasonal themes, celebrations, or everyday décor. Beyond decoration, it brings the satisfaction of completing a project that is both quick and rewarding, providing a sense of accomplishment with every finished row. This garland adds a touch of joy and warmth to any environment, turning ordinary walls and spaces into lively, inviting areas filled with color, texture, and handmade charm that can be enjoyed year after year.
Step-by-Step Details
1. Materials Needed
- Yarn: Choose two complementary yarn colors (e.g., brown and peach). You can even use four different colors if desired.
- 4mm Crochet Hook: Slightly thicker hooks are recommended for a looser, not-too-tight look.
- Scissors: For cutting the yarn after finishing rows and squares.
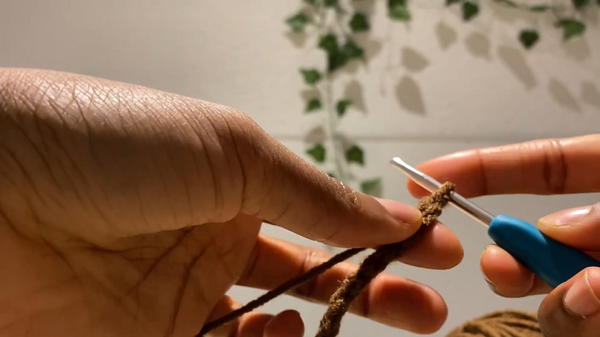
2. Creating the Crochet Squares
Start with a Slip Knot:
- Make a loop with your yarn and place it over the crochet hook.
Chain 10:
- Use your first yarn color to create a chain of 10 stitches for the foundation of your square.
- Use your first yarn color to create a chain of 10 stitches for the foundation of your square.
Double Crochet Stitches:
- Wrap the yarn around the hook, insert it into the appropriate chain, and complete a double crochet stitch.
- Continue double crocheting across the chain.
Switch Colors:
- After completing 5 double stitches with the first color, stop when you have two loops on the hook.
- Place the new yarn color at the back of your work and pull it through the two loops.
- Begin double crocheting with the new color.

Complete Rows Alternating Colors:
- Repeat the process for the desired number of rows, switching colors after every five stitches.
- Make sure the yarn from the previous color is brought to the back to avoid untidy edges.
3. Finalizing the Squares
- Cut off the yarn for each square after completing the rows.
- Use a knot to secure the end.
- For this project, six squares are required to form one cube, so repeat the process of making squares.

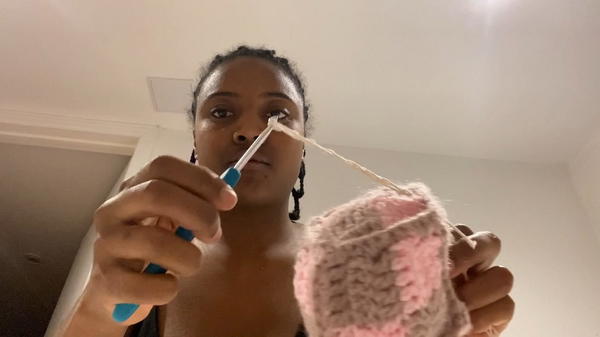
4. Attaching the Squares Together
Align the Squares:
- Place the squares with their "good sides" (the neat side) facing outward.
Join Using a Slip Stitch:
- Insert the hook between the stitches of two squares and pull the yarn through both.
- Continue slip stitching along the edges to attach squares together.

Assemble Into a Cube:
- Attach three squares in a row, then add the final three on the sides to form a cube structure.
- Leave one side open to insert stuffing if desired before closing it up.
5. Adding Hanging String
- Use a stronger thread, such as one purchased from Amazon, to create a chain.
- Crochet a long chain (about 200 stitches) and weave it through the assembled cubes, allowing the pieces to dangle or hang beautifully for display.
Special Features
- The tutorial teaches a checkered pattern design with two-tone colors, giving the squares a visually appealing effect.
- Flexible usage: The square-cube design can easily be used in wall hangings, decorative furniture accents, or custom gifts.
- Easily customizable based on personal color preferences.
Level of Difficulty
- This tutorial is beginner-friendly but offers some intermediate techniques such as color changes and slip stitches for joining.
- Moderate skill is ideal for managing neatness when switching colors.
Tutor's Suggestions
- Keep the yarn relatively loose when switching colors to maintain uniformity.
- Ensure that the unused yarn stays at the back of your work to avoid tangled or messy edges.
- Use yarn colors that complement each other for an eye-catching design.
Uses
- These cute squares and cubes can be used to make:
- Hanging decorations.
- Table centerpieces.
- Decorative garlands.
- Gift embellishments.
Materials
- Yarn: Two or more colors.
- 4mm crochet hook.
- Scissors.
- Optional: Stuffing (if filling the cubes) and stronger thread for making the hanging strings.
Tip
When weaving the hanging string through the cubes, use a crochet hook to pull it through efficiently. This makes the process faster and ensures the cubes are evenly spaced.
Conclusion
This crochet tutorial is perfect for anyone looking to make creative and customizable decorative pieces. By following the step-by-step instructions, you'll learn how to crochet neat squares, switch colors seamlessly, and transform them into a unique project.