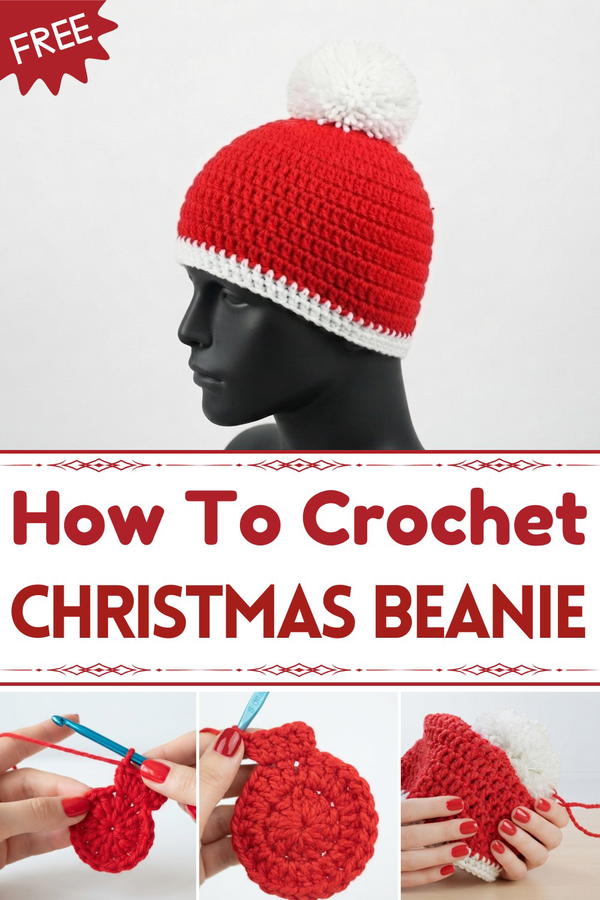
Keep warm and festive with this Free Crochet Christmas Beanie Pattern, offering an easy way to add holiday cheer and handmade charm to your winter wardrobe.
When the holiday season approaches, nothing beats the joy of wearing something handmade that captures festive cheer and keeps you warm. The Free Crochet CHRISTMAS BEANIE pattern is a delightful way to create a cozy, stylish hat perfect for celebrating winter in comfort and style.
Easy Crochet Holiday Beanie – Free Christmas Pattern
This crochet project produces a snug beanie with a classic shape that fits closely around the head, providing warmth while showcasing charming holiday-inspired details. The texture often features raised stitches or subtle patterns reminiscent of snowflakes or Christmas trees, giving the hat a festive flair without being overwhelming. It’s designed to be versatile, with sizes typically ranging from toddlers to adults, and it can be customized easily by playing with different yarn colors or adding playful accents like pom-poms or decorative trim.
The pattern is worked in continuous rounds starting at the crown, gradually shaping the hat and incorporating textured stitch patterns to add interest and depth. Choosing yarn with a soft, slightly elastic quality—such as a wool blend or acrylic—helps the stitches stand out beautifully while ensuring the beanie stays comfortable and warm. The inspiration behind this design is rooted in the cozy, joyful feeling of the holidays, aiming to wrap you in warmth while spreading festive vibes.
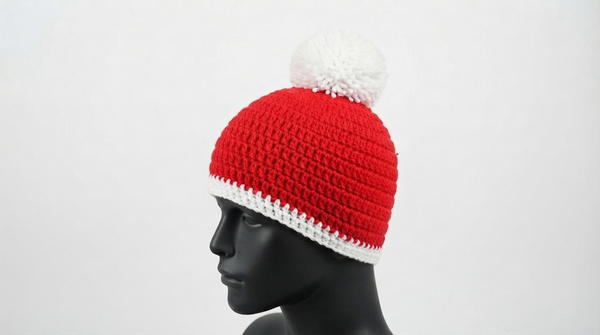
This Christmas beanie is a wonderful gift idea and a great project to whip up for yourself or loved ones during the chilly months. It invites creativity, too—try mixing bright reds and greens, adding sparkly yarn, or including unique trims to make each hat truly special and personal. This pattern is perfect for adding a handmade touch to your holiday wardrobe while having fun with your crochet hook.
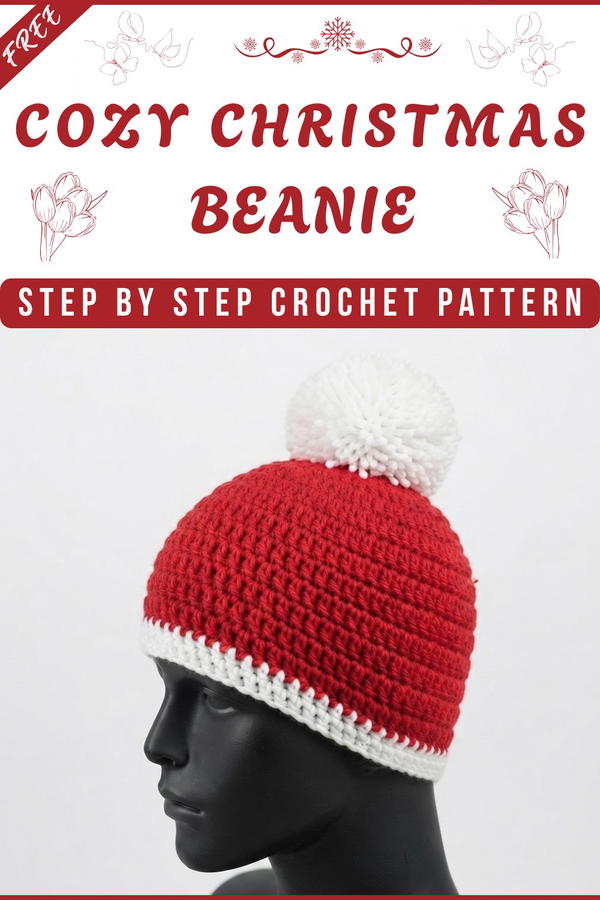
Easy Christmas Hat Crochet Pattern
Introduction
Ring in the holiday season with this easy, festive Christmas hat! This beginner-friendly pattern is constructed in the round, is worked in simple stitches, and finished with a fluffy pom-pom for classic charm. You can use any color combination and adjust the length for any season. Whether for gifts, festive photos, or cozy winter days, this hat is the perfect project for crochet enthusiasts of all levels.
Skill Level & Terminology
- Skill Level: Beginner
- Terminology: US crochet terms
Materials & Tools
- Yarn:
- Red aran-weight yarn (or any color)
- White aran-weight yarn (or color of your choice)
- Decor:
- Pom-pom (store-bought or handmade)
- Hook:
- 5 mm crochet hook
- Notions:
- Tapestry needle
- Scissors
Customize your hat by picking any yarn color! White trim and pom-poms make the hat classic, but feel free to switch it up for year-round wear.
Gauge
Gauge helps ensure your hat fits as expected.
- Gauge Swatch:
- Work in double crochet rounds.
- 12 double crochets = 2.5"
- 6 rounds = 3"
- Adjust hook size if necessary to match gauge.
Abbreviations
- ch = chain
- sl st = slip stitch
- dc = double crochet
- inc = increase (2 dc in same st)
- st(s) = stitch(es)
Special Stitch Instructions
Magic Ring:
Create a loop, insert hook, pull up a loop, ch 1, and begin working stitches into ring.
Increase (inc):
Work 2 double crochets into the same stitch to expand the circle.
Joining the Round:
Slip stitch to top of chain-3 to join rounds.
Finished Size
- Hat circumference: Approx. 20–22”
- Hat height: Approx. 8–10”
- Fits most teens and adults. Adjust rounds for smaller/larger sizes!
How to Start & Stitches Used
How to Start: Begin with a magic ring, work in rounds of double crochet, and build outwards to fit the head. Edge with contrasting yarn and finish with a pom-pom.
Stitches Used:
- Double Crochet (dc)
- Increase (inc, 2 dc in one stitch)
- Slip Stitch (sl st)
- Chain (ch)
- Magic Ring
The Pattern
Part 1: Hat Body (Red Yarn)
Step 1: Foundation
- Leave a 10" yarn tail and create a magic ring.
- Chain 3 (counts as first dc).
Round 1:
- 11 dc into ring (12 dc total when including chain-3).
- Pull tail to close ring tight.
- Slip stitch into top of chain-3 to join.
Start by making a small loop called a magic ring, then work 12 double crochets into the ring. Pull the tail to close the circle; this forms the top of your hat.
Step 2: Increasing Rounds
Round 2:
- Ch 3 (counts as dc).
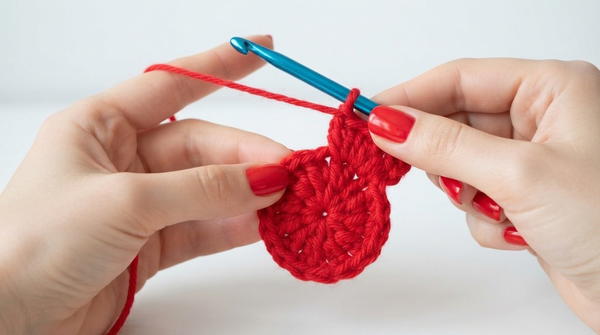
- Inc in every stitch: 2 dc in each dc around.
- Join with sl st.
- (24 dc)
Round 3:
- Ch 3.
- Inc (2 dc in same st), 1 dc in next st; repeat around.
- Join with sl st.
- (36 dc)
Round 4:
- Ch 3.
- Inc, 1 dc in next 2 sts; repeat around.
- Join with sl st.
- (48 dc)
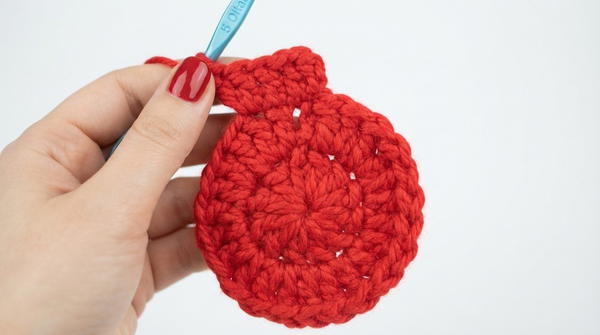
Round 5:
- Ch 3.
- Inc, 1 dc in next 3 sts; repeat around.
- Join with sl st.
- (60 dc)
Note: Stop increasing if you have reached your desired width. For a snug hat, measure to fit the person’s head.
After starting the circle, you’ll make the hat bigger by working two double crochets in one stitch, then one double crochet in the next, repeating this pattern and adding more stitches each round. This makes the hat grow in size.
Step 3: Lengthening the Body
Rounds 6–13:
- Ch 2 (does NOT count as dc),
- Dc in every stitch around.
- Join with sl st at end.
- Repeat for 8 rounds (or until hat reaches desired length).
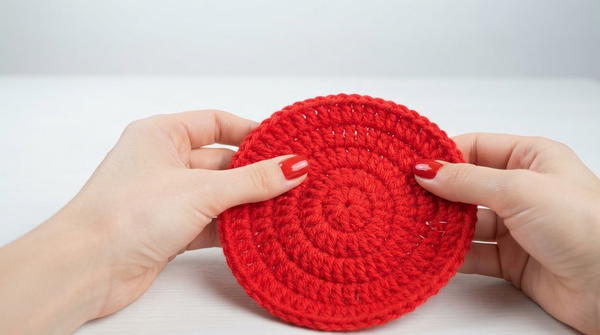
Work one double crochet into every stitch, going round and round, until your hat is tall enough (usually 8–10 inches).
Part 2: Cuff/Edging (White Yarn)
Step 4: Adding the Trim
- Attach white yarn at end of last round.
- Ch 2.
- Dc in same stitch.
- Dc in every stitch around.
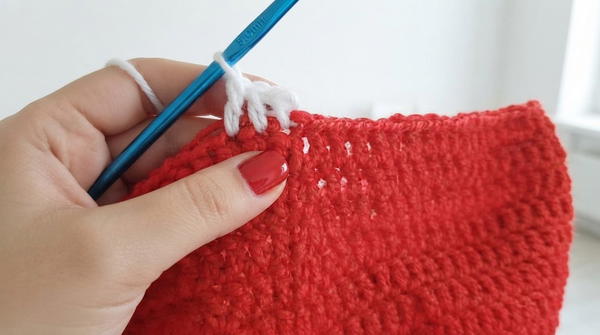
- Join with sl st.
- Repeat for 2 rounds.
- Fasten off and weave in ends.
Join your white yarn and crochet double crochets in every stitch to make a thick white band at the bottom of your hat. Repeat for two rounds.
Part 3: Pom-Pom & Finishing
Step 5: Attaching Pom-Pom
- Take your pom-pom and, using the yarn tail or a tapestry needle, sew it securely to the top center of the hat.
- Weave in any remaining loose ends for a tidy finish.
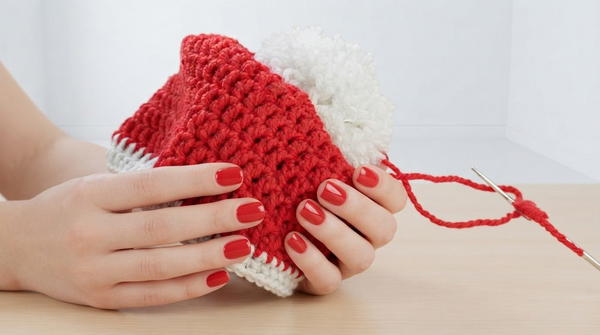
Sew a fluffy pom-pom to the very top of your hat with a needle and leftover yarn. Hide all the loose ends inside the hat.
Assembly & Finishing
- Shape hat, making sure bands and pom-pom are well attached.
- Add extra decorations if desired (buttons, appliques, or embroidery).
- Try on the hat! For a slouchy look, make the hat taller; for a beanie fit, make it shorter.
Once your hat is complete, try it on to ensure a nice fit. Add any decorations you like and enjoy your festive new accessory!
Tips for Customization
- Adjust size by increasing or decreasing the number of rounds and stitches.
- Use different yarn weights or colors for year-round hats.
- Add more embellishments: use sparkly yarn, sew on tiny bells, or crochet appliques.
- For a child-size hat, stop increases earlier and reduce rounds for height.
Finished Project & Care
- To wash: Hand wash with gentle soap, reshape, and lay flat to dry.
- Hat is soft, stretchy, and festive—ideal for gifting or keeping cozy.