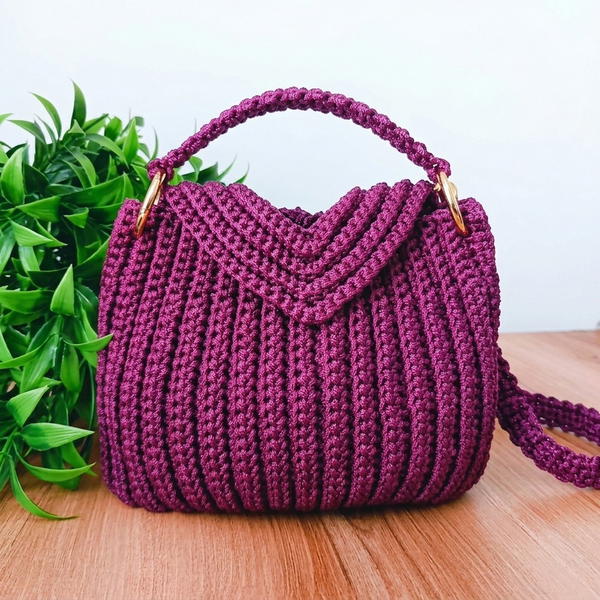
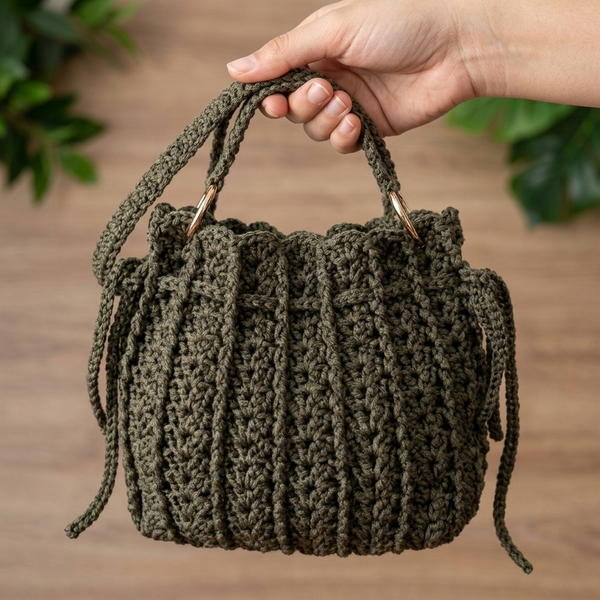
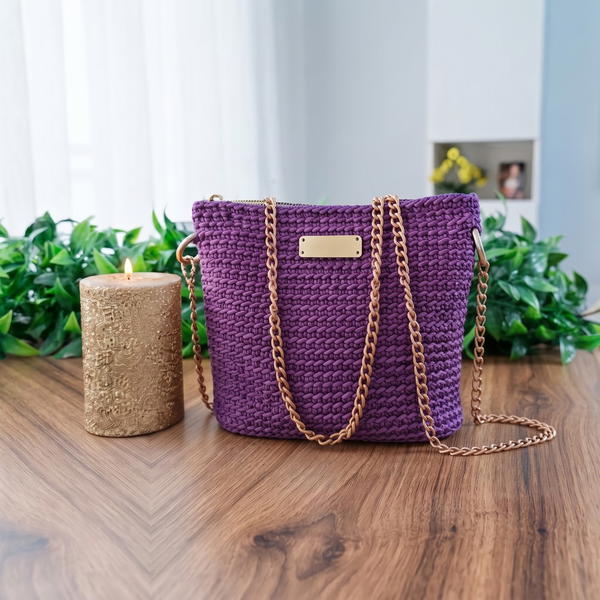
Add fun and function to your wardrobe with our free crochet checkered bag pattern designed for all skill levels and quick, satisfying results.
A stylish, functional bag can enhance your daily activities while adding a personal touch to your outfit. This checkered bag pattern, demonstrated in detail by Gülşah Özcan Filiz on her YouTube channel, is as practical as it is beautiful. Her step-by-step tutorial ensures that even a beginner can successfully make this striking bag with ease. You’ll end up with a durable and fashionable accessory that’s perfect for carrying essentials in style.
Crochet Checkered Bag – Free Pattern & Beginner Tutorial
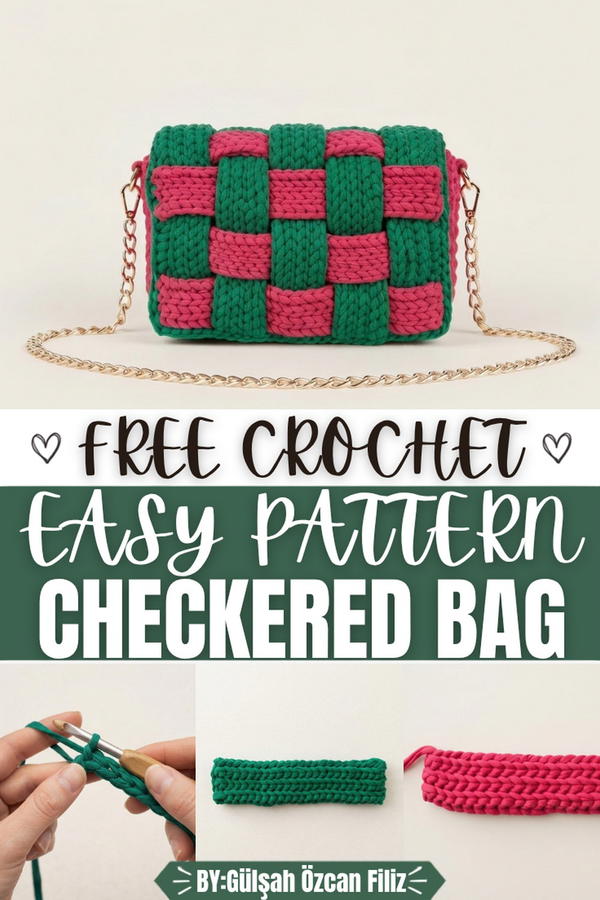
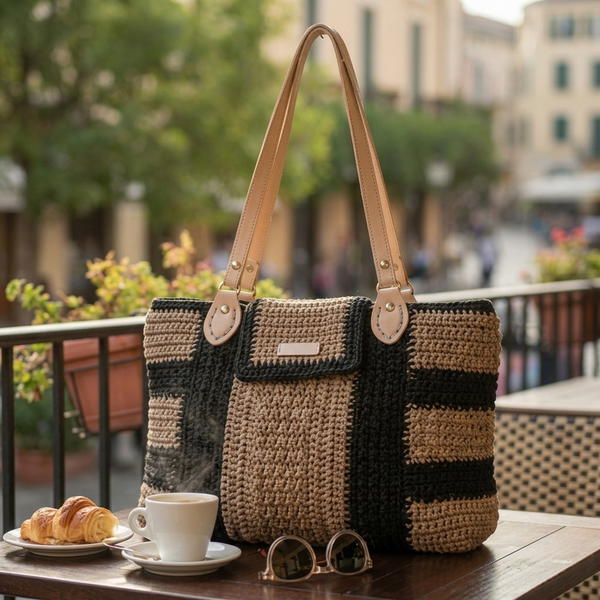
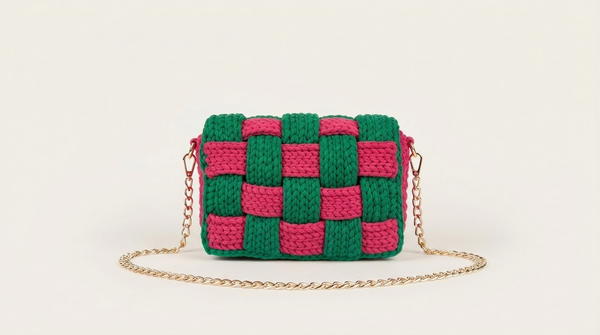
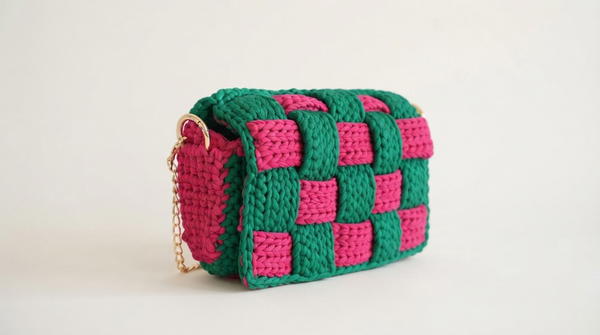
The design’s standout feature is its bold checkered pattern, achieved by weaving strips of yarn in contrasting colors. The bag is constructed using cotton yarn, though you can use any yarn of your choice to add your own flair. The rectangular shape is spacious yet compact, making it versatile for shopping, outings, or just everyday use. Unlike standard bags, this one doesn’t require a lining since the pattern’s weave naturally creates a dense, tight structure.
The addition of decorative elements, like snap fasteners or metal chains for handles, elevates the overall look, giving it a modern and chic vibe. What makes this pattern exceptional is its straightforward approach. The process involves knitting strips individually, which are then seamlessly joined together to form the checkered design.
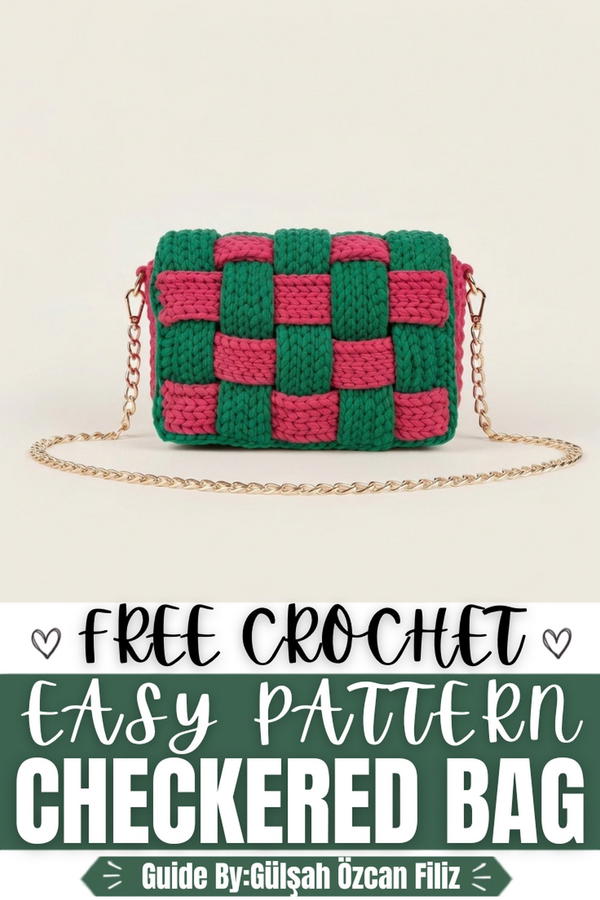
Checkerboard-Style Handbag Crochet Pattern
This checkerboard-style handbag is a fashionable and practical design that creatively combines t-shirt yarn (penye ip) and an easy-to-follow weaving technique. Featuring a unique checkerboard pattern, this bag provides crochet enthusiasts with a fun and rewarding project. The final product is a sturdy, stylish bag with a woven texture that can be customized in various colors. Perfect as a functional accessory or a handmade gift.
Skill Level:
Intermediate
This pattern assumes that the crocheter is comfortable working with t-shirt yarn, using slip stitches for texture, and following a structured pattern.
Materials:
- Yarn: T-shirt yarn (penye ip) in two contrasting colors.
- 6mm Crochet Hook: For creating the strips.
- 4mm Crochet Hook: For detailed joining and assembly work.
- Optional Hardware: Snap button closures, rings, or a chain strap.
- Additional Tools: Scissors, measuring tape, and stitch markers.
Special Stitches:
- Slip Stitch: Insert hook into designated stitch, yarn over, and pull through both loops on the hook.
- Single Crochet: Insert hook into designated stitch, yarn over, pull up a loop, yarn over, and pull through both loops on the hook.
Stitch Abbreviations:
- CH: Chain
- SL ST: Slip Stitch
- SC: Single Crochet
- ST: Stitch
- BLO: Back Loop Only
Useful Tips:
- Keep consistent tension: T-shirt yarn tends to stretch, so maintain steady tension for a refined finish.
- Organize the strips: Lay out the strips before joining to ensure the checkerboard pattern aligns properly.
- Use stitch markers: This helps keep track of alignment during assembly.
- Secure loose ends: Weave in ends thoroughly to prevent unraveling with use.
Pattern Instructions
Creating the Strips
This pattern uses strips that are woven together to create the body of the bag.
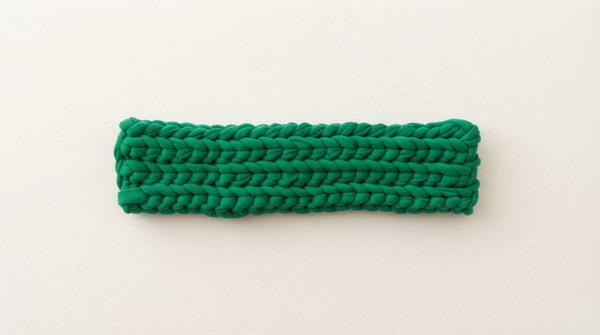
1. Strips in Color 1 (5 pieces)
- Use the 6mm hook.
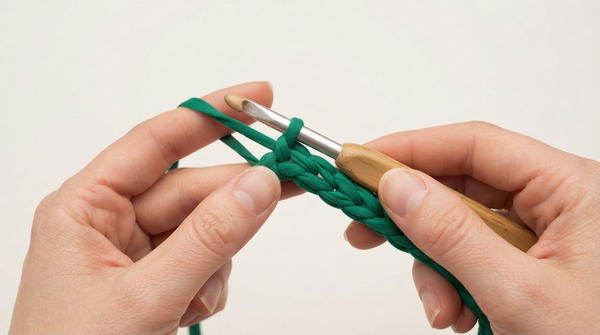
- Turn, skip the first CH, and work SL ST into the back bump of each chain across for a total of 23 SL STs.
- CH 1, turn, and work SL ST into the BLO of each stitch across.
- Repeat for a total of 6 rows.
- Fasten off and weave in the ends.
- Create 5 strips in this color.
2. Strips in Color 2 (4 pieces)
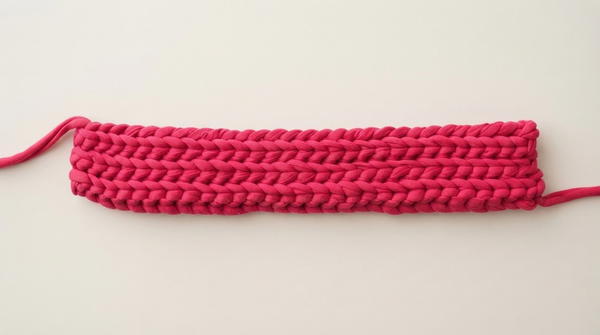
- Use the 6mm hook.
- CH 30 with loose tension.
- Turn, skip the first CH, and work SL ST into the back bump of each chain across for a total of 29 SL STs.
- CH 1, turn, and work SL ST into the BLO of each stitch across.
- Repeat for a total of 6 rows.
- Fasten off and weave in the ends.
- Create 4 strips in this color.
Joining the Strips
Switch to the 4mm hook for assembly.
1. Layout for Weaving
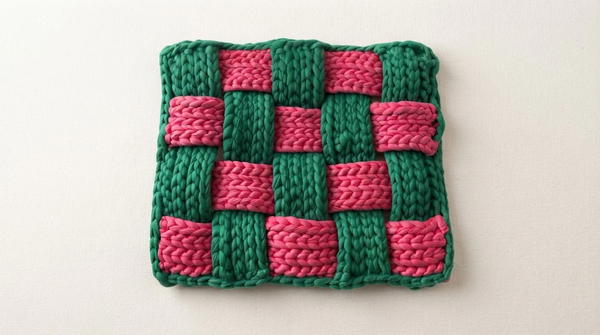
- Arrange the strips in an alternating checkerboard pattern with Color 1 strips laid horizontally (5 pieces) and Color 2 strips laid vertically (4 pieces).
2. Weaving the Strips
- Begin joining the strips by working 5 SL STs at every intersection point where the strips cross each other.
- Alternate between going “over” and “under” when weaving to create the checkerboard texture.
3. Edge Adjustments
- At the edges of the strips, skip one ST when transitioning to the next intersection point to maintain the proper tension and alignment.
4. Final Connection
- Once all strips are connected, join the sides and base by stitching the edges together with SC stitches to shape the structure of the bag.
Creating the Main Body
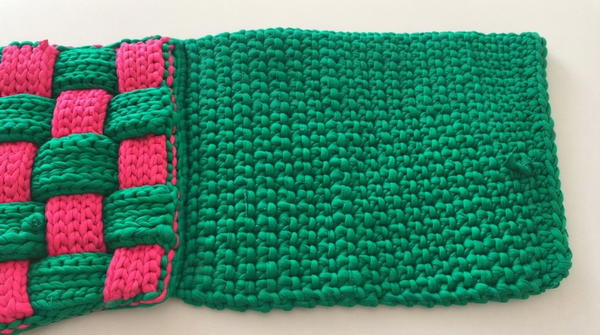
Attach yarn to the bottom corner of the checkerboard piece for this section.
1. Shaping the Base
- Using a 4mm hook, work 6 SC, followed by a decrease (skipping one ST), to shape the base.
- Repeat this decrease pattern across each row of the base.
2. Adding Height
- Switch to the 6mm hook.
- Work 2 rows of SCs across without increasing or decreasing.
3. Textured Rows
- For added texture, work into the front loop of the next stitch and the stitch below it simultaneously for the next 24 rows.
Creating the Side Pieces
This step creates structural side panels for the bag.
- CH 6 and use the 4mm hook.
- Skip the first CH and work 5 SCs into the remaining chains.
- Turn and continue building rows, attaching hardware such as bag rings into the stitches as you work.
- Complete 9 rows for each side piece.
Assembly and Sizing
1. Side and Top Assembly
- Use stitch markers to align the side panels with the main body of the bag.
- Join the 5 SCs of the side panel to the main body using the 4mm hook with SL STs or SCs for a secure and seamless connection.
2. Weaving in Ends
- Finish by weaving in all loose ends securely on the inside of the bag.
3. Optional Additions
- Attach snap buttons or magnetic closures to secure the opening of the bag. Add a chain strap if desired for a polished, functional finish.
4. Final Size
- The resulting bag measures approximately 22.5 cm in width by 19.5 cm in height.
Conclusion
This checkerboard-style handbag combines a unique woven design with practical construction. The use of t-shirt yarn makes it sturdy and eco-friendly, while the checkerboard texture adds aesthetic appeal. With its thoughtful structure and optional hardware additions, this bag is both functional and visually appealing, offering a rewarding project for intermediate crocheters.