Protect your surfaces with this free crochet biscuit-shaped tea coaster guide that adds charm and practicality to your home while staying stylish.
Looking for a charming and simple crochet project? The Free Biscuit-Shaped Tea Coaster Pattern is perfect for anyone wanting to make something both lovely and useful. This cozy little coaster looks just like a biscuit, adding a sweet touch to your table and protecting it from warm cups and spills.
Fun Free Crochet Biscuit-Shaped Tea Coaster Pattern for Tea Lovers
You can create these coasters in any color you like. Bright shades, soft pastels, or even a mix of colors can make each biscuit unique and fun. Plus, the pattern is easy to customize in size, so you can make mini coasters for small cups or larger ones for big mugs.
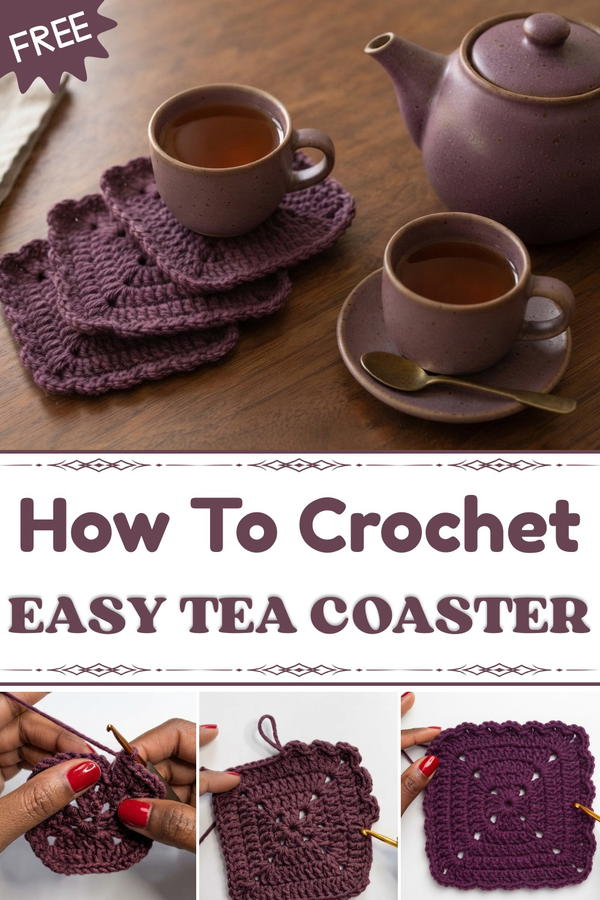
The biscuit shape is round with a slightly textured edge, creating a playful and inviting look. Its compact size is just right for resting your tea or coffee cup without taking up much space. Not only do these coasters add beauty to your home, but they also help keep your furniture safe from marks and water rings.
These handmade biscuits don’t just have to be coasters, they can inspire other creative ideas! Try making placemats, hot pads, or decorative pieces using this pattern as a base. They also make thoughtful gifts, bringing a personal and cozy vibe to friends and family.
Creating the biscuit-shaped coasters is a delightful way to enjoy your crafting time while making something practical and eye-catching. Perfect for beginners and experienced makers, this project brightens tea time with a handmade touch everyone will love.
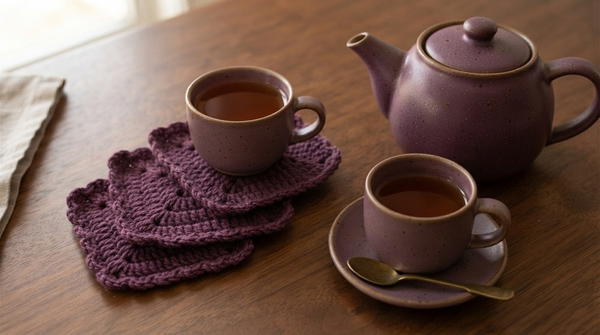
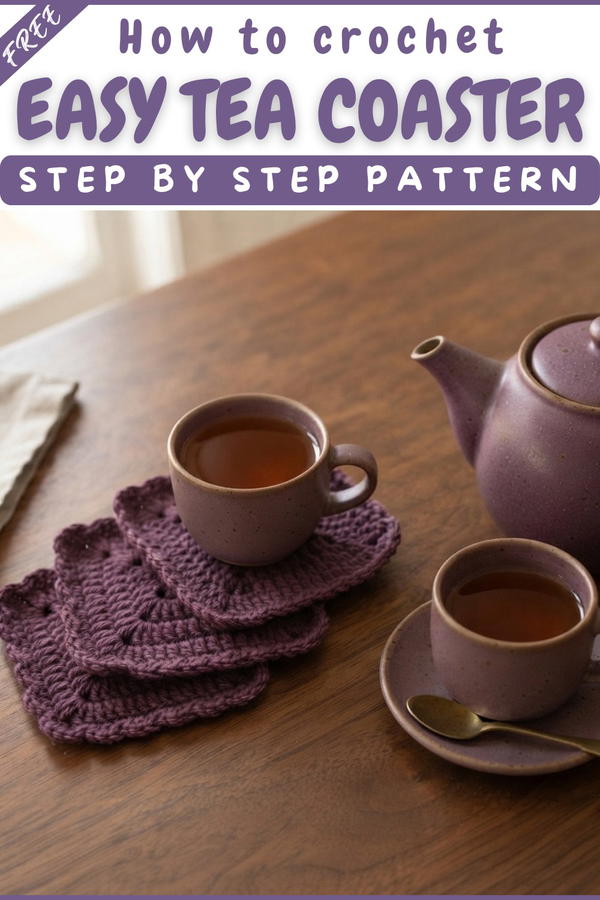
Biscuit-Shaped Crochet Square Coaster
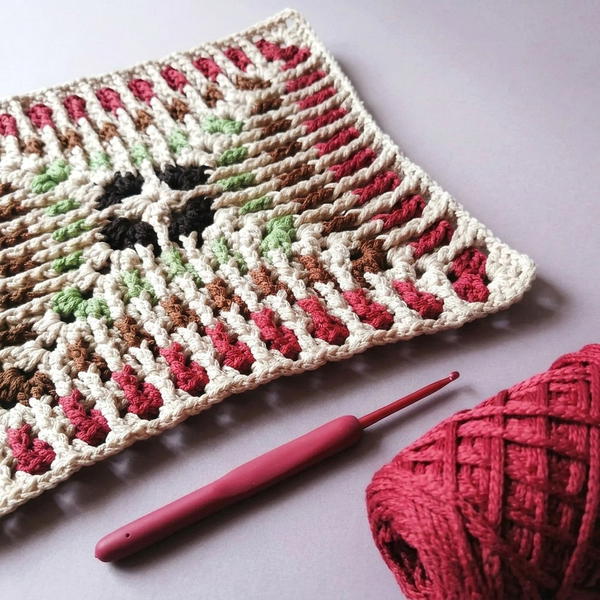
If you adore both biscuits and handmade home décor, this biscuit-shaped square coaster is a sweet treat for your crochet hook! This project is a charming way to blend practical crafting with whimsical style. Inspired by classic tea-time biscuits, this coaster uses simple squares, soft textured “biscuit” edges, and a gentle, neutral color palette. It’s decorative enough for guests, sturdy for everyday tables, and a wonderful handmade gift.
This pattern guides you—round by round—through building a classic granny square base, growing it to coaster size, then transforming the simple square with a textured border that mimics a real biscuit’s scalloped rim. It’s an accessible and enjoyable project for confident beginners or those wanting to add fun details to their crochet repertoire!
Pattern Basic Points
Construction Overview
- Magic ring granny square: Foundation worked in the round for a seamless square.
- Progressive square rounds: Repeating corners and sides for a neat, flat shape.
- Decorative biscuit edge: Crocheted semi-circle “bumps” add playful texture.
- Simple finishing: Ends neatly woven for a tidy, sturdy coaster.
Project Highlights
- No sewing (other than weaving in ends): Worked entirely in one piece, ideal for minimal finishing.
- Customizable: Adjust colors, yarn weight, or add embroidery for a personalized look.
- Sturdy and practical: The square shape sits beautifully under cups or small plates.
Special Notes
- Choose a smooth, medium-weight yarn in a beige, tan, or biscuit shade for best effect.
- Maintain consistent stitch counts on each side to keep the coaster flat.
- Semi-circle border: Skipping stitches is essential to keeping the “biscuit” effect even and preventing ruffling.
- Block your coaster for extra neatness.
- Pattern uses US terminology.
Skill Level
Confident Beginner
Familiarity with magic ring, chain, double crochet, slip stitch, and working in the round is helpful.
Materials
- Yarn: Worsted weight, a light brown (biscuit) color. Cotton is ideal for absorbency and stability.
- Hook: 5mm crochet hook
- Scissors
- Tapestry needle (for finishing)
Measurements / Sizing
- Approximate finished size:
- 4–4.5 inches (10–12 cm) square.
- Each round adds uniform width for a sturdy coaster.
- Size can easily be adjusted by adding/removing rounds.
Gauge
- Gauge is not critical for this pattern.
- Sample gauge (for reference): 4 rounds = approx. 4 inches square
Stitch Abbreviations
- ch: chain
- sl st: slip stitch
- dc: double crochet
- MR: magic ring
- st(s): stitch(es)
- sp: space
Special Stitches
- Magic Ring (MR): Begin working stitches into an adjustable ring for a closed center.
- Corner Set: (2 dc, 2 ch, 2 dc) in corner space
- Biscuit Bump (Semi-circle): Skipping 1 stitch, work 3 dc in next stitch, skip 1 st, sl st in next st.
The Pattern
Magic Ring & Base (Round 1)
- Create a magic ring (MR).
- (Ch 3 (counts as dc), 1 dc, ch 2, 2 dc, ch 2) inside MR.
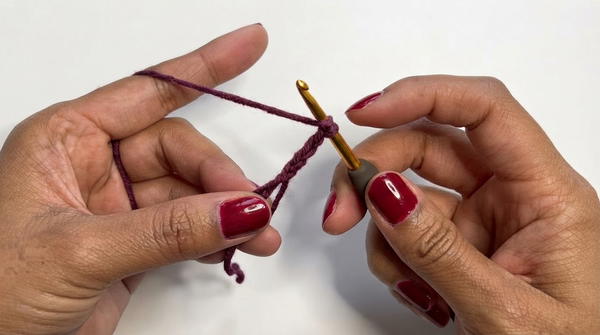
- Repeat (2 dc, ch 2) until you have 4 groups of 2 dc, each separated by ch-2 corners.
- Pull the ring tight.
- Join to top of first ch-3 with a sl st.
- (You should have 4 cluster “corners,” each with 2 dc separated by ch 2.)
Round 2
- Ch 3 (counts as dc), 1 dc in the next dc.
- (In corner ch-2 sp: 2 dc, ch 2, 2 dc) — this forms your new corner.
- Dc in each dc along the side to next corner.
- Repeat corner and side sequence until you return to start (4 corners).
- Join with sl st to the top of beginning ch-3.
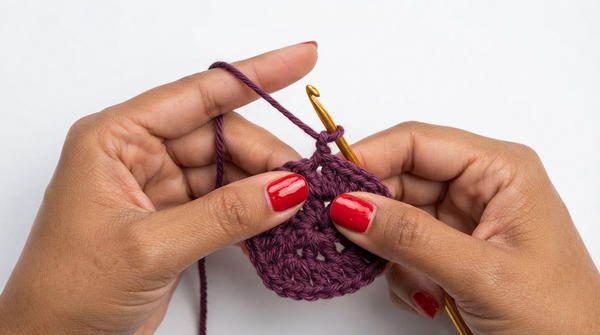
Round 3
- Ch 3, dc in each dc to next corner.
- In each corner ch-2 sp, (2 dc, ch 2, 2 dc).
- Keep working dc across all dc on the sides.
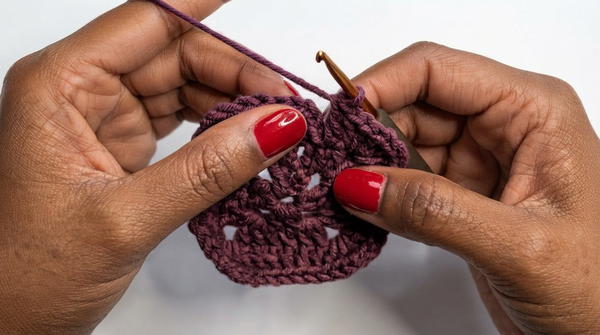
- Repeat for all sides, joining with a sl st at the end.
Round 4 (Final Full Round)
- As in previous rounds:
- Ch 3, dc in each dc until corner.
- In every corner ch-2 sp, work (2 dc, ch 2, 2 dc).
- Work dc along all sides to the next corner.
- Repeat for all four sides, join with sl st at end.
- Your square is now coaster size; move to decorative edge.
Border / Decorative Edge
- Ch 1.
- To create the biscuit look:
- Skip 1 st, in next st work 3 dc (all in the same stitch).
- Skip 1 st, sl st in next st.
- Repeat: [skip 1 st, 3 dc in next st, skip 1 st, sl st in next st] around all four sides and across corners.
- Try to align the clusters at corners for even spacing.
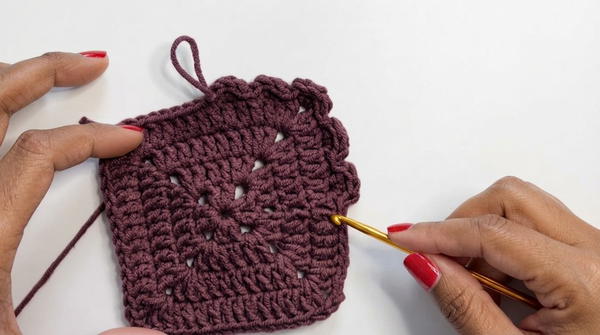
- Continue this pattern around the entire edge.
- Join with a sl st to first st and fasten off.
Finishing
- Cut yarn, pull through last stitch.
- Weave in all ends securely with a tapestry needle.
- Block your coaster flat if desired.
Assembly & Finished Size
- No assembly required: Worked flat in the round.
- Finished size: Approx. 4–4.5” square, with a scalloped biscuit edge.
- Firm, smooth, and practical for daily use.
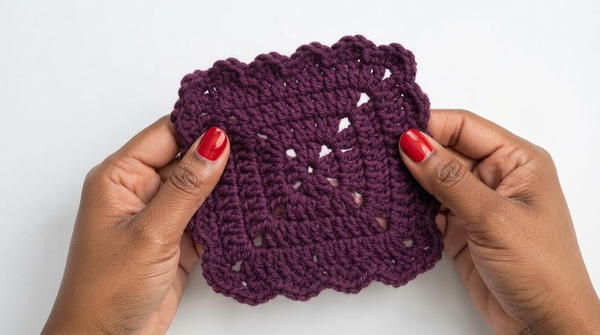
Conclusion
Your biscuit-shaped crochet square coaster is ready to take pride of place in your home, tea set, or as a handmade gift. This pattern blends the satisfaction of basic granny square technique with a charming twist—fun for beginners wanting to expand their skills or seasoned crocheters after a quick, delightful make. The scalloped edge truly sets off the “biscuit” style, making these coasters a conversation starter.