Add festive cheer to your holiday creations with this Free Crochet REINDEER NOSE Pattern, offering easy-to-follow instructions for quick seasonal decor.
A cozy and festive crochet project can instantly brighten up your holiday creations. The Free Crochet REINDEER NOSE pattern offers a playful and charming accessory inspired by a classic seasonal symbol. Designed with a smooth, rounded shape and a soft texture, this piece works wonderfully as an embellishment for hats, scarves, or gift tags, making it both practical and delightful.
Free Crochet REINDEER NOSE Pattern to Make For Kids
Using medium-weight yarn, this pattern relies on basic stitches like single crochet along with strategic increases and decreases to create a well-defined shape. Its standout feature is the versatility, allowing you to customize the size to suit various purposes—from small decorations to larger wearable accents. This makes it suitable for beginners eager to try their hand at shaping crochet pieces, as well as experienced makers looking for a quick and rewarding project.
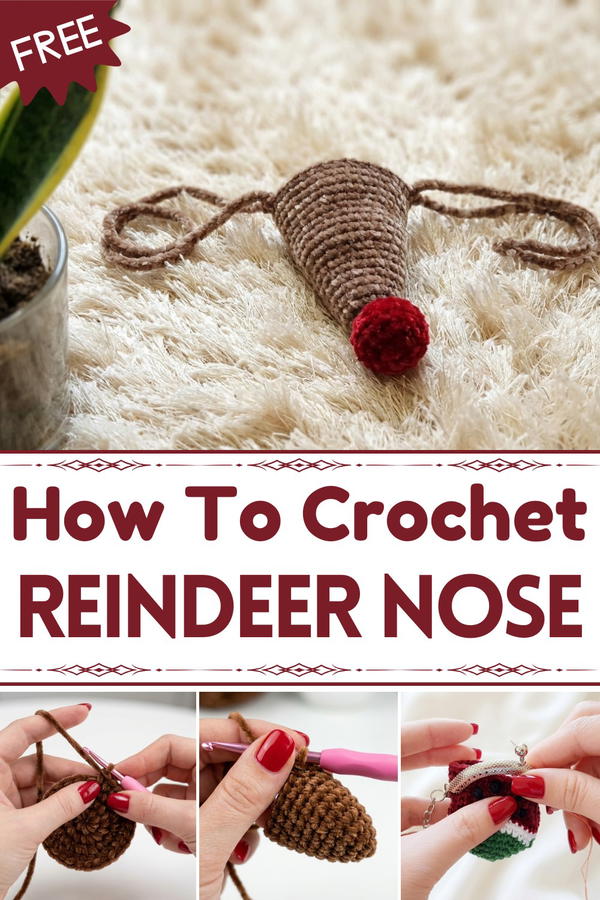
Inspired by festive traditions, the design aims to spread warmth and creativity during the holiday season. Choosing yarn that is soft with a bit of elasticity complements the stitch texture, ensuring the finished item feels plush yet holds its form well.
Perfect for adding a personal touch to holiday décor or for handmade gifts, this pattern invites you to experiment with colors and embellishments. It’s a great way to celebrate the season while putting your own creative spin on a timeless motif.
Quick Overview of Pattern
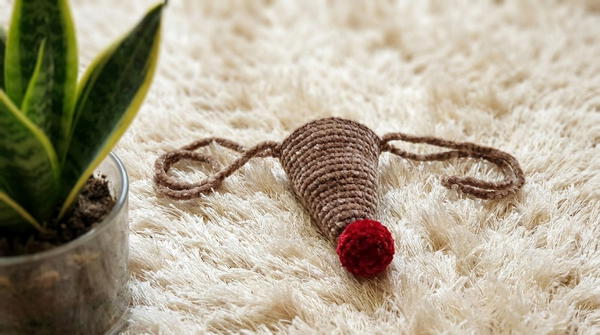
- Crochet a round nose base using single crochet in continuous rounds
- Add two long chain straps to tie around the head
- Attach a red pom-pom as the nose tip
- Fun, quick, and perfect for Christmas events!
Materials
- Brown acrylic yarn (or cotton, any worsted or DK-weight yarn)
- Red pom-pom (for the nose)
- 3 mm crochet hook
- Scissors
- Hot glue (or needle and thread) for pom-pom
- Stitch marker (optional)
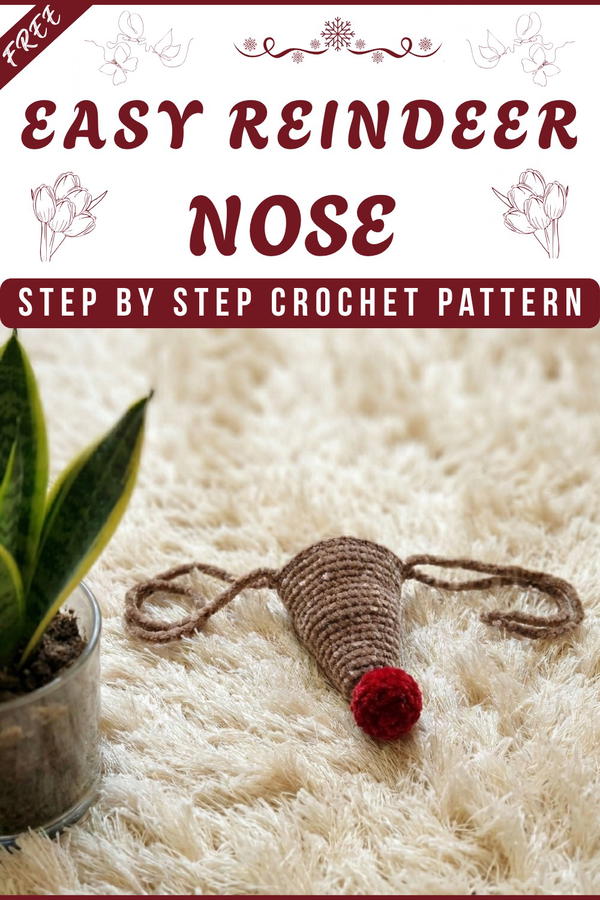
Crochet Reindeer Nose for Kids – Step-by-Step Pattern
Notes
- Pattern is adjustable; add/remove rounds or chains for different sizes
- Work in a spiral, use a stitch marker if needed
- Recommended to glue or sew pom-pom securely, especially for children
Skill Level
Beginner—If you know single crochet and working in rounds, you can make this!
Measurements / Sizing
- Finished nose: 4–5 cm (1.5–2 inches) diameter
- Each chain strap: approx. 35 cm (14 inches) long when using 70 chains
- Easily adjusted for different ages
Gauge (and Stitch Pattern)
- Gauge is not critical—match the hook and yarn
- Stitch pattern: single crochet (sc) in rounds
Stitch Abbreviations
- mr – magic ring
- sc – single crochet
- inc – increase (2 sc in same stitch)
- ch – chain
- sl st – slip stitch
- st – stitch
Special Stitches
- Magic Ring: Form a loop, crochet into the ring as directed, pull tight to close.
- Increase: 2 sc in same stitch.
Crocheting festive accessories like this reindeer nose adds an extra layer of fun and excitement to holiday celebrations. This project is especially perfect for kids who want to play the part of Rudolph at Christmas parties, themed events, or family gatherings. The steps are accessible for all skill levels, making it an enjoyable way to prepare for December festivities. With just yarn, a hook, and a few easy-to-find materials, you can create a playful and memorable holiday accent.
The Crochet Pattern – Step by Step
Nose
- Round 1:
- Make a magic ring.
- Ch 1 (does not count as a stitch).
- Work 6 sc inside the ring. (6 sts)
- Pull tail to close.
- Round 2:
- 2 sc in each st around (increase in every st). (12 sts)
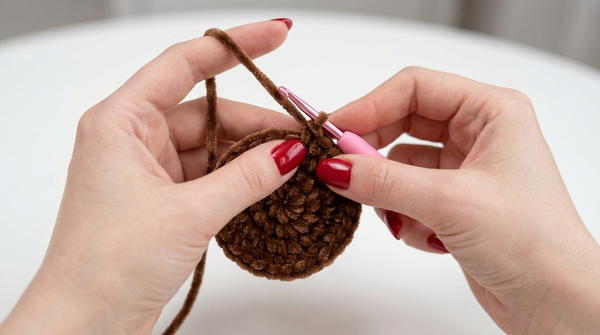
- 2 sc in each st around (increase in every st). (12 sts)
- Round 3:
- 1 sc in each st around. (12 sts)
- Round 4:
- 1 sc in each st around. (12 sts)
- Round 5:
- [1 sc in next st, inc in next st] repeat around. (18 sts)
- Round 6:
- 1 sc in each st around. (18 sts)
- Round 7:
- 1 sc in each st around. (18 sts)
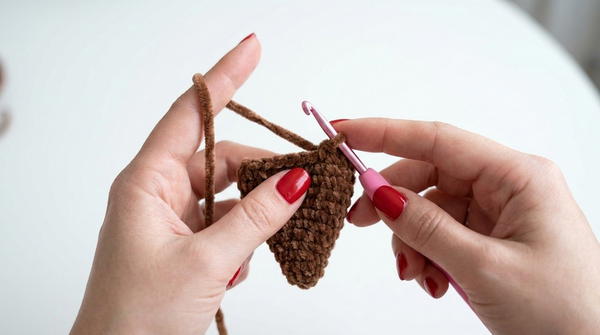
- 1 sc in each st around. (18 sts)
- Round 8:
- 1 sc in each st around. (18 sts)
- Round 9:
- [1 sc in each of next 2 sts, inc in next st] repeat around. (24 sts)
- Round 10:
- 1 sc in each st around. (24 sts)
- Round 11:
- 1 sc in each st around. (24 sts)
- Round 12:
- 1 sc in each st around. (24 sts)
- Round 13:
- 1 sc in each st around. (24 sts)
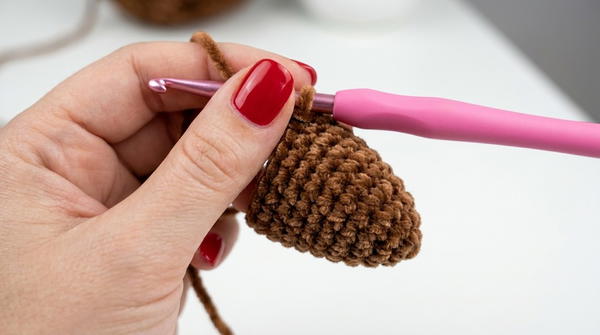
- 1 sc in each st around. (24 sts)
- Round 14:
- [1 sc in next 3 sts, inc in next st] repeat around. (30 sts)
As you move through the pattern, notice how the simple increases and rounds gradually build the soft, dimensional shape of the nose. Continuous rounds provide seamless structure, ensuring the piece looks tidy and uniform from every angle. Adding the long chains for straps not only makes the nose functional but also adjustable, so it can comfortably fit children of various ages. These thoughtful details guarantee both comfort and practicality in the finished item.
- Round 15:
- 1 sc in each st around. (30 sts)
- Round 16:
- 1 sc in each st around. (30 sts)
- Round 17:
- 1 sc in each st around. (30 sts)
- Round 18:
- 1 sc in each st around. (30 sts)
- Round 19:
- 1 sc in each st around. (30 sts)
Strap 1
- Chain 70 straight from the last stitch of Round 19.
- Slip stitch into same st, ch 1, fasten off.
Strap 2
- Fold nose in half to locate stitch directly opposite Strap 1.
- Attach yarn, chain 70.
- Slip stitch back to starting point, ch 1, fasten off.
Pom-Pom
- Attach the red pom-pom to the center of the nose using hot glue or sew in place.
- Let glue dry fully before use.
Finishing up, securing the vibrant red pom-pom brings the project to life, transforming it from a simple ball of yarn into a recognizable holiday symbol. Take a moment to weave in all ends and reinforce the straps for lasting durability. What you’re left with is a cheerful, sturdy reindeer nose that will delight children and add a whimsical touch to any Christmas event or celebration, spreading holiday cheer wherever it goes.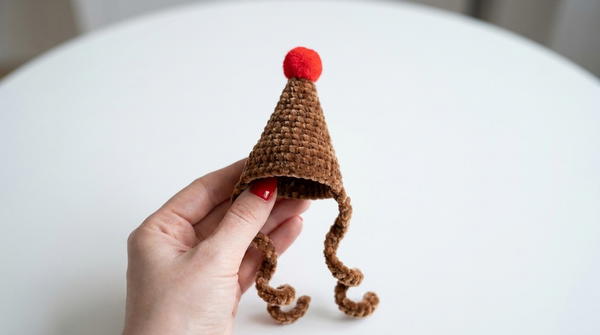
Assembly & Finished Size
- Weave in all ends.
- Make sure both straps are directly opposite each other for a snug fit over the ears.
- Finished nose piece is round, with two ties to go around the child’s head.
Conclusion and Ending Words
And here is the final look of our reindeer nose! Adjust the rounds and chain length as you wish. Perfect for kids’ Christmas parties or photo shoots, and quick enough to make for a whole group.