Hang a string of crochet Stars above a shelf or tuck a few into your gift wrap for a simple handmade detail with soft stitches and five rounded points.
Empty space above a shelf can be hard to fill without crowding the room. Crochet Stars can hang there on a short string, with enough space between each one for the shape to show. The samples have five gently rounded points with a neat edge that follows each curve.
Little Crochet Stars Pattern for Gifts and Home Decor
About the YouTube channel
Home decorations sit alongside bags, flowers, and square motifs on this channel. The star project offers a small piece you can repeat for a room display, while the heart square gives viewers a different shape to work with. Both projects are shared on the YouTube channel Maison Hanin | ميزون حنين.
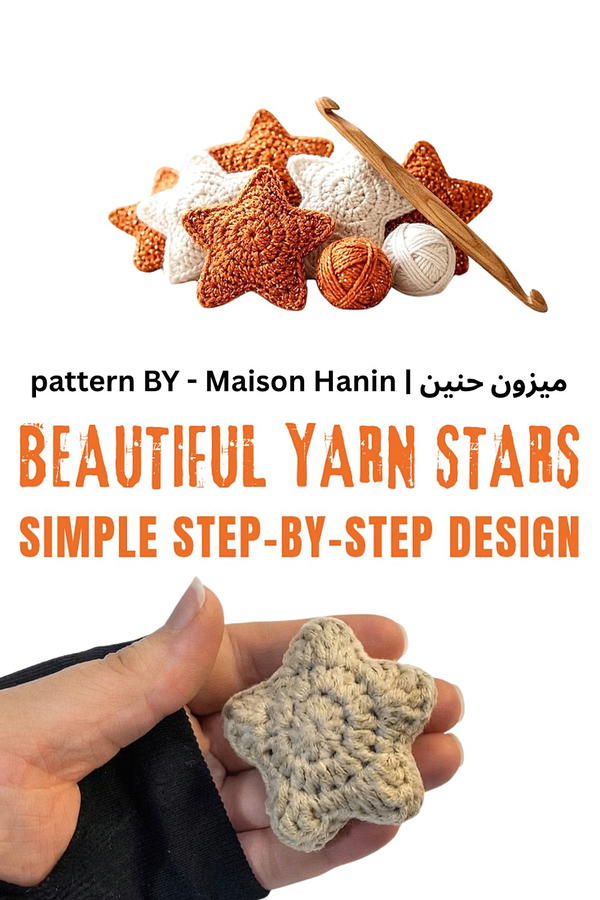
For a table display, lay a few beside a framed photo or spread them around a plain bowl. The orange and cream samples look right at home next to wood. You can pick shades from a cushion or throw you already own so the pieces fit in with the rest of the room.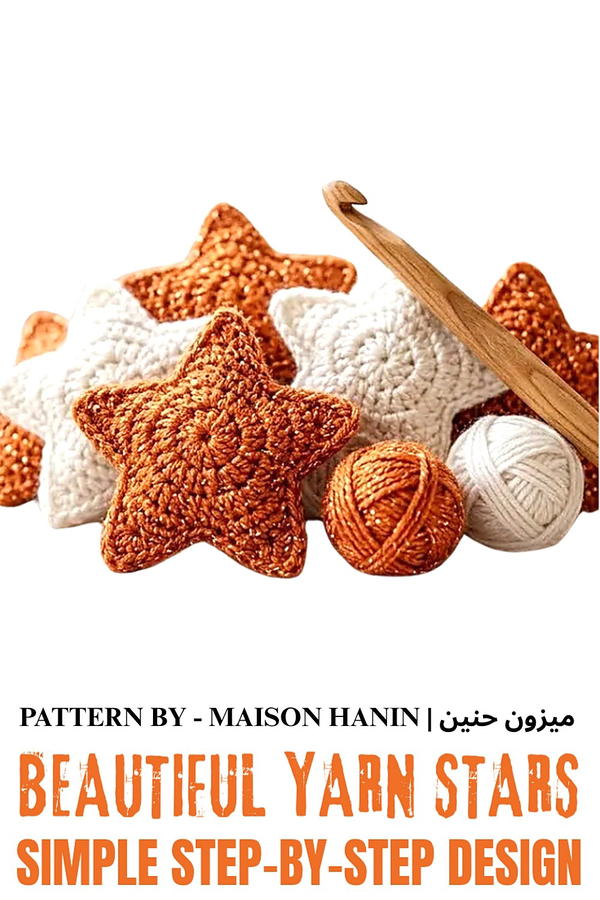
On a wrapped present, one star is plenty. Slip it under the ribbon and angle a point toward the corner of the package. The person opening the gift can keep it and hang it from a hook or tuck it into a favorite book as a small keepsake.
The stitches circle outward from the center before the points take shape. Since each piece is small, you can choose the whole set of colors before you start or decide one at a time. Two shades are enough for a neat row above the shelf, and a third can repeat at each end to frame the arrangement.
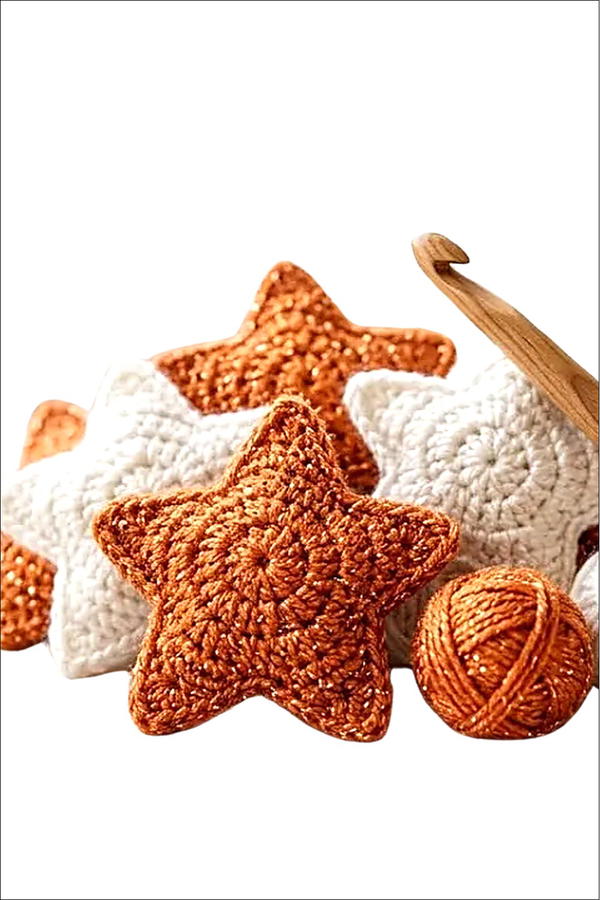
Crochet Star Pattern
This crochet star pattern is a straightforward yet beautiful design, perfect for adding a decorative touch to your projects. These stars can be used as ornaments, garlands, appliqué for clothing and bags, or even as festive decorations. Featuring a structured foundation and easy-to-follow steps, this pattern ensures your stars are neat and symmetrical.
Skill Level
Beginner to Intermediate – Designed for those familiar with simple crochet techniques like chaining, single crochet, double crochet, and the magic ring method. The pattern also requires the ability to work with varying stitch heights while ensuring even tension.
Materials
- Yarn:
- Alize Cotton Gold (Color: 262). Select a soft, light cotton or cotton-blend yarn for crisp detailing and a polished finish.
- Crochet Hook:
- Size 3.0 mm, which provides a tight, well-defined stitch structure.
- Scissors:
- For snipping yarn after completing your star.
- Tapestry Needle (Optional):
- To weave in loose ends cleanly and securely.
Stitch Abbreviations
- Magic Ring: A loop used as a base for crocheting in the round.
- Ch: Chain stitch.
- SC: Single crochet stitch.
- HDC: Half double crochet stitch.
- DC: Double crochet stitch.
- TR: Treble crochet stitch.
- SL ST: Slip stitch.
Useful Tips
- Working with the Magic Ring: Keep your stitches snug while creating the foundation circle. Pull the ring tight once filled to achieve a clean and closed center for your star.
- Stitch Placement for Points: Ensure you skip exactly one base stitch when attaching each star point to keep the points evenly spaced around the circle.
- Tension Control: Work with uniform tension, particularly for the star points, to produce sharp, well-defined tips.
- Finishing Edges: Use a tapestry needle to weave in yarn ends neatly. This step is critical for a tidy, professional finish.
- Blocking (Optional): After completing the star, lightly block it to ensure the points are evenly shaped and lie flat.
Pattern Instructions
Foundation
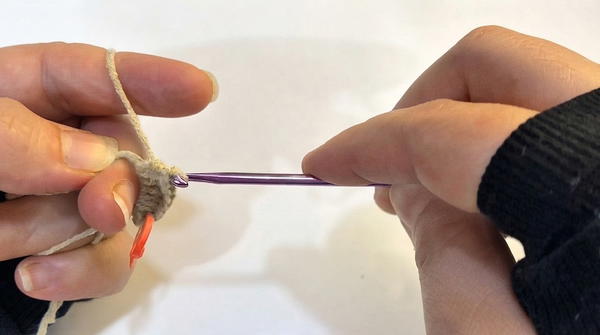
- Begin with a magic ring.
- Work 10 SC into the magic ring. (If you are unfamiliar with the magic ring, you can replace it with a foundation of 4 chains joined into a circle).
- Pull the magic ring loop tight to close the center.
- Slip stitch (SL ST) into the first single crochet to complete the round.
Round 1: Expanding the Circle
- Chain 1 (Ch 1) to start the round (this does not count as a stitch).
- Place 2 SC in each of the 10 stitches from the foundation row. You should now have 20 SC at the end of the round.
- Close the round with a SL ST into the first SC.
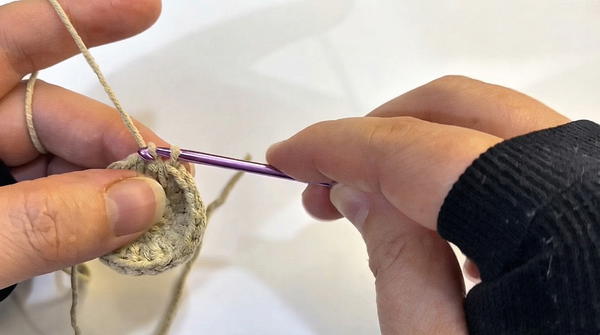
At this stage, you should have a flat, circular base with evenly distributed stitches. This serves as the foundation for your star points.
Round 2: Forming the Star Points
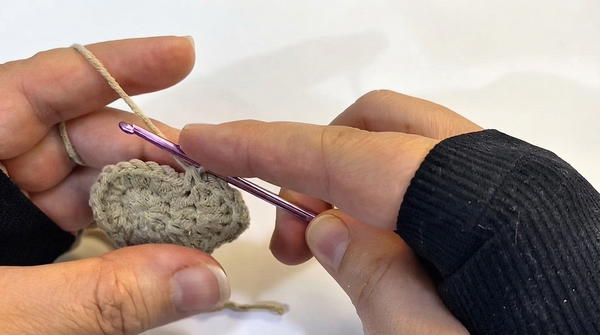
Each star point involves creating tapering stitch heights, starting from a series of chains and working back down into the circular base.
- Begin the First Point:
- Ch 6. The chain forms the length of the first star point.
- Work Down the Chain: Starting from the second chain from the hook, work the following stitches successively:
- SL ST into the second chain,
- SC into the next chain,
- HDC into the following chain,
- DC into the next chain, and
- TR into the final (farthest) chain.
- Attach the Star Point to the Base:
- Skip 1 stitch on the base circle.
- SL ST into the next stitch to anchor the star point to the base.
- Repeat Steps for the Next 4 Points:
- Repeat the process (Ch 6, work down in SL ST, SC, HDC, DC, and TR, skip 1 base stitch, SL ST into the next) until you have a total of 5 evenly spaced points.
- Final SL ST to Close the Round:
- After the fifth point is completed and attached to the base with a SL ST, the round is finished.
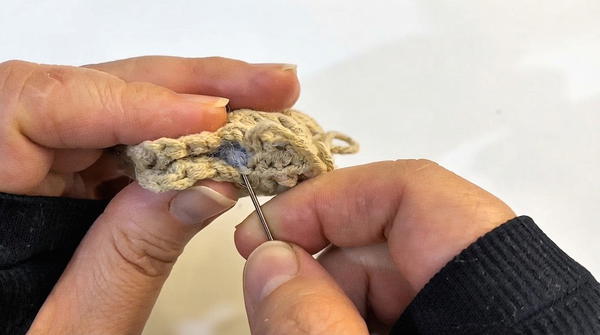
- After the fifth point is completed and attached to the base with a SL ST, the round is finished.
Finalizing the Star
- Secure the Work:
- After completing the fifth point, create an additional SL ST to secure the work. Cut the yarn, leaving a short tail.
- Fasten Off and Weave in Ends:
- Pull the yarn tail through the last stitch to fasten off the star. Use a tapestry needle to weave in the loose ends neatly and securely.
- Shape and Block:
- Carefully shape the star if needed. Blocking the star helps ensure the points are crisp and the star lies flat.
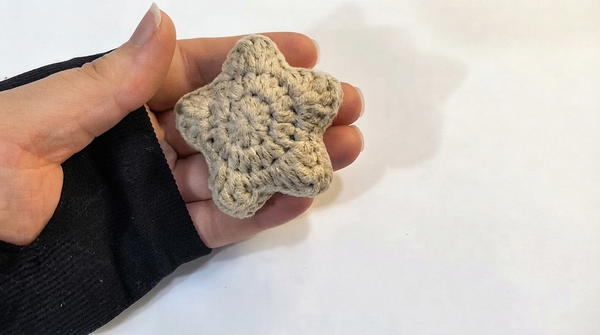
- Carefully shape the star if needed. Blocking the star helps ensure the points are crisp and the star lies flat.
Additional Features (Optional)
- Color Variations: Use different yarn colors for vibrant stars that can complement your project’s theme.
- Embellishments: Add beads, glitter, or embroidery to the star for an extra decorative touch.
- Join Multiple Stars: Create garlands or attach the stars to larger crochet projects for a unique aesthetic.
Conclusion
This crochet star pattern is both versatile and elegant, making it ideal for projects ranging from decorative household items to seasonal ornaments. Its simplicity allows beginners to follow confidently, while its structured design ensures that the final outcome is professional and polished. These stars can be adapted with color, size, and embellishment variations to suit your creative preferences, making it a delightful addition to your crochet repertoire.