Dress up your tea table with this Free Crochet Rose Bouquet Coaster Pattern that folds into a bunch of red blooms and opens into a flat spot for your mug.
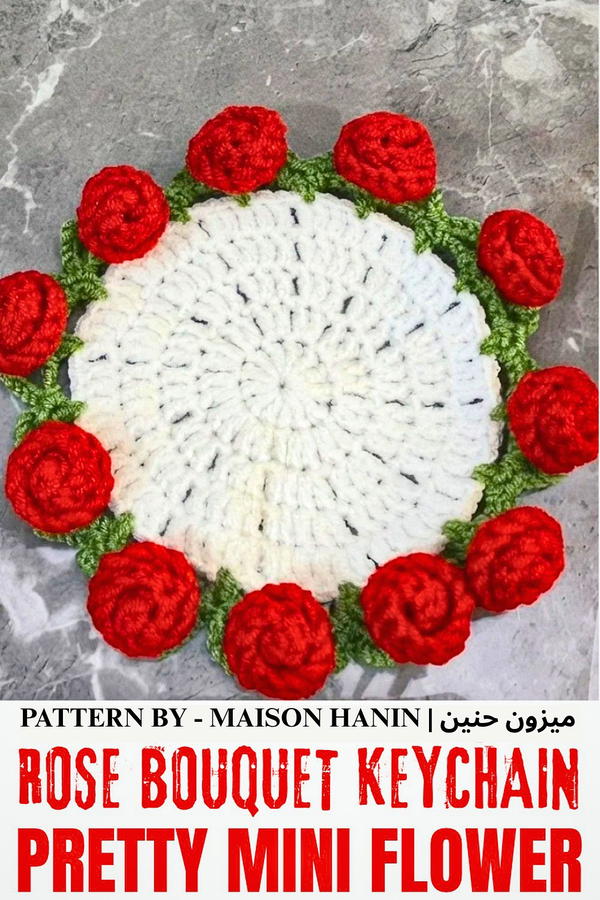
Plain tea settings can feel a little bare when you have company over. This free crochet rose bouquet coaster pattern puts a ring of red roses around a cream center, so there is room to set down a cup and still see the flowers. Small green leaves peek out around the edge. The roses have curled petals that stand out from the middle, almost like flowers tucked around a little plate.
Free Crochet Rose Bouquet Coaster Pattern with Red Roses
Meet the Designer
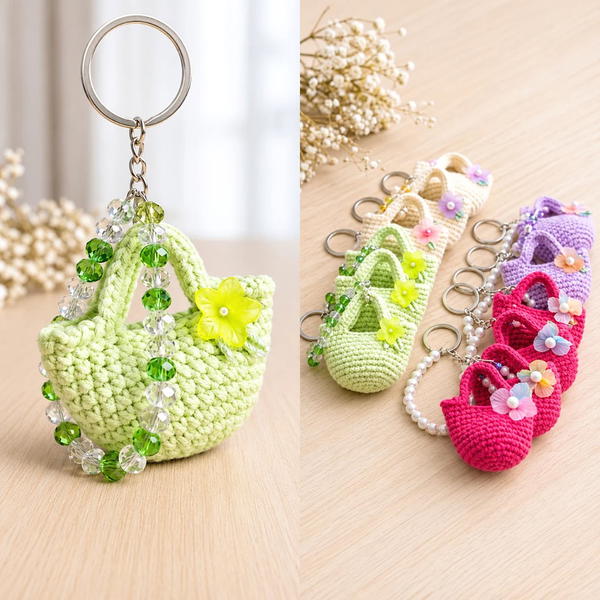
Flower projects take several forms on this channel. The rose bouquet coaster pairs a usable center with an edge that gathers into a bunch, while another project uses roses in a miniature keychain. Both ideas show how one familiar flower can work at different scales on Maison Hanin | ميزون حنين.
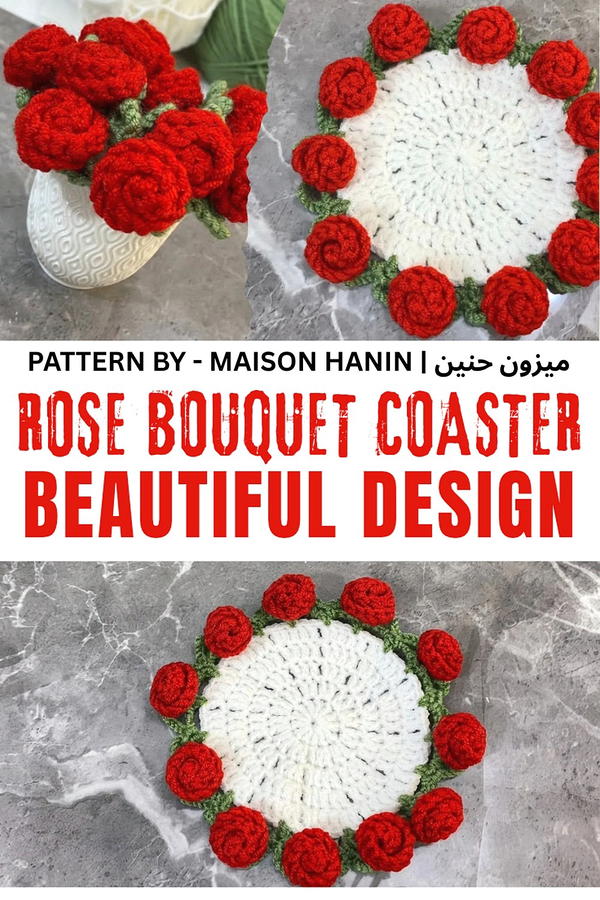
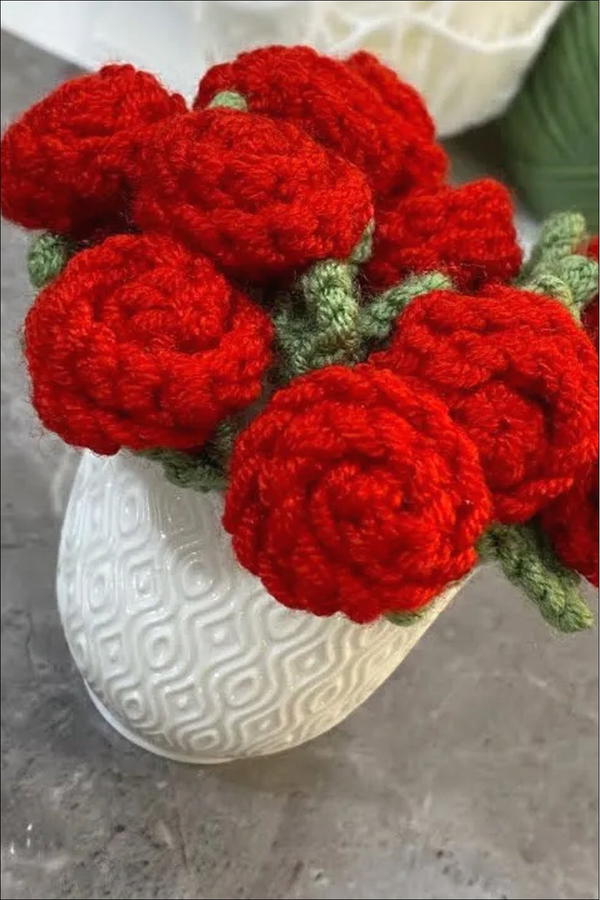
Part of the fun comes after the cup is cleared away. Gather the coaster up and the roses sit close together in a small bouquet. Open it flat again when it is time to pour tea. It would be fun to leave it folded beside a guest’s saucer and open it just before serving. On days when the table is clear, the folded bunch can sit on a shelf where you can see it from the front.
For a present, tie a ribbon around the gathered piece and set it beside a favorite mug in a gift box. Someone who likes roses, hosts afternoon tea, or keeps a small vase by the sink would find a place for it. You can also set one at each end of a tray so two cups have a spot of their own and the flowers stay visible.
Crochet Rose Coaster Pattern
This crochet rose coaster combines a clean circular base with a leafy green border and layered red roses on top. The design is decorative yet functional, making it suitable for table settings, gift sets, or home décor pieces. The pattern uses simple, well-known stitches arranged thoughtfully to achieve a dimensional floral effect.
Skill Level
Intermediate – The coaster involves working in the round, using multiple colors, and layering petals and leaves with double crochet and treble crochet stitches. Familiarity with basic crochet techniques and color changes is recommended.
Materials
- Yarn (3 colors):
- White yarn – for the coaster base.
- Red yarn – for the rose petals.
- Green yarn – for the leaf border.
- Crochet Hook:
- Any size suitable for your chosen yarn weight (for best results, follow the yarn label’s hook recommendation).
- Scissors:
- For trimming yarn ends and finishing off sections.
Stitch Abbreviations
Only stitches mentioned in the transcription are used:
- MR – Magic Ring
- Ch – Chain
- Sl St – Slip Stitch
- DC – Double Crochet
- TR – Treble Crochet
Useful Tips
- Consistent Tension: Keep your tension even, especially while working in the round, so the coaster remains flat and circular.
- Neat Color Changes: When switching from white to green, and then to red, change colors at the end of a round or in a Sl St to make the transitions neat.
- Blocking (Optional): Light blocking can help the coaster lay perfectly flat and enhance the definition of roses and leaves.
- Weaving Ends: Weave in each color’s ends securely as you finish that section to avoid bulk and to keep the back neat.
- Count Carefully: Maintaining the correct stitch counts in each round is essential for a symmetric circle and evenly spaced petals and leaves.
Pattern Instructions
1. White Base (Center Coaster Circle)
Use white yarn for the entire base section.
- Round 1 – Foundation into Magic Ring
- Create a MR.
- Ch 2 (does not count as a stitch in this pattern’s count, but lifts the round to DC height).
- Work 12 DC into the magic ring.
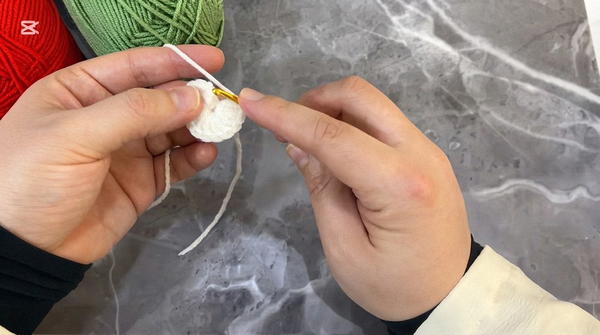
- Pull the ring tight to close the center.
- Join to the first DC with a Sl St.
- You now have a small circle of 12 DC forming the center of the coaster.
- Round 2 – Increasing to 24 DC
- Ch 2 to begin the round.
- Work 2 DC in each stitch around:
- Into each of the 12 DC from Round 1, place 2 DC.
- You will have 24 DC at the end of the round.
- Join with a Sl St to the first DC.
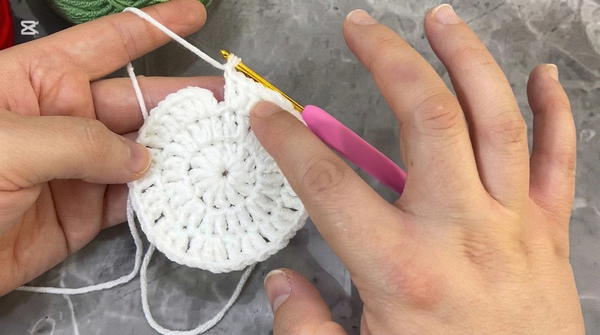
- Round 3 – Increasing Evenly Around
- Ch 2 to lift the round.
- Work the following pattern around the circle:
- 1 DC in the next stitch, then
- 2 DC (increase) in the following stitch.
- Repeat this sequence (1 DC, 2 DC in next stitch) all the way around the circle.
- By the end of the round, you will have an evenly expanded circle with a total stitch count matching the pattern’s progression (every repeat increases by one stitch).
- Join with a Sl St to the first DC.
- Fasten off or keep the white yarn attached if you prefer carrying it, but for clarity and neatness, it is recommended to cut and secure the end here.
At this stage, the white base forms a flat circular coaster that will support the leaf and rose layers.
2. Green Leaf Border
Attach green yarn to the outer edge of the white base to begin forming a leafy frame around the coaster.
- Round 4 – Attaching Green Yarn and Leaf Foundations
- Join green yarn to any DC stitch on the outer round of the white base using a Sl St.
- Ch an appropriate number to begin the leaf foundation (e.g., Ch 3–4, depending on desired leaf size; follow the video’s structure if referencing time codes).
- Around the edge of the circle, work a pattern that combines Ch stitches and TR stitches to shape the leaves:
- For each leaf cluster:
- Ch to create a small stem or space.
- Work TR stitches into selected stitches on the outer round of the white circle: often 2–3 TR in the same stitch or adjacent stitches create a curved leaf shape.
- Space the leaf clusters evenly around the white base so that they form a continuous decorative border.
- For each leaf cluster:
- Continue working chains and TR stitches until the entire outer edge is framed with green leaf shapes.
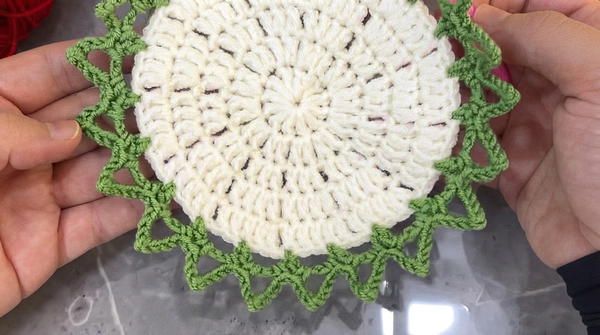
- Join the last leaf cluster to the starting point with a Sl St to form a complete ring of leaves.
The green border should now look like a leafy frame encircling the white base, with TR stitches giving height and pointed leaf-like edges.
3. Red Rose Petals (Top Layer Decoration)
Attach red yarn to the green border foundation to form dimensional rose petals overlaying parts of the leaf edge and base.
- Round 5 – Attaching Red Yarn
- Join red yarn to a chosen point on the green leaf border using a Sl St.
- Select positions where petals should emerge (often at the base or tip of leaf clusters).
- Round 6 – Forming Petals with DC and TR
- Work a combination of Ch, DC, and TR stitches to build petal shapes directly on the green foundation:
- For each petal:
- Ch a small number to begin the petal arc.
- Work DC and TR stitches into the same or neighboring stitches of the green foundation to create rounded, layered petal shapes.
- For example, a petal may consist of:
- 1 DC, 2 TR, 1 DC in the same base stitch or group of stitches.
- Adjust the number of stitches according to how full and curved you want each petal to appear.
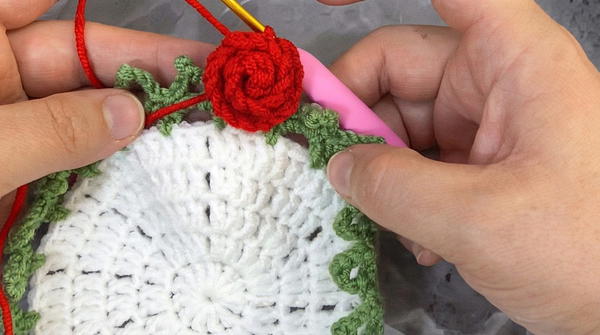
- Repeat this petal sequence around selected segments of the green border to create multiple rose clusters.
- For each petal:
- Continue working petals in this way, layering them slightly or spacing them evenly, until the entire coaster has a decorative ring of red roses on top of the green leaves.
- Work a combination of Ch, DC, and TR stitches to build petal shapes directly on the green foundation:
- Final Petal Round – Securing and Shaping
- After completing all petals, join the last petal to the starting point with a Sl St.
- Check that petals and leaves are lying smoothly and evenly around the coaster. Adjust tension if necessary.
- Finishing
- Fasten off the red yarn securely.
- Use your scissors to trim excess yarn ends.
- With a tapestry needle or hook, weave in all loose ends from the white base, green leaves, and red petals on the back side of the coaster so the front remains neat and decorative.
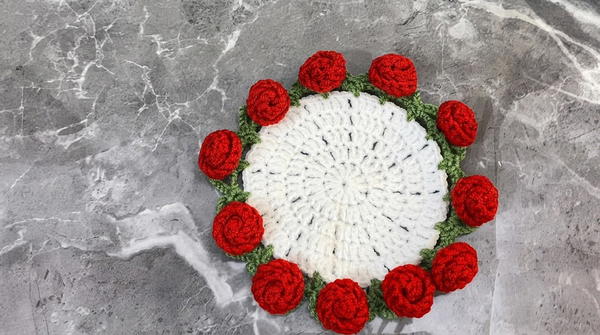
Conclusion
This crochet rose coaster pattern brings together a classic circular base, a vivid green leaf border, and layered red roses to create a textured floral design. By combining magic-ring work, double crochet increases, treble crochet leaves, and decorative petals, the finished piece is both visually appealing and functional. The coaster can be adapted by altering color combinations, adjusting leaf and petal sizes, or scaling the base for different uses such as placemats or decorative doilies.