Mix beautiful shades with this Free Crochet Matching Colors Handbag Pattern, giving everyday accessories a coordinated look that feels cheerful and stylish.
Choosing colors is often the most exciting part of planning a new handbag. In this Matching Colors Handbag Free Crochet Pattern, the attraction is how different shades can work together without losing the simple charm of crochet. Some combinations feel quiet and gentle. Cream beside beige, for example, gives a subtle change that still lets the stitches show. Others feel lively, such as blue with a warm contrasting shade.
Fresh Matching Colors Handbag Free Crochet Pattern
Color Inspiration from magic knots
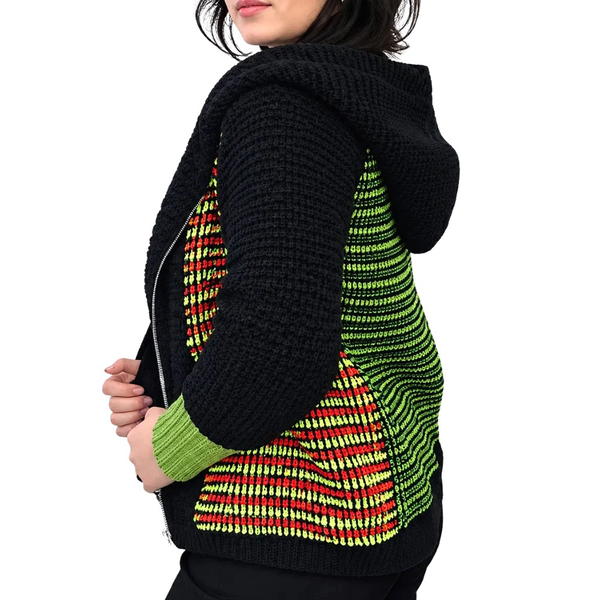
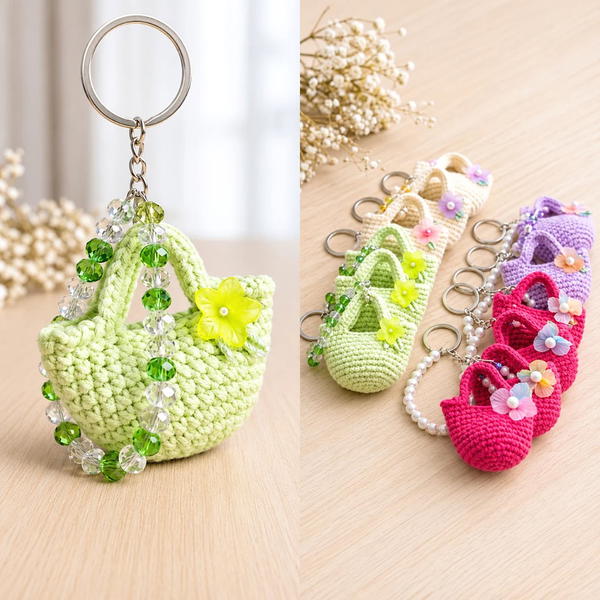
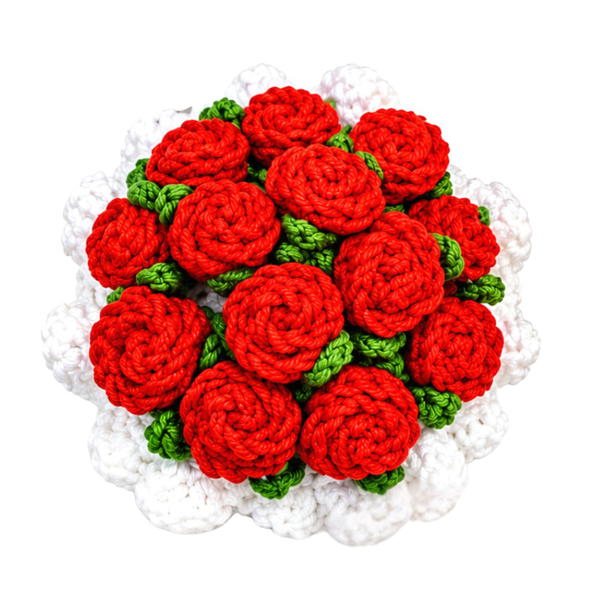
Color choices can give familiar crochet shapes a different personality, and magic knots provides more than one style to consider. Its collection spans handbags, garments, and smaller yarn pieces. Browsing that variety can help someone settle on a color direction before starting a new accessory for their own everyday wardrobe.
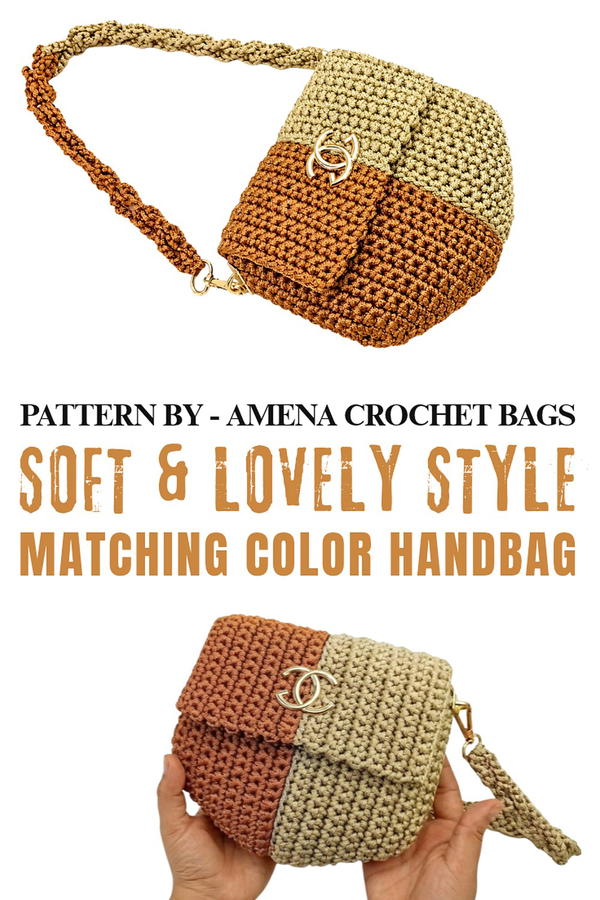
The point is not to use as many colors as possible. It is to give each one a clear place so the whole bag feels connected. You can draw ideas from a favorite outfit or from colors already in your wardrobe. The shape remains important even when color gets most of the attention. Even stitches, careful joins, and tidy edges stop the handbag from looking busy. Think about where one shade ends and another begins, because those meeting points have a big effect on the overall finish. Choosing a small palette before beginning gives each shade a clear role and keeps the design easy to follow.
This style pairs naturally with plain clothing. A solid shirt and trousers allow the handbag to carry the color, while a simple dress can pick up one shade from it. It is also a friendly gift idea when you know someone's favorite colors. More than a place to hold belongings, the bag becomes a small example of how a thoughtful palette can change the mood of an accessory. 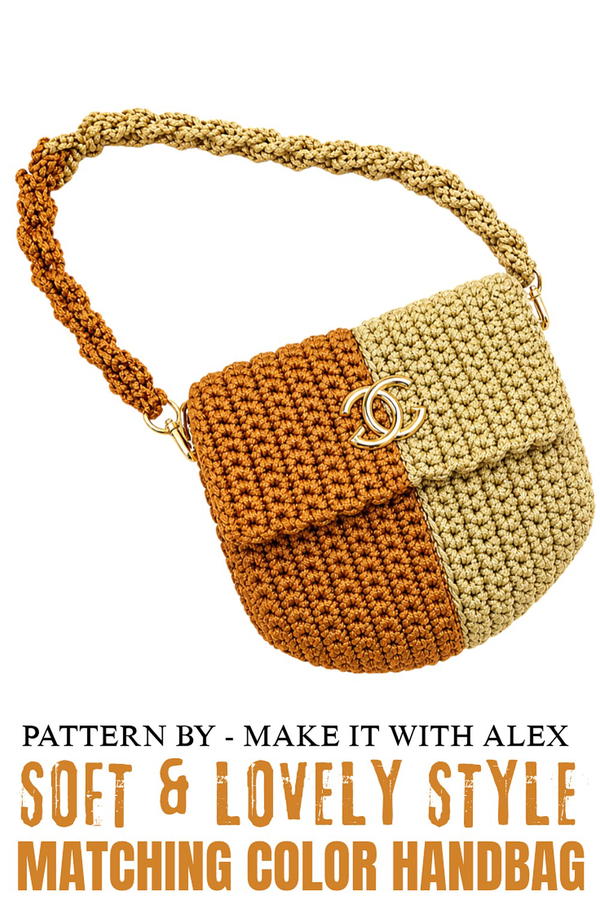
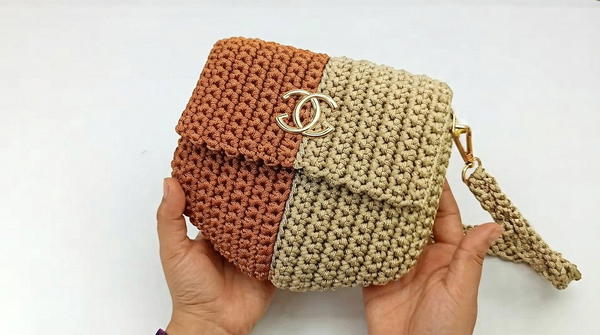
Small and Strong Crochet Bag with Two Colors
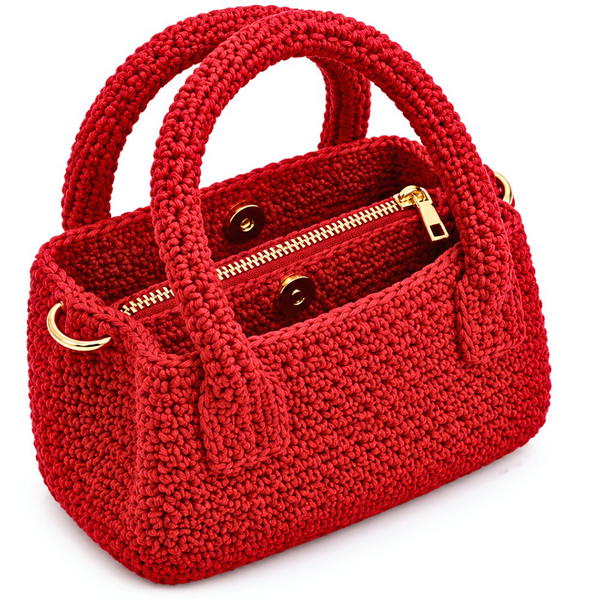
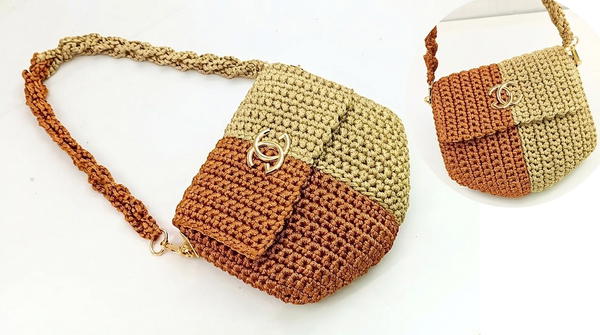
This small crochet bag is a simple yet stylish project, perfect for adding charm to your accessory collection. The bag is lightweight yet durable with a unique two-color double-layer design, offering a combination of aesthetics and functionality. It is an ideal project for beginners looking to practice their skills or intermediate crocheters who want to create a trendy, compact bag.
Skill Level
Beginner to Intermediate – The design is straightforward and uses basic stitches like single crochet and slip stitches, with some increases and assembly required.
Materials
- Yarn: 3 mm chain yarn, approximately 200 grams per color (two colors in total).
- Hook: 5 mm crochet hook.
- Clear Plastic Thread: For sewing the two pieces together and attaching the handle and clasp rings.
- Clasp Rings: 2 pieces, for the handle attachment.
- Scissors: For cutting the yarn.
- Needle: For sewing with the plastic thread.
Stitch Abbreviations
- ch = chain
- sc = single crochet
- sl st = slip stitch
Useful Tips
- Gauge Accuracy: Maintain even tension throughout the project to ensure both panels match perfectly when joined.
- Adjustable Size: Alter the foundation chain and rows to create a larger or smaller bag according to your needs.
- Seams: Use clear plastic thread for clean, sturdy, and nearly invisible seams when attaching the panels.
- Loop Placement: When creating loops for the handle, make sure they are spaced evenly to keep the bag symmetrical.
- Handle Strength: Ensure the loops are tight when attaching the handle for durability.
Step-by-Step Pattern Instructions
Bag Body
Foundation Chain and Row 1:
- Step 1: Make a slip knot, and chain 15 ch.
- Row 1: Starting from the second chain from the hook, work 13 sc.
- In the last chain, work 3 sc to form a rounded corner.
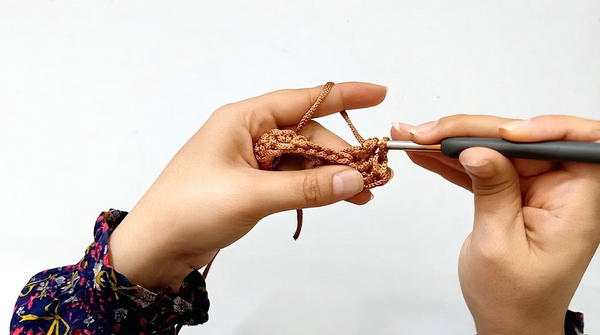
- Continue working 13 sc in the back loop down the other side of the foundation chain.
- You now have 29 stitches in total.
- In the last chain, work 3 sc to form a rounded corner.
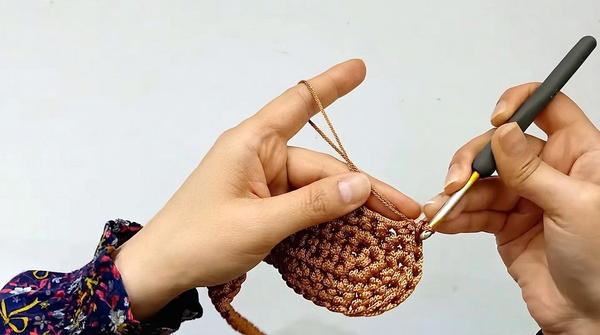
Row 2:
- Step 1: Chain 1, turn your work.
- Step 2: Work 13 sc across the first 13 stitches.
- Step 3: Increase in the three center stitches by working 2 sc, 3 sc, 2 sc (7 total stitches in the middle).
- Step 4: Work 13 sc on the opposite side. You should now have 33 stitches at the end of this row.
Row 3:
- Work this row evenly:
- 33 sc (without any increases).
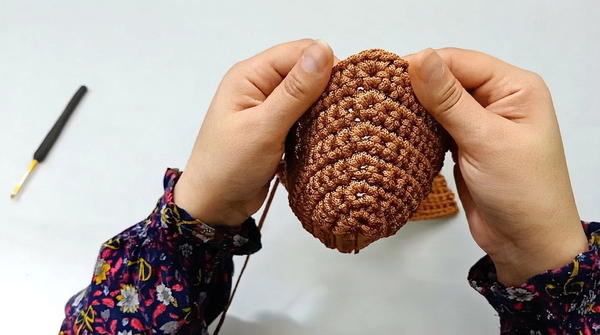
- 33 sc (without any increases).
Row 4 (Handle Base):
- Step 1: Chain 18 ch.
- Step 2: Starting from the second chain from the hook, work 17 sc into the chain.
- Next: Transition seamlessly into 16 sc, until you reach the center stitch of the row.
- In the center stitch: Work 3 sc to create an increase.
- Then: Work 16 sc again down the row.
Total stitches in Row 4: 52 sc.
Rows 5–12 (Shaping the Body):
- Odd Rows (5, 7, 9, 11): Work evenly across with no increases. Each row will have 52 sc.
- Even Rows (6, 8, 10, 12): Work as follows:
- 17 sc → 17 sc again → 3 sc in middle stitch (increase) → 17 sc → 17 sc again.
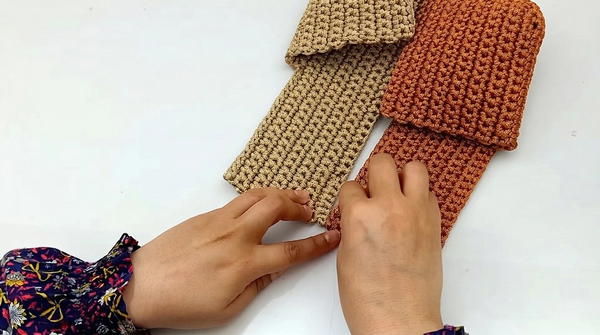
- The stitch count will increase by 4 stitches each even row, culminating in 60 sc at Row 12.
- 17 sc → 17 sc again → 3 sc in middle stitch (increase) → 17 sc → 17 sc again.
Rows 13–15:
- Work 3 rows of 60 sc evenly, as in Row 12, without any increases or decreases.
Complete the First Panel:
- Make a chain for a secure knot to end the work. Cut the yarn, leaving a clean edge.
Create the Second Panel:
- Repeat the exact same steps as above for the second panel, using a different color yarn to contrast with the first panel.
Joining the Two Panels
- Step 1: Align the two panels together, ensuring the rows match.
- Step 2: Using clear plastic thread, sew the panels together, stitch by stitch.
- Sew one loop from each side for a clean, polished seam.
- Sew across all edges, ensuring both the front and back of the bag are securely joined.
Handle Construction
The handle features interwoven loops in two colors for added strength and visual appeal.
First Handle Loop:
- Step 1: Attach the yarn to the hook. Chain 13 ch, and slip stitch to connect to the center of a clasp ring.
- Step 2: Chain 17 ch, and slip stitch into the third chain from the hook to create the first loop.
- Step 3: Continue chaining 17 ch and slip stitching into the third chain, until you have made 10 loops.
- Once complete, cut the yarn.
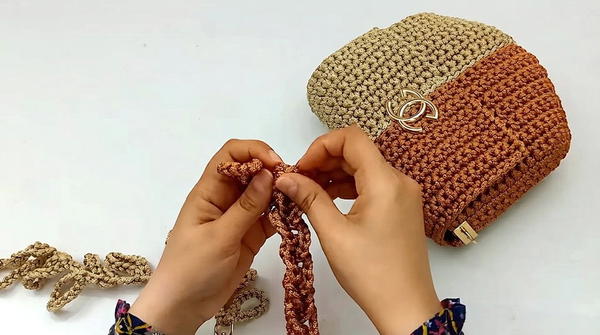
Second Handle Loop:
- Step 1: Use the second color yarn to create an identical set of loops.
- Step 2: As you work, begin to intertwine the new loops with the loops of the first color, forming a braided effect.
Finishing Touches
Connecting the Loops:
- Use a combination of sewing and clear plastic thread to connect the loops to the bag. Be sure to align the clasp rings securely for added durability.
Bag Assembly Options:
- The two halves can be sewn together with identical colors or using opposite colors for an interesting two-tone effect.
Conclusion
This small yet sturdy crochet bag is perfect for those who prefer a handy, lightweight design with a pop of color. The dual-color choice and braided handle add a unique touch to its simple structure, making it a fun and creative project. With minimal material requirements and a straightforward construction process, it’s an ideal project to explore for both beginners and those seeking functional designs. Add your unique style with different color combinations or attachments for a customized finish.