Surprise a friend with a crochet Rose Bouquet Keychain that looks like a tiny bunch of wrapped flowers and hangs from a bag for a little pop of color.
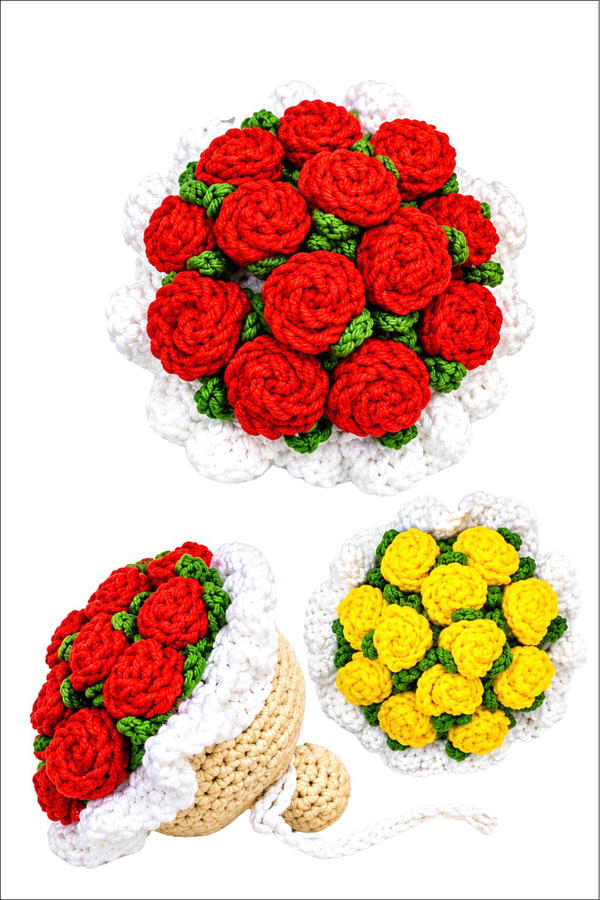
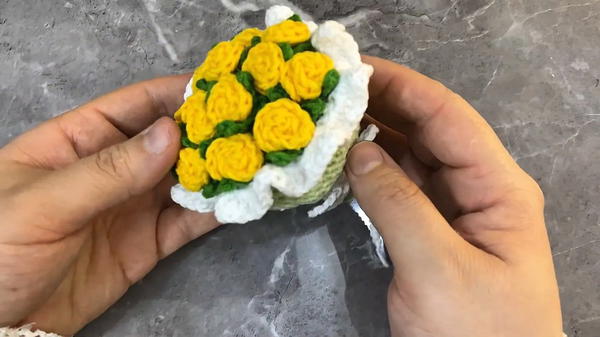
Flowers are a sweet way to mark a good day, and a little bunch that fits in your hand can stay with someone long after it’s given. This crochet Rose Bouquet Keychain gathers rolled blooms inside a wrapper with a scalloped edge. Green leaves peek between the roses, and the wrapper narrows toward the bottom like the paper around a real bouquet. A little tie at the base finishes the look.
Pocket-Size Crochet Rose Bouquet Keychain for Bags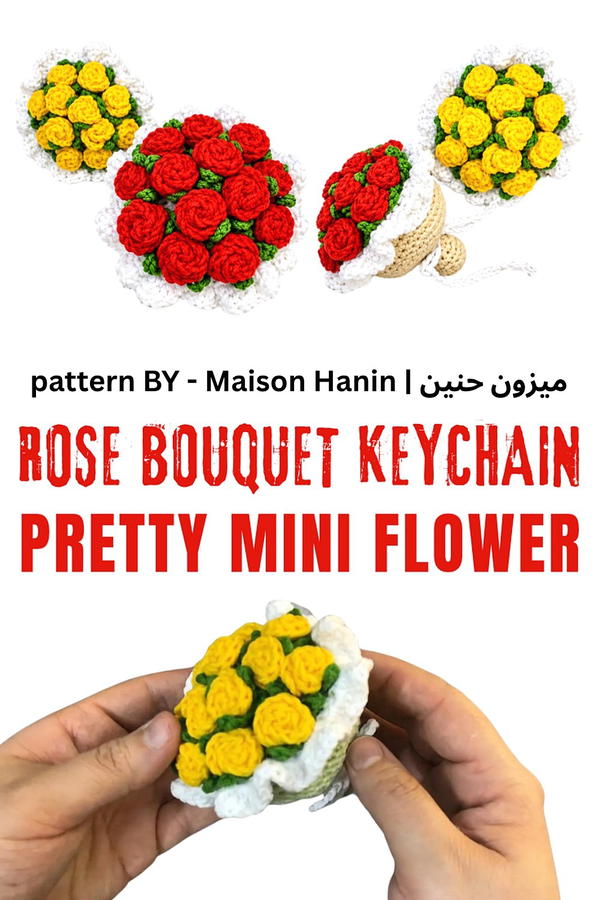
In the sample, both red and yellow versions use the same idea. Cotton yarn helps the spiral of each rose stay clear, even where several flowers sit close together. Working the blooms one at a time gives you room to arrange them before you settle on the final shape. You can turn them so the centers face up or angle the ones along the edge slightly outward. Those small changes show up right away because the bouquet is so compact.
About the creator
Gift ideas take several forms here, including flowers worked in cotton yarn and gathered into small bouquets. In the keychain project, the wrapper gets its own attention, giving the finished piece the shape of a bunch from a flower shop. That idea comes from the channel Maison Hanin | ميزون حنين.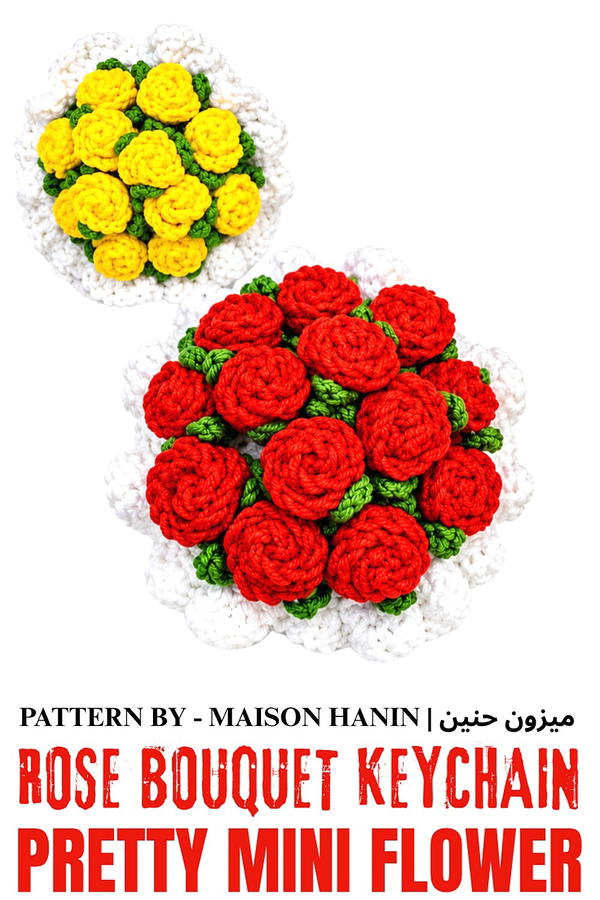 For graduation, tuck one beside a card and choose a flower shade the person likes. It’s also small enough to slip inside a Mother’s Day gift box or hand over with a note to someone who helped you. On a backpack, loop it onto the outside so the blooms face forward. You’ll see that little bundle each time you reach for the zipper.
Crochet Rose Bouquet Keychain Pattern
Create a stunning crochet rose bouquet keychain with this detailed and easy-to-follow pattern. The pattern is perfect for making a decorative and functional accessory that includes a structured bouquet base, charming roses, and a keychain attachment. With clear steps, this guide teaches you how to craft the elements required for this elegant design and how to assemble them into a finished product.
Skill Level
Intermediate – This pattern involves basic crochet stitches like single crochet, double crochet, increases, and decreases. It also includes crafting steps like shaping roses and assembling components with glue and a keychain, making it suitable for crocheters who are comfortable with basic and intermediate techniques.
Materials
- Yarn:
- Alize Cotton Gold yarn.
- Light Green (Color #103): For the bouquet base.
- Red/Yellow (or other colors): For the roses.
- Alize Cotton Gold yarn.
- Crochet Hook:
- Recommended size: 3.0 mm, which provides a tight and polished stitch for small projects like keychains.
- Glue Gun or Fabric Glue:
- To securely attach roses to the bouquet.
- Keychain Ring and Chain:
- Approximately 60 cm long, or adjusted to your preference.
- Optional Tools:
- Scissors: To cut yarn.
- Tapestry Needle: To weave in ends and tidy up the project.
Stitch Abbreviations
- Magic Ring: A circle foundation for crocheting in the round.
- Ch: Chain stitch.
- SC: Single crochet stitch.
- DC: Double crochet stitch.
- Increase: 2 SC worked into the same stitch.
- Decrease: Two consecutive stitches worked together as one.
Useful Tips
- Begin with a Tight Magic Ring: The base of the bouquet starts with a magic ring. Ensure it is cinched tightly to create a clean and uniform center.
- Track Stitch Counts: As you work through multiple rounds of increases and decreases, carefully count your stitches to maintain symmetry and avoid mistakes.
- Consistency in Rose Rolling: When shaping the rose petals, ensure consistent tension so the roses hold their shape uniformly.
- Securing Roses: Use a glue gun or fabric glue to securely attach the rolled roses to the bouquet base. This strengthens the design and ensures a lasting finish.
- Neat Weaving and Finishing: Use a tapestry needle to weave in all loose ends for a polished and professional look.
Pattern Instructions
Bouquet Base
The bouquet base is created by working in the round with structured increases and decreases. This ensures a neat, tapered design that provides a sturdy foundation for attaching the flowers.
R1: Foundation Round
- Begin with a magic ring.
- Crochet 6 SC into the magic ring.
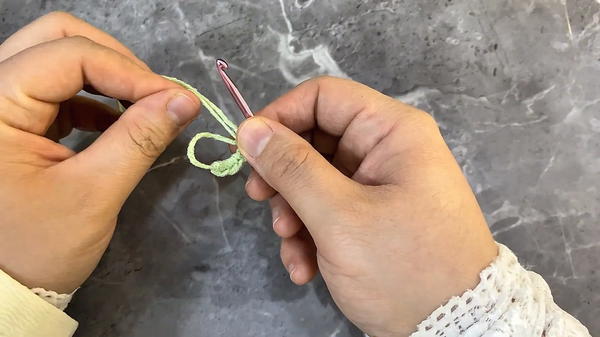
- Pull the ring tight to close the center.
- Join with a SL ST into the first SC to secure the round.
R2–R7: Increasing the Base
These rounds expand the size of the bouquet base by gradually increasing the stitch count.
- R2: Work 2 SC in each stitch (total 12 stitches).
- R3: Work 1 SC, then 1 increase. Repeat 6 times (total 18 stitches).
- R4: Work 2 SC, then 1 increase. Repeat 6 times (total 24 stitches).
- R5: Work 3 SC, then 1 increase. Repeat 6 times (total 30 stitches).
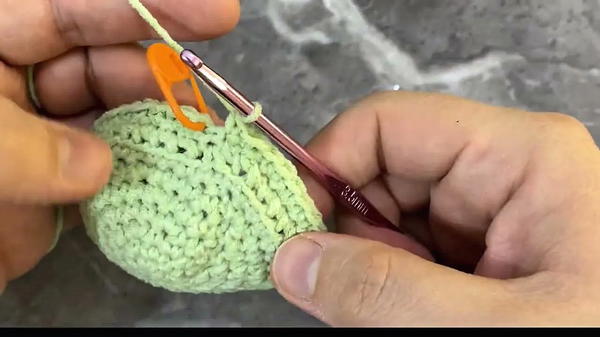
- R6: Work 4 SC, then 1 increase. Repeat 6 times (total 36 stitches).
- R7: Work 5 SC, then 1 increase. Repeat 6 times (total 42 stitches).
R8–R12: Forming the Depth of the Base
- Work 1 SC into each stitch (42 SC per round) for 5 consecutive rounds.
R13–R18: Decreasing the Base
In these rounds, the stitch count is reduced progressively to shape the bouquet base into a narrow closing.
- R13: Work 5 SC, then 1 decrease. Repeat 6 times (total 36 stitches).
- R14: Work 4 SC, then 1 decrease. Repeat 6 times (total 30 stitches).
- R15: Work 3 SC, then 1 decrease. Repeat 6 times (total 24 stitches).
- R16: Work 2 SC, then 1 decrease. Repeat 6 times (total 18 stitches).
- R17: Work 1 SC, then 1 decrease. Repeat 6 times (total 12 stitches).
- R18: Work 6 decreases (total 6 stitches).
R19–R21: Finishing and Shaping the Base
These rounds add a decorative edge to the bouquet base.
- R19: Work 3 DC in each stitch around the circle. Repeat this step 6 times to create a petal-like border along the base.
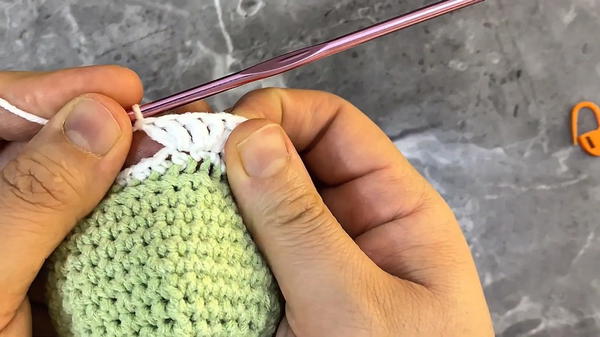
- R20: Work 42 SC evenly around the edge.
- R21: Repeat the petal-like shaping from R19 or maintain the established edging pattern.
Once completed, fasten off the yarn and use a tapestry needle to weave in all loose ends.
Flowers (Roses)
The roses are made separately using a simple strip of crochet stitches rolled into a flower shape:
- Foundation Strip:
- Ch 10.
- Work Flower Petals:
- Work 2 DC into each ch stitch across the length of the strip.
- Form the Rose:
- Roll the completed strip tightly into a spiral to form a rose shape.
- Secure the shape by applying glue (use fabric glue or a glue gun).
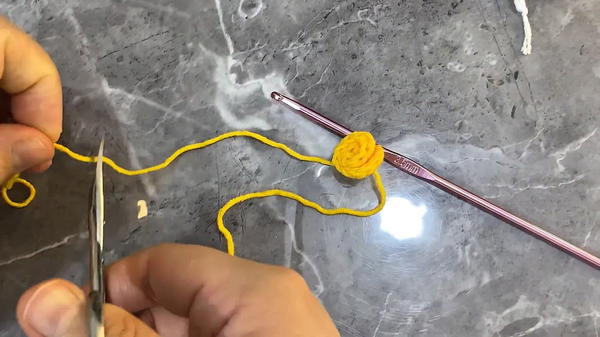
- Repeat for Additional Roses:
- Create as many roses as desired. You can vary the color combinations of each rose (e.g., red, yellow, or pink) to create a vibrant look.
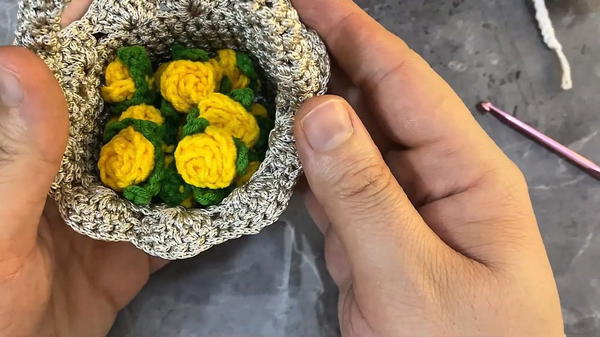
- Create as many roses as desired. You can vary the color combinations of each rose (e.g., red, yellow, or pink) to create a vibrant look.
Assembling the Keychain
- Attach Roses to the Base:
- Arrange the roses evenly on the bouquet base. Use a glue gun or fabric glue to attach each rose securely. Let the glue dry fully before handling.
- Add the Keychain:
- Attach a 60 cm keychain chain to the bouquet by securing it with a keyring. Ensure it is tightly fastened for long-lasting durability.
- Attach a 60 cm keychain chain to the bouquet by securing it with a keyring. Ensure it is tightly fastened for long-lasting durability.
Customization Options
- Colors: Swap the specified yarn colors to match your preferences or occasions, such as pastel tones for weddings or bright colors for festive designs.
- Size Adjustments: Adjust the size of the bouquet base or the number of roses to make smaller or larger keychains.
- Additional Features: Add leaves, beads, or decorative buttons to enhance the design.
Conclusion
This crochet rose bouquet keychain combines functionality with elegance, making it a perfect accessory or gift. Its versatility allows for endless creativity, from personalized color choices to size adjustments. Whether you craft it for yourself or for another, the keychain’s intricate details and handmade charm make it a standout piece.